If you’ve ever craved a nostalgic treat that bursts with vibrant flavor and irresistible crunch, then you’re in for a real delight with The Best Candy Apple Bags Recipe. This recipe takes the classic candy apple experience and transforms it into perfect individually wrapped treats that are as fun to make as they are to eat. From the crisp, juicy apples to the glossy, crackling candy coating, every bite is a celebration of autumn joy and sweet happiness. Whether you’re planning a special gathering or just want a festive snack, these candy apple bags bring charm and deliciousness all wrapped up in one.

Ingredients You’ll Need
The beauty of The Best Candy Apple Bags Recipe lies in its simplicity and the magic of each ingredient working harmoniously. Every component is thoughtfully chosen to provide the perfect crunch, sweetness, and eye-catching appearance that makes these candy apples truly special.
- Crisp, sweet apples: Granny Smith, Honeycrisp, or Fuji work wonders, each bringing a unique balance of tartness and sweetness that makes your candy apples irresistible.
- Candy coating: Use store-bought for convenience or create your own with sugar, water, corn syrup, and red food coloring for that classic, glossy finish that makes your apples shine.
- Wooden skewers or popsicle sticks: These provide a sturdy handle for dipping and snacking, making the apples easy to enjoy and transport.
- Candy apple bags: Essential for wrapping, these bags keep your candy apples fresh and make them perfect for gifting or sharing.
- Twist ties, ribbons, or decorative string: Use these to secure the bags, adding a festive touch and making your candy apple bags look irresistible and gift-ready.
How to Make The Best Candy Apple Bags Recipe
Step 1: Prepare the Apples
Start by washing your apples thoroughly to remove any wax coating that can prevent the candy from sticking. Dry them completely to avoid any water interfering with the candy coating. Then, insert wooden skewers firmly into the tops of the apples for a secure grip during dipping and for that classic presentation.
Step 2: Make the Candy Coating
If you’re short on time, you can follow the instructions on a candy apple kit for an easy approach. But if you’re feeling adventurous, combine sugar, water, and corn syrup in a saucepan and bring it to a boil, then add red food coloring to achieve that perfect, inviting hue. Heating the mixture to the “hard crack” stage (300°F) is crucial for that satisfying crunch.
Step 3: Dip the Apples
Once your candy mixture reaches the right temperature, dip each apple carefully, turning it to coat evenly with the glossy candy. Set the coated apples on parchment paper to cool and harden. This step is where the transformation truly happens — from simple fruit to dazzling dessert!
Step 4: Wrap the Candy Apples
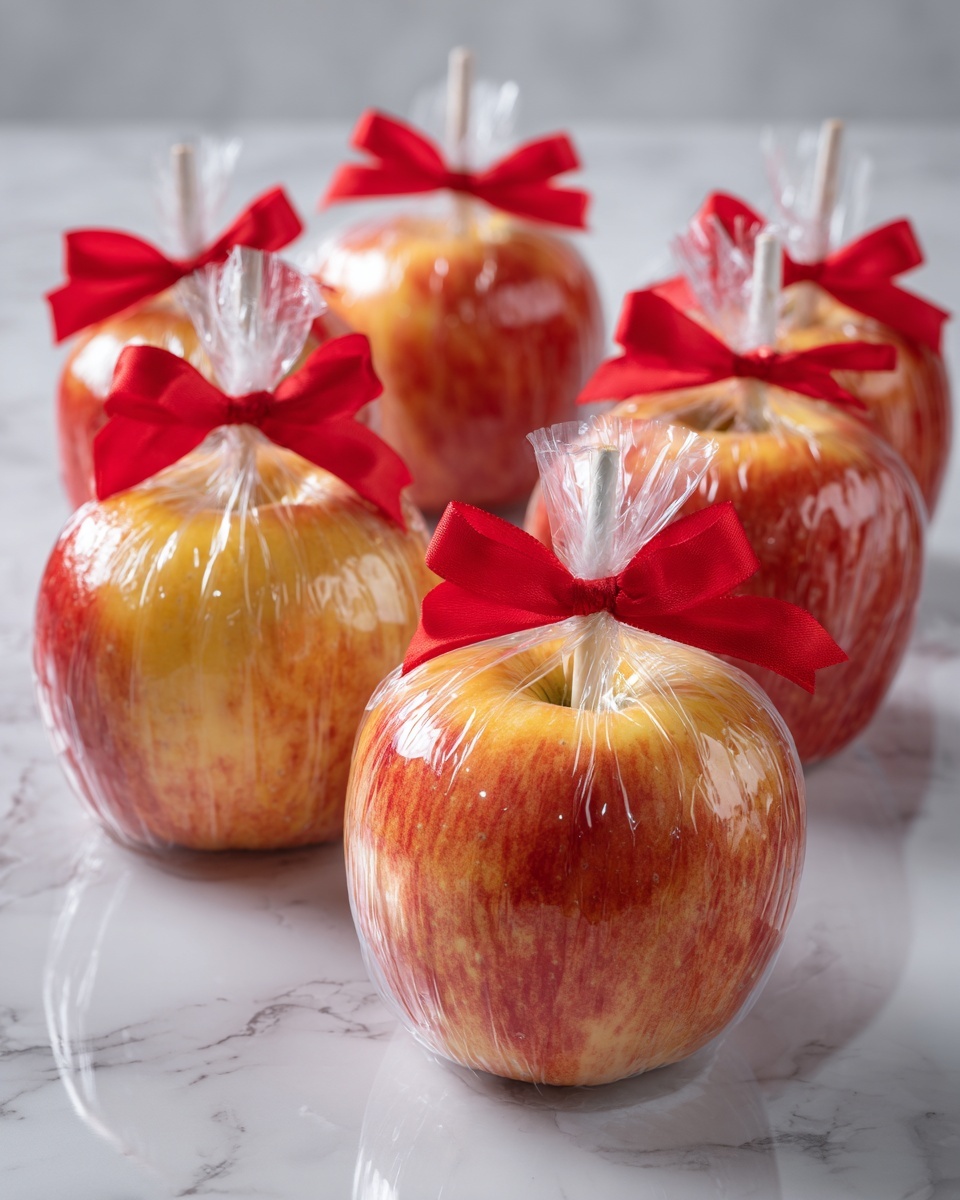
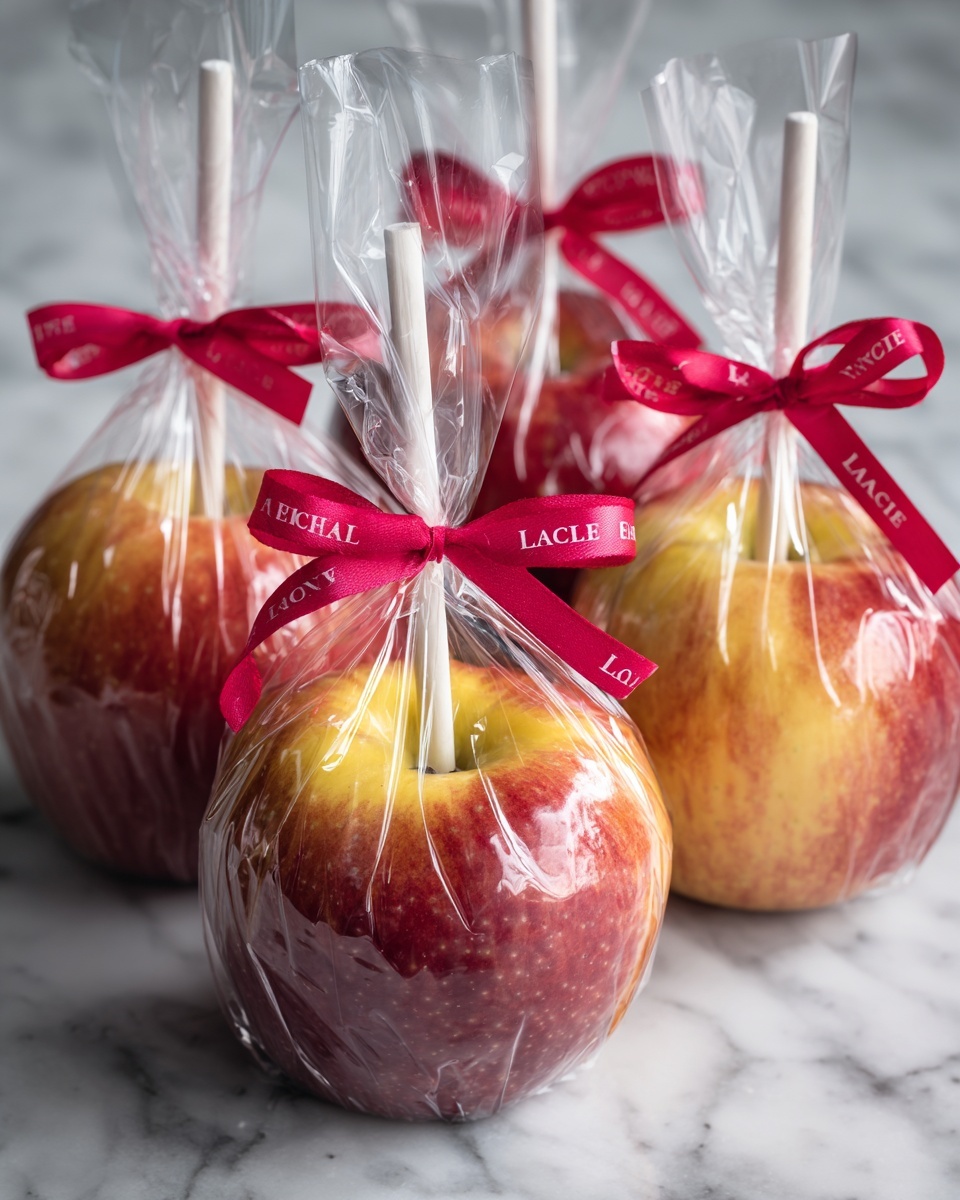
After your candy coating has fully set, slip each apple into a candy apple bag. Secure the top with a twist tie, ribbon, or decorative string. Wrapping not only keeps the candy apples fresh but also makes them perfectly portable and giftable.
Step 5: Decorate for a Festive Touch
Add your own personality with tags, stickers, or themed decorations on the bags. This simple step elevates your candy apples from a treat to an event centerpiece or heartfelt gift, guaranteed to impress family and friends.
How to Serve The Best Candy Apple Bags Recipe
Garnishes
Sprinkle a pinch of chopped nuts, colorful sprinkles, or edible glitter on the candy coating before it hardens to add both texture and visual flair. Garnishes bring a handmade charm that makes each apple just a little bit more special.
Side Dishes
Pair these candy apples with warm cinnamon tea, creamy hot chocolate, or even a mild cheese platter for a fun contrast of sweet and savory. These combinations highlight the apple’s natural flavors and make any gathering better.
Creative Ways to Present
Arrange your candy apple bags in a rustic wooden crate or a colorful basket lined with festive tissue paper. Alternatively, stand them upright in a decorative vase filled with seasonal materials like corn husks or colored candies. Presentation can take The Best Candy Apple Bags Recipe from delicious to unforgettable.
Make Ahead and Storage
Storing Leftovers
If you have leftovers, keep them wrapped tightly in their candy apple bags at room temperature away from direct sunlight. The candy shell maintains the apple’s crunch, but cooler spots prevent stickiness and melting. For best texture, enjoy within 2–3 days.
Freezing
Freezing candy apples is not recommended because the moisture alters the texture of the apple and causes the candy coating to crack and lose its shine. It’s best to enjoy them fresh and in small batches.
Reheating
Reheating candy apples is unnecessary and not advisable as it will melt the candy coating and change the apple’s crisp texture. Instead, savor them as they are for the perfect crunchy bite every time.
FAQs
Can I use different types of apples?
Absolutely! While Granny Smith, Honeycrisp, and Fuji are popular for their balance of tartness and sweetness, you can experiment with others like Gala or Pink Lady. Just make sure they are firm and fresh for the best dip and crunch.
How do I know when the candy mixture is at the “hard crack” stage?
Using a candy thermometer is the most reliable method. When the mixture reaches 300°F, it’s ready. At this stage, the candy will harden quickly into a brittle shell, perfect for your candy apples.
Can I make the candy coating in advance?
It’s best to make and use the candy coating right away, as it thickens and hardens quickly. Preparing it fresh ensures a smooth, shiny finish on your apples every time.
What if the candy apples stick to the parchment paper?
If the candy sticks, lightly oil the parchment paper before placing apples on it. Alternatively, you can use a silicone baking mat to prevent sticking.
Are candy apple bags reusable?
Most candy apple bags are designed for single use because they may stretch or tear. However, if they remain intact and clean, you can carefully reuse them for another occasion.
Final Thoughts
I can’t recommend enough giving The Best Candy Apple Bags Recipe a try for your next family treat or festive celebration. It’s more than just a recipe — it’s a joyful experience that brings a classic, hands-on dessert into a fun, shareable form. Your friends and loved ones will be amazed by the glossy colors, satisfying crunch, and sweet burst with every bite. Dive into this timeless tradition, and make some delicious memories!
Print
The Best Candy Apple Bags Recipe
- Prep Time: 10 minutes
- Cook Time: 20 minutes
- Total Time: 30 minutes
- Yield: 6 candy apples
- Category: Dessert
- Method: Stovetop
- Cuisine: American
Description
These Candy Apple Bags provide a fun and delicious way to enjoy crisp, sweet apples coated in a shiny, hard candy shell. Perfect for parties or festive occasions, this easy-to-make treat combines the tartness of Granny Smith, Honeycrisp, or Fuji apples with a homemade or store-bought candy coating. Wrapped individually in clear bags and tied with ribbons, they make charming gifts or party favors.
Ingredients
Apples
- 6 crisp, sweet apples (Granny Smith, Honeycrisp, or Fuji)
Candy Coating
- 2 cups granulated sugar
- 1/2 cup water
- 2/3 cup light corn syrup
- Red food coloring, a few drops
Other
- 6 wooden skewers or popsicle sticks
- 6 candy apple bags for wrapping
- Twist ties, ribbons, or decorative string for securing bags
Instructions
- Prepare the Apples: Wash and dry the apples thoroughly to remove any wax coating. This ensures the candy coating sticks well. Insert wooden skewers firmly into the tops of each apple to create handles for dipping.
- Make the Candy Coating: In a medium saucepan, combine sugar, water, and corn syrup. Stir over medium heat until sugar dissolves, then bring to a boil without stirring. Attach a candy thermometer and cook until the mixture reaches the hard crack stage (300°F). Remove from heat and carefully add a few drops of red food coloring, stirring gently to mix.
- Dip the Apples: Holding an apple by the skewer, dip it into the hot candy mixture. Twist the apple to coat it evenly with the candy shell. Lift and let excess drip off. Place the coated apple on parchment paper to cool and harden. Repeat with remaining apples.
- Wrap the Candy Apples: Once the candy coating is fully set and hardened, slide each apple into a candy apple bag. Secure the top of each bag with a twist tie, ribbon, or decorative string to keep the apples fresh and presentable.
- Decorate: Personalize your candy apple bags by attaching tags or stickers with festive messages or names. This adds a special touch, especially for gift-giving or parties.
Notes
- Make sure apples are completely dry before dipping to help candy coating adhere properly.
- Use a candy thermometer for accurate temperature to achieve the perfect hard crack stage.
- If candy mixture hardens while dipping, reheat gently to return to a dip-ready temperature.
- Work carefully with hot candy to avoid burns.
- Store candy apples at room temperature to maintain crispness; avoid refrigeration which may cause stickiness.

