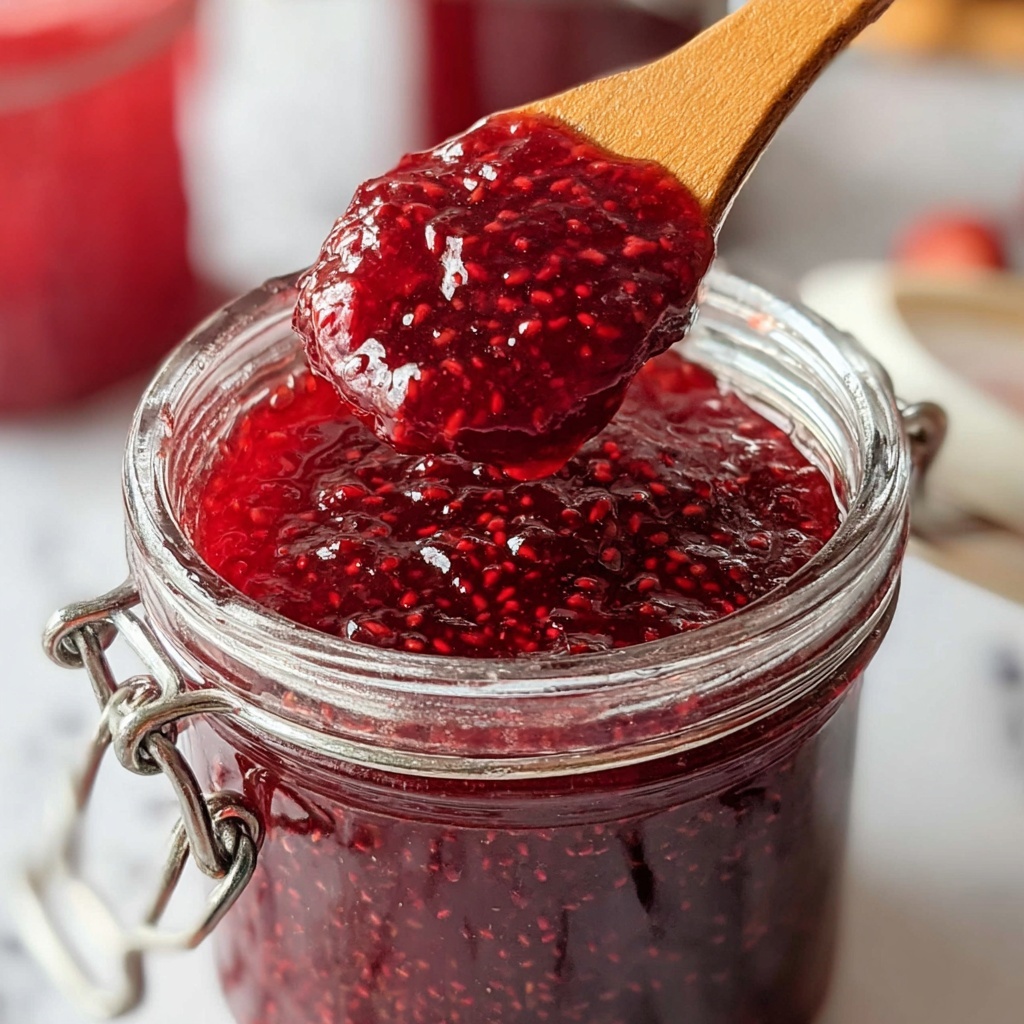
If you’ve ever wished you could capture the vibrant sweetness of fresh strawberries any time of year, this Quick Homemade Strawberry Jam Recipe is going to be your new best friend. It’s a delightful way to transform fresh fruit into a luscious, spreadable jam bursting with bright, natural flavor, perfect for breakfasts, desserts, or even a sweet snack. This recipe is wonderfully simple, coming together in just 20 minutes, making it an ideal project whether you’re a jam-making pro or a first-timer eager to savor that homemade goodness.
Ingredients You’ll Need
We keep it refreshingly straightforward here. Each ingredient plays a crucial role in creating the perfect balance of sweetness, acidity, and texture for your jam that feels truly handmade.
- 2 cups fresh strawberries, hulled and chopped: Using ripe strawberries ensures your jam has natural sweetness and vibrant color.
- 1 cup granulated sugar: This sweetens the jam and helps with the consistency, giving it that classic glossy finish.
- 2 tbsp lemon juice: Essential for balancing the sweetness and helping the jam set beautifully while brightening the flavor.
How to Make Quick Homemade Strawberry Jam Recipe
Step 1: Combine Ingredients
Start by placing your fresh strawberries, sugar, and lemon juice into a medium saucepan. The lemon juice isn’t just a tangy addition—it acts as a natural preservative and elevates the fresh strawberry flavor, so don’t skip it!
Step 2: Cook and Stir
Set your saucepan over medium heat, stirring frequently to prevent sticking. Within about 10 to 15 minutes, you’ll notice the strawberries breaking down into a chunky, bubbling mixture. This is where the magic happens as the sugars caramelize slightly, thickening the jam into that perfect spoonable texture.
Step 3: Check the Consistency
Once the jam has thickened to your liking—think glossy and syrupy with bits of fruit—you can remove the pot from heat. Keep in mind, the jam will continue to thicken as it cools, so don’t worry if it feels a little loose at this stage.
Step 4: Cool and Store
Let your jam cool to room temperature, then transfer it to a clean jar or container. Refrigerate it for at least a couple of hours, and you’ll have a lovely, spreadable jam ready to brighten any dish.
How to Serve Quick Homemade Strawberry Jam Recipe
Garnishes
Garnishing your jam isn’t usually necessary, but if you want to get fancy, a few fresh strawberry slices or a sprinkle of finely chopped mint leaves can give a lovely fresh contrast that makes each bite pop.
Side Dishes
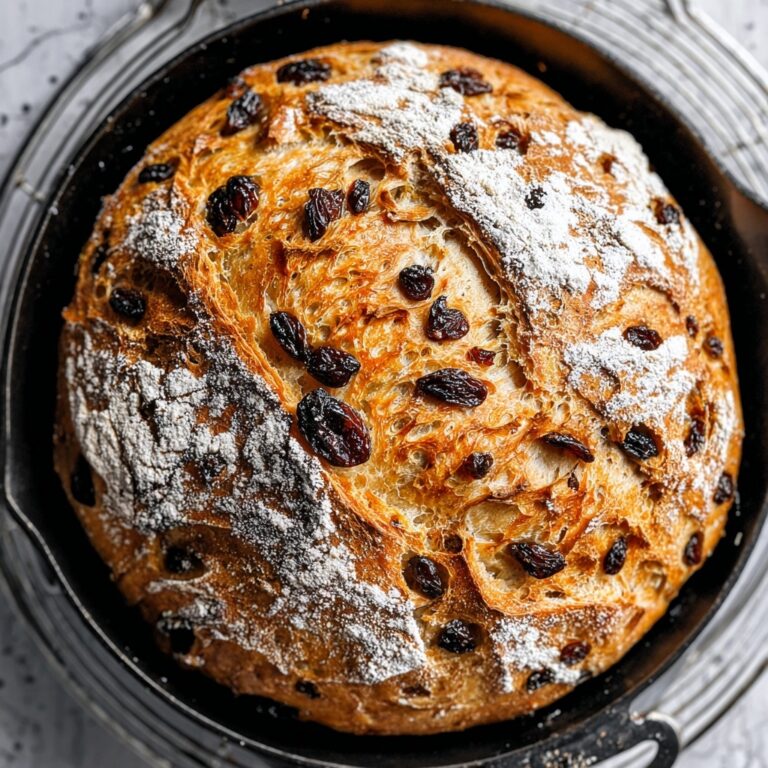
This jam shines brightest spread on warm toast or fresh biscuits, but it’s equally delightful swirled into yogurt, dolloped on pancakes, or paired with creamy ice cream for an easy dessert.
Creative Ways to Present
For a truly impressive presentation, try layering Quick Homemade Strawberry Jam Recipe in parfait glasses with whipped cream and granola, or use it as a glaze over a cheesecake or pound cake. You can even mix it into salad dressings or cocktails for a fruity twist.
Make Ahead and Storage
Storing Leftovers
Because this jam contains no preservatives, it’s best kept refrigerated and consumed within two weeks to enjoy its freshest flavors. Always use a clean spoon when scooping to prevent contamination.
Freezing
If you’ve made a larger batch, freezing is a fantastic option. Pour the jam into freezer-safe containers, leaving a little headspace for expansion. Frozen jam can last up to six months, preserving that fresh strawberry taste for whenever you crave it.
Reheating
When you want to use frozen jam or bring refrigerated jam back to a pourable state, warm it gently in a saucepan over low heat, stirring occasionally. Avoid boiling to keep the fresh flavor intact.
FAQs
Can I use frozen strawberries for this recipe?
Absolutely! Frozen strawberries work well if fresh aren’t available; just thaw and drain any excess juice before cooking to maintain the right jam consistency.
Do I need to sterilize the jars before storing the jam?
Since this recipe is for quick consumption and kept refrigerated, sterilizing jars isn’t essential, but it’s a great habit to prevent spoilage and keep your jam fresh longer.
How do I know when the jam is done?
A simple test is to place a small spoonful on a cold plate and let it sit for a minute. If it wrinkles when pushed with your finger, the jam is set and ready to cool.
Can I reduce the sugar in this jam?
You can try reducing the sugar slightly, but sugar is key for texture and preservation, so drastic reductions might affect the jam’s thickness and shelf life.
What if my jam is too runny after cooling?
No worries—just return it to the stove and cook a little longer, stirring often. You can also add a small amount of pectin or chia seeds to help thicken it naturally.
Final Thoughts
There’s something truly special about spreading homemade strawberry jam on your morning toast and knowing you made it yourself. This Quick Homemade Strawberry Jam Recipe is simple, quick, and guaranteed to bring a burst of sunshine to your kitchen. I can’t wait for you to try it and fall in love with homemade jam all over again.
Print
Quick Homemade Strawberry Jam Recipe
- Prep Time: 5 minutes
- Cook Time: 15 minutes
- Total Time: 20 minutes
- Yield: 1 cup
- Category: Sauce/Spread
- Method: Stovetop
- Cuisine: American
Description
This quick homemade strawberry jam recipe is perfect for a fresh, flavorful spread made in just 20 minutes. Using fresh strawberries, sugar, and lemon juice, it cooks down into a luscious and thick jam that can be refrigerated and enjoyed on toast, desserts, or as a topping.
Ingredients
Ingredients
- 2 cups fresh strawberries, hulled and chopped
- 1 cup granulated sugar
- 2 tbsp lemon juice
Instructions
- Combine Ingredients: In a medium saucepan, combine the hulled and chopped strawberries, granulated sugar, and lemon juice, mixing them well to begin the jam-making process.
- Cook the Mixture: Place the saucepan over medium heat and cook the mixture, stirring frequently to prevent burning, for 10-15 minutes until the strawberries break down and the jam thickens to your desired consistency.
- Remove and Cool: Once the jam has thickened, remove the saucepan from heat and allow the jam to cool to room temperature. This helps it set further.
- Store the Jam: Transfer the cooled jam into a clean jar and refrigerate it. The jam will continue to thicken as it chills, making it perfect for spreading.
Notes
- Use fresh, ripe strawberries for the best flavor and natural sweetness.
- Stir frequently while cooking to avoid sticking or scorching the jam.
- For a chunkier texture, mash some strawberries with a fork instead of fully breaking them down.
- This jam should be stored in the refrigerator and consumed within 2-3 weeks.


