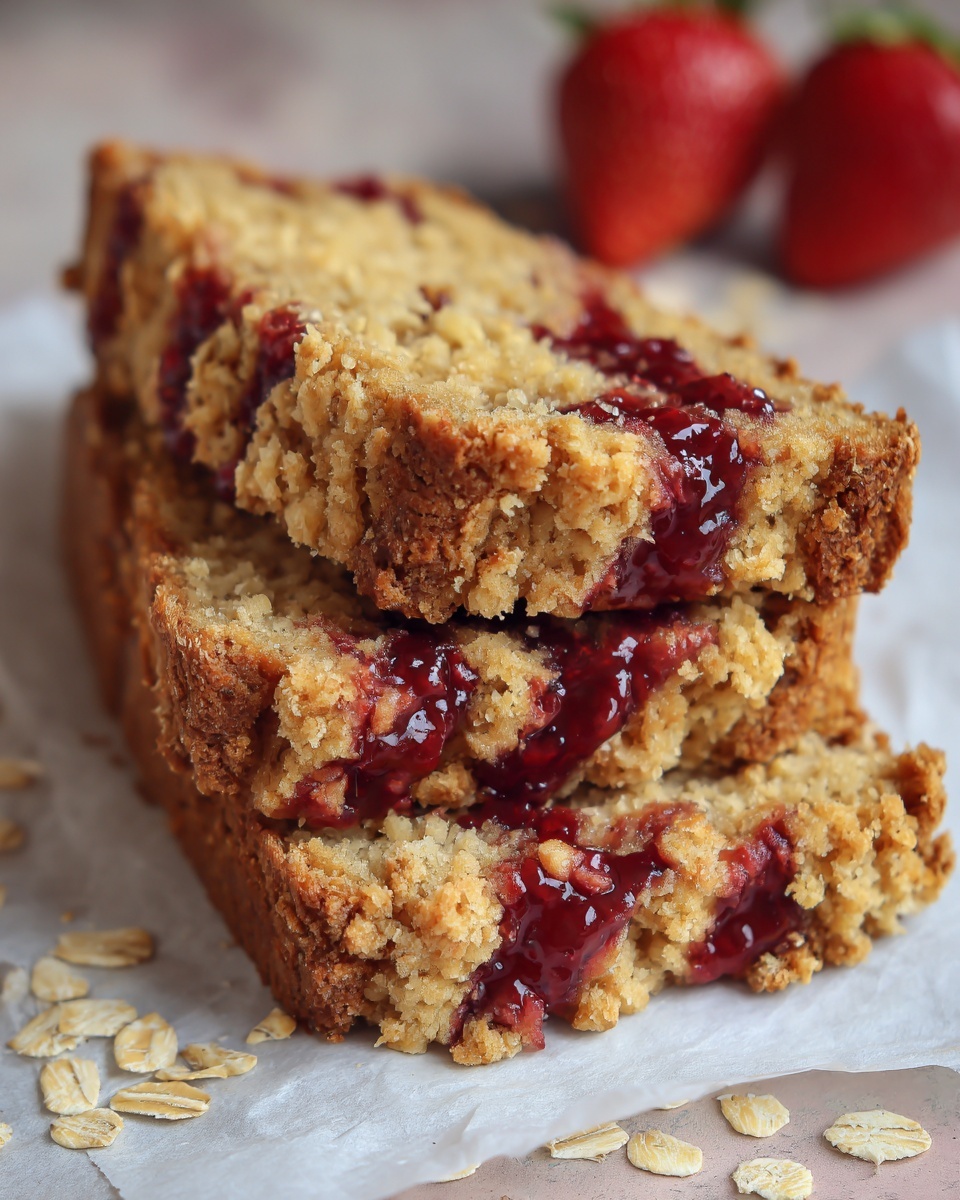
If you are looking for a nostalgic treat that brings together the perfect harmony of sweet and savory, the Peanut Butter Jelly Bread Recipe is your go-to comfort food with a delightful twist. This simple yet timeless classic embraces creamy peanut butter and fruity jelly nestled between soft bread slices, creating a snack or light meal that warms the heart and satisfies cravings in just minutes. Whether you enjoy it as a quick breakfast, an afternoon pick-me-up, or a cozy evening indulgence, this recipe takes the beloved PB&J to a whole new level of deliciousness.
Ingredients You’ll Need
As basic as they are essential, the ingredients in this Peanut Butter Jelly Bread Recipe each play an important role in delivering the perfect balance of flavor, texture, and satisfaction. You’ll find that simplicity is the true secret that elevates this favorite into something extraordinary.
- Bread (2 slices): Choose white, whole grain, or sourdough for your preferred texture and flavor base.
- Peanut butter (2 tablespoons): Creamy or crunchy, it adds richness and a satisfying nuttiness.
- Jelly or jam (2 tablespoons): Pick your favorite fruit flavor to bring sweetness and a juicy contrast.
- Butter (1 tablespoon, optional): For grilling, it imparts a golden crust and extra indulgence.
How to Make Peanut Butter Jelly Bread Recipe
Step 1: Prepare Your Ingredients
Start by gathering all your ingredients on the countertop to streamline the process. Having everything within reach keeps things smooth and stress-free.
Step 2: Spread the Peanut Butter
Take one slice of bread and evenly spread your creamy or crunchy peanut butter all the way to the edges. This layer is the hearty base that ensures every bite is rich and nutty.
Step 3: Spread the Jelly or Jam
On the other slice of bread, spread the jelly or jam just as evenly. This sweet component beautifully balances the savory peanut butter with its burst of fruity flavor.
Step 4: Assemble the Sandwich
Press the two slices together with the peanut butter and jelly facing each other to form a neat sandwich. This simple assembly is key to locking in all those luscious flavors.
Step 5: Optional Grilling for Extra Deliciousness
If you want to add a warm, crispy element, heat a skillet over medium heat and melt the butter. Place the sandwich in the skillet and grill for about 2 to 3 minutes on each side until golden brown. This step turns your basic sandwich into a warm, melty delight.
How to Serve Peanut Butter Jelly Bread Recipe
Garnishes
A drizzle of honey or a light sprinkle of sea salt over the grilled sandwich can elevate the flavor contrast perfectly. For a playful touch, add a few fresh berries or sliced bananas on the side to brighten your plate and add freshness.
Side Dishes
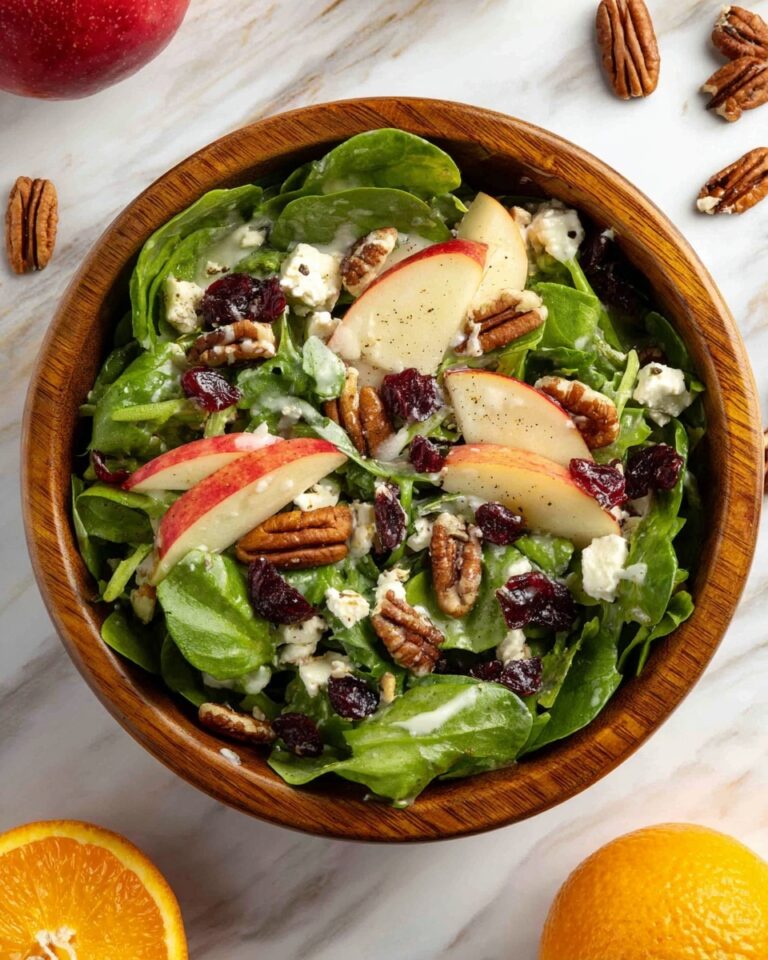
Pairing this sandwich with crunchy carrot sticks or a crisp apple adds a refreshing texture that nicely complements the creamy, sweet sandwich. A small bowl of yogurt or a handful of nuts can also round out this cozy snack into a well-balanced mini-meal.
Creative Ways to Present
Slice your peanut butter jelly bread sandwich diagonally to show off the tempting filling and create a more inviting presentation. For parties or kid-friendly lunches, cut the sandwich into fun shapes using cookie cutters—stars, hearts, or circles make any bite seem like a celebration.
Make Ahead and Storage
Storing Leftovers
If you have any leftover Peanut Butter Jelly Bread Recipe sandwiches, wrap them tightly in plastic wrap or place in an airtight container to keep them fresh for up to a day at room temperature. This ensures your sandwich stays soft and tasty without drying out.
Freezing
You can freeze ungrilled PB&J sandwiches by wrapping them well in foil or freezer-safe bags. When stored properly, they keep for up to a month. Just thaw at room temperature before enjoying or grilling.
Reheating
For the best texture, reheat your grilled sandwich on a skillet over medium heat until warmed through and crispy again. Avoid the microwave if you want to maintain that satisfying crunch and melty peanut butter goodness.
FAQs
Can I use different types of bread in the Peanut Butter Jelly Bread Recipe?
Absolutely! White, whole grain, sourdough, or even gluten-free bread all work wonderfully. Each will bring a slightly different texture and flavor, so feel free to pick your favorite.
Is it better to use creamy or crunchy peanut butter?
Both creamy and crunchy peanut butter have their own charm. Creamy spreads easily and creates a smoother bite, while crunchy adds delightful nutty bits for texture. It really depends on your personal preference.
Can I substitute the jelly with fresh fruit?
Definitely! Sliced strawberries, bananas, or mashed berries can be fantastic alternatives and offer a fresher, less sweet option that pairs perfectly with peanut butter.
What is the benefit of grilling the Peanut Butter Jelly Bread Recipe?
Grilling adds a warm, toasty crunch to the bread and slightly melts the peanut butter, creating a gooey, indulgent texture that’s absolutely irresistible.
How can I make this recipe vegan?
Simply choose a plant-based bread and ensure your peanut butter and jelly are free from animal products. Use vegan butter or skip the butter altogether when grilling to keep it fully vegan-friendly.
Final Thoughts
There is something truly special about the comforting familiarity of a peanut butter and jelly sandwich enhanced by this Peanut Butter Jelly Bread Recipe’s simple yet delicious steps. Whether you stick to the classic cold version or take it up a notch by grilling it golden, you’re guaranteed a taste experience that feels like a warm hug on a plate. I hope you’ll give this easy and inviting recipe a try soon—it just might become your new favorite way to enjoy a beloved classic!
Print
Peanut Butter Jelly Bread Recipe
- Prep Time: 5 minutes
- Cook Time: 5 minutes
- Total Time: 10 minutes
- Yield: 1 serving
- Category: Snack
- Method: Frying
- Cuisine: American
Description
A simple and classic Peanut Butter Jelly Bread recipe perfect for a quick and satisfying snack or light meal. This easy-to-make sandwich combines creamy or crunchy peanut butter with your favorite jelly or jam between two slices of bread, with an optional buttery grilled touch for added warmth and crispiness.
Ingredients
Sandwich Ingredients
- 2 slices of bread (white, whole grain, or sourdough)
- 2 tablespoons creamy or crunchy peanut butter
- 2 tablespoons jelly or jam (flavor of your choice)
- 1 tablespoon butter (optional, for grilling)
Instructions
- Prepare Ingredients: Gather all ingredients on the counter for easy access to ensure a smooth preparation process.
- Spread Peanut Butter: Evenly spread 2 tablespoons of peanut butter on one slice of bread, covering the entire surface to the edges.
- Spread Jelly or Jam: On the other slice of bread, spread 2 tablespoons of jelly or jam evenly, choosing any flavor you prefer.
- Assemble Sandwich: Press the two prepared slices together carefully, peanut butter side facing the jelly side, forming a sandwich.
- Optional Grilling: Heat a skillet over medium heat and melt 1 tablespoon of butter. Place the sandwich in the skillet and grill for about 2-3 minutes on each side, or until the bread is golden brown and the filling is slightly warmed.
Notes
- You can customize the jelly or jam flavor to suit your taste preferences, such as strawberry, grape, or raspberry.
- Using whole grain or sourdough bread adds a nutty flavor and more fiber compared to white bread.
- Grilling the sandwich with butter adds a delicious crispiness and warmth but can be skipped for a classic cold sandwich.
- For a vegan version, use plant-based butter or skip butter during grilling.
- This recipe serves one but can be easily doubled or tripled to serve more people.


