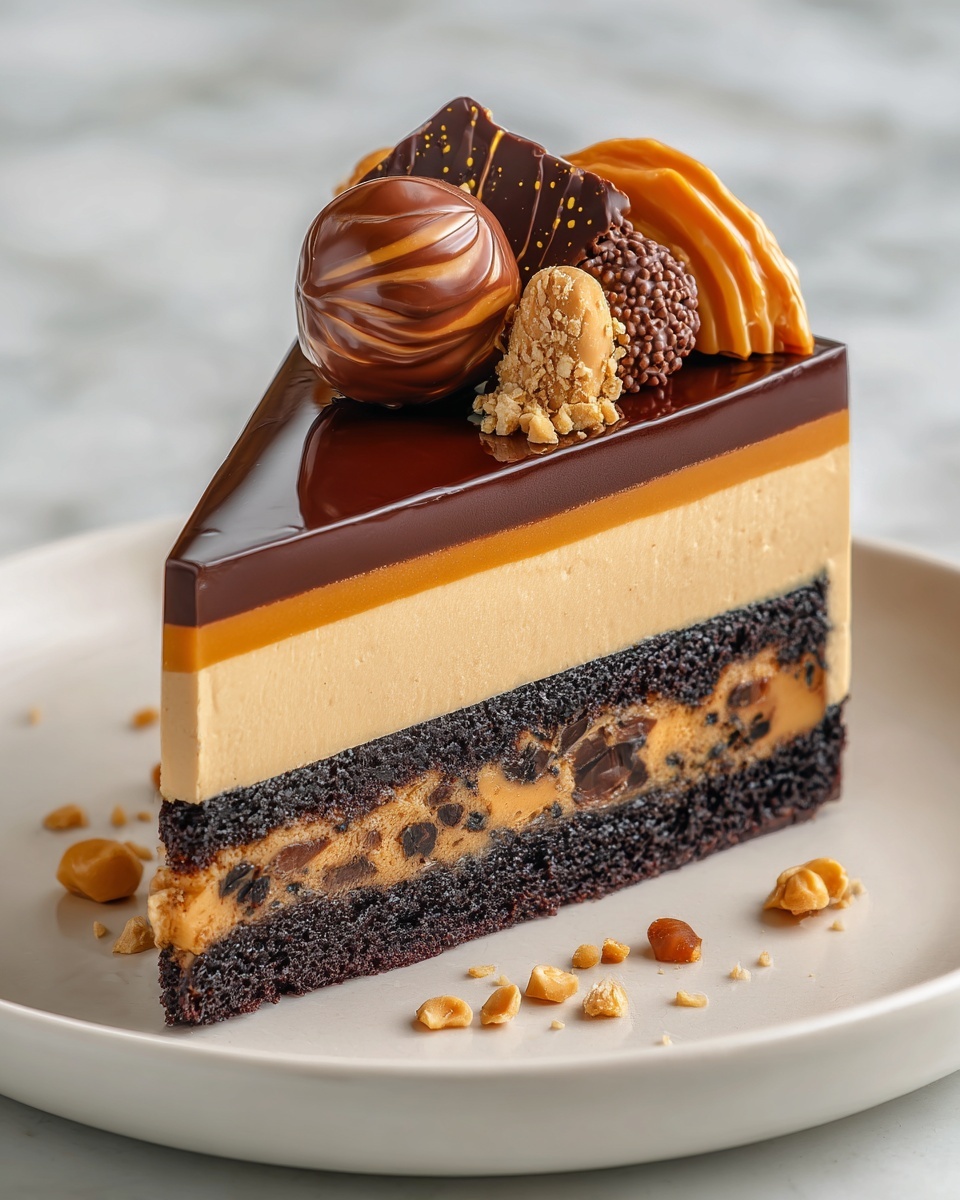
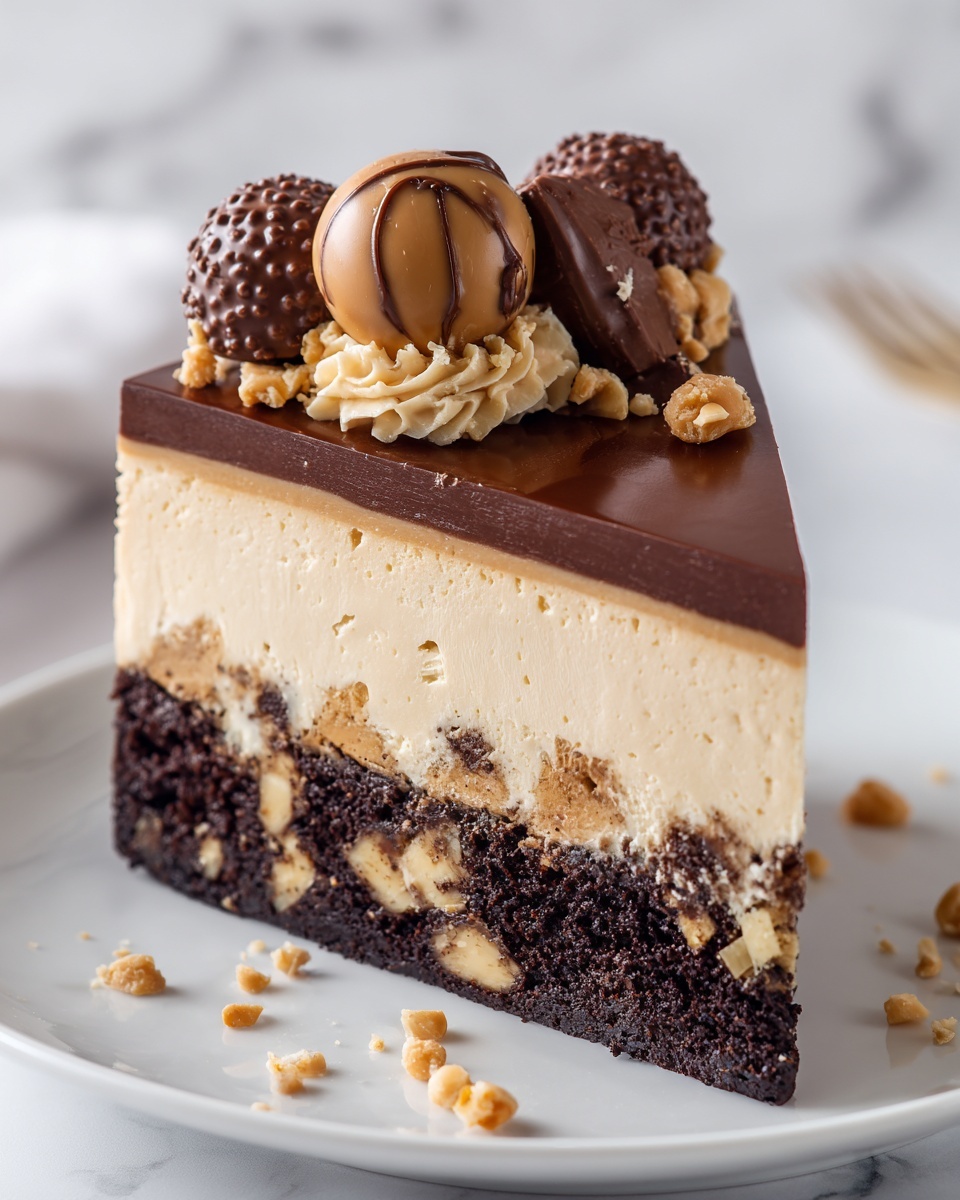
If you’re craving a dessert that feels like a warm hug, the Peanut Butter Cup Dump Cake Recipe is exactly what you need. This delightful treat blends the rich, chocolatey goodness of cake mix with the irresistible creaminess of peanut butter cups and chips, all topped off with buttery sweetness and sweetened condensed milk. The result is a luscious dessert that’s gooey, satisfying, and incredibly easy to whip up—no fancy mixing bowls or complicated steps required. Whether you’re hosting a casual get-together or treating yourself after a long day, this dump cake brings a perfect balance of flavors and textures that everyone will adore.

Ingredients You’ll Need
Gathering your ingredients is simple, and each one plays a crucial role in creating the perfect Peanut Butter Cup Dump Cake Recipe. From the cake mix that forms the moist base to the peanut butter elements that deliver joyful bursts of flavor, these essentials come together to create pure magic in every bite.
- Chocolate cake mix: This provides a rich and chocolaty foundation that bakes into a soft, crumbly layer.
- Mini peanut butter cups, chopped: Scattered throughout for gooey pockets of peanut butter and chocolate, these elevate every forkful.
- Peanut butter chips: Adding texture and extra peanut buttery sweetness that melts lightly as the cake bakes.
- Sweetened condensed milk: Drizzled on top for a luscious, creamy layer that melds all the dry ingredients beautifully.
- Butter, melted: Helps to bind the cake mix and create a golden, slightly crispy crust with buttery notes.
- Optional vanilla ice cream or whipped cream: Perfect for serving, adding a cool, smooth contrast to the warm dessert.
How to Make Peanut Butter Cup Dump Cake Recipe
Step 1: Preheat and Prep Your Baking Dish
Start by preheating your oven to 350°F (175°C). While it warms up, grease a 9×13-inch baking dish thoroughly. This simple prep step ensures your dump cake will release easily from the pan and develop a crisp, buttery edge that’s absolute perfection.
Step 2: Layer the Peanut Butter Cups and Cake Mix
Scatter your chopped mini peanut butter cups evenly across the bottom of the baking dish. This layer forms the first indulgent bite in every slice. Next, sprinkle the dry chocolate cake mix evenly on top, creating a crumbly, chocolatey blanket that will soak up the sweetened condensed milk and butter as it bakes.
Step 3: Add Peanut Butter Chips
Now, sprinkle the peanut butter chips evenly over the cake mix layer. These little guys add pockets of creamy, melting peanut butter flavor that accentuate the mini cups wonderfully. It’s these small details that make this Peanut Butter Cup Dump Cake Recipe so irresistible.
Step 4: Drizzle Sweetened Condensed Milk and Melted Butter
Pour the sweetened condensed milk evenly over the layered dry ingredients, then drizzle melted butter on top. This combination infuses moisture and sweetness while helping to form that golden crust every dump cake dreams of. Be sure to distribute both liquids as evenly as possible for consistent gooeyness and texture.
Step 5: Bake Until Gooey and Golden
Place your dish in the oven and bake for 35-40 minutes. You’re looking for a top that is set and lightly golden, with the center maintaining a delightfully gooey quality. This balance is key — melting edges paired with a soft, chewy middle make each slice a little moment of joy.
Step 6: Cool Slightly and Serve Warm
After baking, let your dump cake cool just enough so it’s safe to dig into but still warm. Serving warm enhances the melty textures and brings all the flavors alive. Don’t forget to add a scoop of vanilla ice cream or a dollop of whipped cream for an extra special touch.
How to Serve Peanut Butter Cup Dump Cake Recipe
Garnishes
While the cake is quite the star on its own, a sprinkle of crushed peanuts or a light dusting of powdered sugar can add contrasting texture and a polished look. For a more decadent touch, drizzle a bit of chocolate or caramel sauce on top before serving.
Side Dishes
This richly indulgent dessert pairs beautifully with fresh berries or a bowl of light fruit salad. The acidity cuts through the sweetness, balancing each bite and refreshing your palate. A hot cup of coffee or tea also complements the cake wonderfully, making for a cozy after-dinner experience.
Creative Ways to Present
If you want to wow guests, serve your Peanut Butter Cup Dump Cake Recipe in individual ramekins or clear glass cups layered with alternating scoops of ice cream and cake. You can also transform it into parfaits by layering cake, whipped cream, and chopped peanut butter cups for a fun, interactive dessert presentation.
Make Ahead and Storage
Storing Leftovers
Once cooled, cover your leftover dump cake tightly with plastic wrap or store in an airtight container. It will keep well in the refrigerator for up to 4 days, making it perfect for enjoying throughout the week without losing any of its indulgent flavor or texture.
Freezing
If you want to save it for later, this dump cake freezes beautifully. Portion it into individual servings or leave it whole in an airtight container. Freeze for up to 2 months. When you’re ready, thaw overnight in the fridge for the best texture.
Reheating
Reheat your dump cake slices in the microwave or in a warm oven until just heated through. Serving it warm brings back that irresistible gooeyness and meltiness. Adding a little extra vanilla ice cream on the side makes every bite even more indulgent.
FAQs
Can I use a different cake mix for the Peanut Butter Cup Dump Cake Recipe?
Absolutely! While chocolate pairs perfectly with peanut butter, feel free to experiment with yellow or even red velvet cake mixes for a unique twist. Each variation brings its own charm and flavor profile.
Do I need to use mini peanut butter cups, or can I use regular-sized ones?
Mini peanut butter cups are preferred because they distribute more evenly throughout the cake, creating little bursts of peanut butter in every bite. However, you can chop regular-sized cups into smaller pieces if that’s what you have on hand.
Is this dessert gluten-free?
Traditional cake mixes contain gluten, so this recipe is not gluten-free as written. However, you can use a gluten-free chocolate cake mix to make it suitable for gluten-sensitive friends and family.
Can I make this recipe dairy-free?
You can modify the recipe by using dairy-free chocolate cake mix, dairy-free butter substitutes, and a non-dairy condensed milk alternative. The flavor will remain rich and delicious with these swaps.
How gooey should the center be after baking?
The center should be delightfully gooey, offering a contrast to the slightly crisp edges. It’s what makes the Peanut Butter Cup Dump Cake Recipe such a comforting treat, so don’t worry if it looks a bit undercooked in the middle—it’s exactly right.
Final Thoughts
There’s nothing quite like the ease and heavenly taste of the Peanut Butter Cup Dump Cake Recipe to brighten up any day. Simple ingredients, a few straightforward steps, and the reward of a warm, comforting, and decadent dessert make it a definite keeper in your recipe collection. Trust me, once you try this one, you’ll find yourself making it again and again!
Print
Peanut Butter Cup Dump Cake Recipe
- Prep Time: 10 minutes
- Cook Time: 35 minutes
- Total Time: 45 minutes
- Yield: 12 servings
- Category: Dessert
- Method: Baking
- Cuisine: American
Description
A decadent and easy-to-make Peanut Butter Cup Dump Cake featuring layers of peanut butter cups, chocolate cake mix, peanut butter chips, sweetened condensed milk, and butter, baked to gooey perfection. This dessert is perfect for chocolate and peanut butter lovers seeking a quick but indulgent treat, and is best enjoyed warm with a scoop of vanilla ice cream or whipped cream.
Ingredients
Main Ingredients
- 1 box chocolate cake mix (about 15.25 oz)
- 1 cup mini peanut butter cups, chopped
- 1/2 cup peanut butter chips
- 1 can (14 oz) sweetened condensed milk
- 1/2 cup butter, melted
- Optional: Vanilla ice cream or whipped cream for serving
Instructions
- Preheat and Prep: Preheat your oven to 350°F (175°C). Grease a 9×13-inch baking dish to prevent sticking and ensure easy cleanup.
- Layer the Ingredients: Spread the chopped mini peanut butter cups evenly across the bottom of the prepared baking dish. Next, sprinkle the dry chocolate cake mix evenly over the peanut butter cups, ensuring an even layer. Then scatter the peanut butter chips across the top of the cake mix for bursts of peanut butter flavor.
- Add the Liquids: Drizzle the entire can of sweetened condensed milk evenly over the dry ingredients, making sure to cover all areas for consistent gooeyness. Pour the melted butter evenly on top, which helps moisten the cake and creates that signature dump cake texture.
- Bake: Place the baking dish in the preheated oven and bake for 35-40 minutes, or until the top is set and lightly golden. The center should remain slightly gooey and rich, indicating that the layers have melded together perfectly.
- Cool and Serve: Allow the cake to cool for about 10-15 minutes to let it set slightly, making it easier to cut and serve. For an extra indulgent treat, serve warm with a scoop of vanilla ice cream or a dollop of whipped cream.
Notes
- You can substitute mini peanut butter cups with chopped regular-sized peanut butter cups if mini versions are unavailable.
- Use a high-quality chocolate cake mix for the best flavor.
- For a nuttier texture, add chopped roasted peanuts on top before baking.
- Store leftovers covered in the refrigerator for up to 4 days; reheat before serving.
- This dessert is very rich, so smaller portions are recommended.

