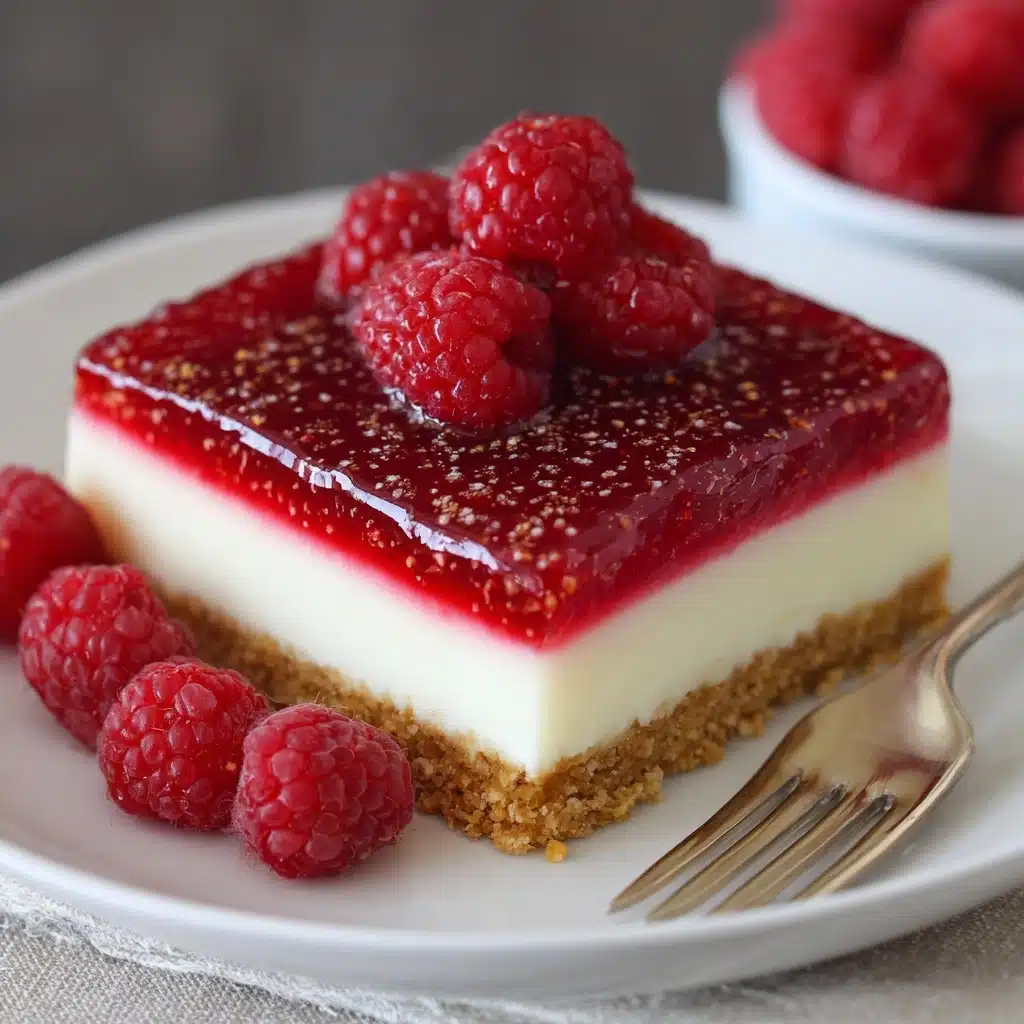
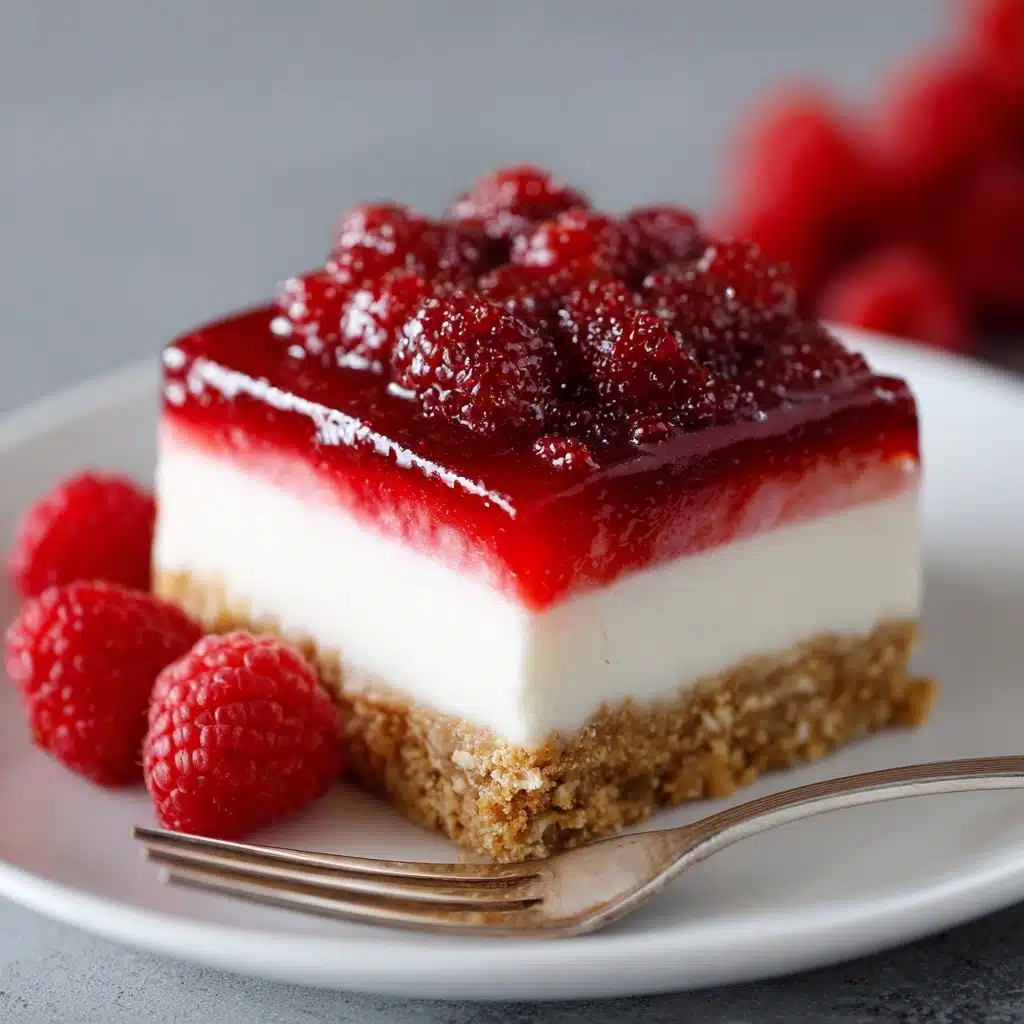
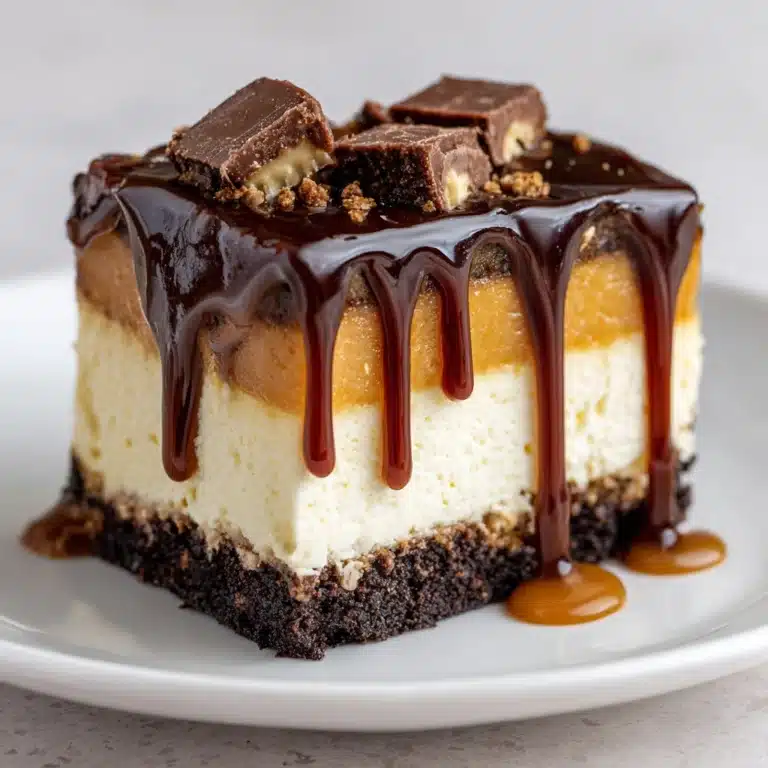
No-Bake Raspberry Cheesecake Bars Recipe
No-Bake Raspberry Cheesecake Bars are pure dessert joy — the kind you’ll want to share at every gathering yet secretly hope there are leftovers for you! With a buttery graham cracker base, dreamy whipped cheesecake center, and luscious bursts of fresh raspberries, each bite is a celebration of creamy, fruity perfection. And the best part? You don’t even need to turn on your oven. Whether it’s summer or you’re just looking for a fuss-free make-ahead treat, these bars promise to deliver big, bold flavors with minimal effort.
Ingredients You’ll Need
The beauty of No-Bake Raspberry Cheesecake Bars lies in their simplicity. Each ingredient is selected for a reason, whether it’s adding structure, silkiness, or a pop of vibrant flavor. Let’s look at what you’ll need and how each one works its delicious magic.
- Graham cracker crumbs: These form a sweet, crunchy base that perfectly supports the creamy layers above.
- Granulated sugar: Adds just the right touch of sweetness to the crust, balancing the tangy filling.
- Unsalted butter, melted: Binds the crumbs together and gives the crust that rich, slightly toasty flavor.
- Cream cheese, softened: The heart of your bars—make sure it’s room temp for the smoothest, creamiest texture.
- Powdered sugar: Dissolves easily into the filling so your cheesecake stays velvety without any graininess.
- Vanilla extract: This fragrant staple rounds out the flavors of the creamy filling.
- Lemon juice: Just a tablespoon brightens the whole dessert and accentuates the fruity raspberries.
- Heavy whipping cream: Whipped to soft clouds, it gives the cheesecake a mousse-like lightness.
- Fresh raspberries: These juicy jewels add bursts of tart, sweet flavor and glorious color.
- Extra raspberries for garnish (optional): For a pretty, fresh finishing touch that makes these bars irresistible.
How to Make No-Bake Raspberry Cheesecake Bars
Step 1: Build the Crust
Start things off by mixing your graham cracker crumbs, granulated sugar, and melted butter in a medium bowl. Give it a good stir until the mixture comes together and resembles damp sand, which means the butter is thoroughly binding the crumbs. Pour this into your parchment-lined 8×8 pan and really press it down—using the bottom of a cup for a flat surface works beautifully! Once you’ve got a nicely packed, even layer, pop the crust into the fridge to set up and get firm while you work on your filling.
Step 2: Whip Up the Cheesecake Filling
It’s time to get creamy! Beat together the softened cream cheese, powdered sugar, vanilla extract, and lemon juice until totally smooth and luscious. No lumps allowed here—patience pays off to keep your bars extra silky. Since you’re not baking, the filling needs to be light and dreamy, and beating it well at this stage is key.
Step 3: Whip the Cream
In a separate, super clean bowl, whip your heavy whipping cream until it forms firm peaks. You’re looking for that classic whipped cream texture—stiff enough to hold shape but still fluffy. This step is what sets No-Bake Raspberry Cheesecake Bars apart with their airy, melt-in-your-mouth bite.
Step 4: Fold and Assemble the Filling
Next, gently fold the whipped cream into your cream cheese mixture. Go slowly and use big, swooping motions—this keeps your filling light and prevents deflating all that lovely cream you just whipped. When it’s mostly combined, add in your fresh raspberries, and fold delicately to distribute without crushing them. The berries might streak the mixture a little, but the swirls look gorgeous!
Step 5: Spread and Chill
Transfer the creamy, raspberry-flecked filling over your chilled crust. Use a spatula to smooth it into an even layer, then cover the pan and refrigerate for at least 4 hours (overnight is even better). This long chill is what firms everything up into sliceable, picture-perfect bars.
Step 6: Garnish and Slice
Right before serving, add extra fresh raspberries on top if you like—that pop of red really makes these bars scream “summer!” Carefully lift the whole bar block out with the parchment, then slice into neat squares. Wipe your knife between cuts for truly crisp, clean edges.
How to Serve No-Bake Raspberry Cheesecake Bars
Garnishes
Once your No-Bake Raspberry Cheesecake Bars are chilled and ready, the fun really begins. Scatter a handful of fresh raspberries on top just before serving for extra juiciness and a gorgeous burst of color. For special occasions, try a dusting of powdered sugar, a few mint leaves, or even a drizzle of raspberry sauce to elevate the presentation in seconds. Fresh lemon zest also adds a bright, aromatic touch that makes each bite even more tantalizing.
Side Dishes
Since these cheesecake bars are so rich and creamy, you’ll want side dishes that keep things light and fresh. Pair them with a platter of sliced fresh fruit—think strawberries or kiwi for a luscious contrast. A crisp cup of hot coffee, cold-brew, or even a glass of chilled Moscato makes for a stunning afternoon treat. If you’re going dessert-only at your event, offer bowls of mixed berries so guests can add extra fruit to each serving.
Creative Ways to Present
No-Bake Raspberry Cheesecake Bars are the ultimate versatile treat, perfect for casual picnics or elegant dinner parties. Try cutting them into smaller, bite-sized squares for a gorgeous dessert buffet spread. Stack the bars pyramid-style on a cake stand, or serve each one on pretty individual plates with a swirl of berry coulis. For summer gatherings, pop a wooden stick in each square and serve them as chilled cheesecake “pops” for a fun, portable twist!
Make Ahead and Storage
Storing Leftovers
To keep your No-Bake Raspberry Cheesecake Bars tasting fresh, cover the pan tightly with plastic wrap or transfer the bars to an airtight container. Store in the refrigerator, where they’ll stay delicious for up to 5 days. Be sure not to pile too many bars on top of each other—these beauties are best handled gently to keep their shape perfect.
Freezing
Yes, you can absolutely freeze these bars for longer storage. Once firmly chilled and sliced, wrap each bar individually in parchment paper and store them in a sealed freezer bag. This helps prevent freezer burn and makes it easy to grab one or two as needed. When you’re ready to enjoy, just thaw in the refrigerator overnight for best flavor and texture.
Reheating
No-Bake Raspberry Cheesecake Bars are made to be enjoyed cold or slightly chilled, so there’s no traditional reheating needed. If you’ve stored them in the freezer, let them defrost in the fridge (rather than microwaving), which keeps the filling creamy and the crust crisp. Serve straight from the fridge for that perfect, refreshing bite.
FAQs
Can I substitute the raspberries with another fruit?
Absolutely! These bars are super flexible—swap in blueberries, sliced strawberries, or even blackberries if you like. Just be sure to use fresh berries for the best results, as frozen ones might add too much moisture and affect the texture of your filling.
How do I make sure the crust stays together?
Packing the graham cracker mixture really firmly is the trick. Use the base of a measuring cup or glass to press down evenly. Chilling the crust before adding the filling helps it set and hold its shape when cut into bars.
Can I make No-Bake Raspberry Cheesecake Bars gluten-free?
Yes, you sure can! Simply swap the regular graham cracker crumbs for a gluten-free version. All the other elements of the recipe are naturally gluten-free, so it’s an easy adjustment.
Why does my cheesecake filling look lumpy?
If your filling isn’t completely smooth, it’s likely the cream cheese wasn’t soft enough before mixing. Always let it come to room temperature and use a hand mixer to blend out those lumps before folding in the whipped cream and berries.
How do I get clean, even slices?
For the neatest bars, make sure the cheesecake is fully chilled and firm—you’ll have much less mess. Use a large, sharp knife and wipe it clean after each cut. If you want picture-perfect results, dip the knife in hot water and dry it between slices for super smooth edges.
Final Thoughts
There’s something truly special about sharing homemade treats with people you love, and these No-Bake Raspberry Cheesecake Bars always bring a smile. They’re fuss-free, gorgeously layered, and bursting with flavor and color. If you’re craving a little taste of summer or just want to wow your next crowd, give them a try—you’ll be hooked from the first bite!
Print
No-Bake Raspberry Cheesecake Bars Recipe
- Total Time: 4 hours 20 minutes
- Yield: 9 bars 1x
- Diet: Non-Vegetarian
Description
Indulge in the creamy, fruity goodness of these No-Bake Raspberry Cheesecake Bars. A luscious dessert that requires no oven time, making it perfect for any occasion.
Ingredients
Graham Cracker Crust:
- 1 1/2 cups graham cracker crumbs
- 1/4 cup granulated sugar
- 1/2 cup unsalted butter, melted
Cheesecake Filling:
- 16 ounces cream cheese, softened
- 1/2 cup powdered sugar
- 1 teaspoon vanilla extract
- 1 tablespoon lemon juice
- 1 1/2 cups heavy whipping cream
- 1 1/2 cups fresh raspberries
- Extra raspberries for garnish (optional)
Instructions
- Graham Cracker Crust: In a medium bowl, mix graham cracker crumbs, sugar, and melted butter. Press into a parchment-lined 8×8-inch pan and chill.
- Cheesecake Filling: Beat cream cheese, powdered sugar, vanilla, and lemon juice until smooth. Whip cream until stiff peaks form, then fold into cream cheese mixture. Gently fold in raspberries. Spread over crust and refrigerate for at least 4 hours.
- Garnish: Top with extra raspberries before serving, if desired.
Notes
- Use full-fat cream cheese for best results.
- Ensure cream cheese is fully softened before mixing.
- Raspberries can be substituted with blueberries or strawberries.
- Prep Time: 20 minutes
- Cook Time: 0 minutes
- Category: Dessert
- Method: No-Bake
- Cuisine: American
Nutrition
- Serving Size: 1 bar
- Calories: 380
- Sugar: 20g
- Sodium: 200mg
- Fat: 28g
- Saturated Fat: 17g
- Unsaturated Fat: 10g
- Trans Fat: 0g
- Carbohydrates: 28g
- Fiber: 2g
- Protein: 4g
- Cholesterol: 70mg


