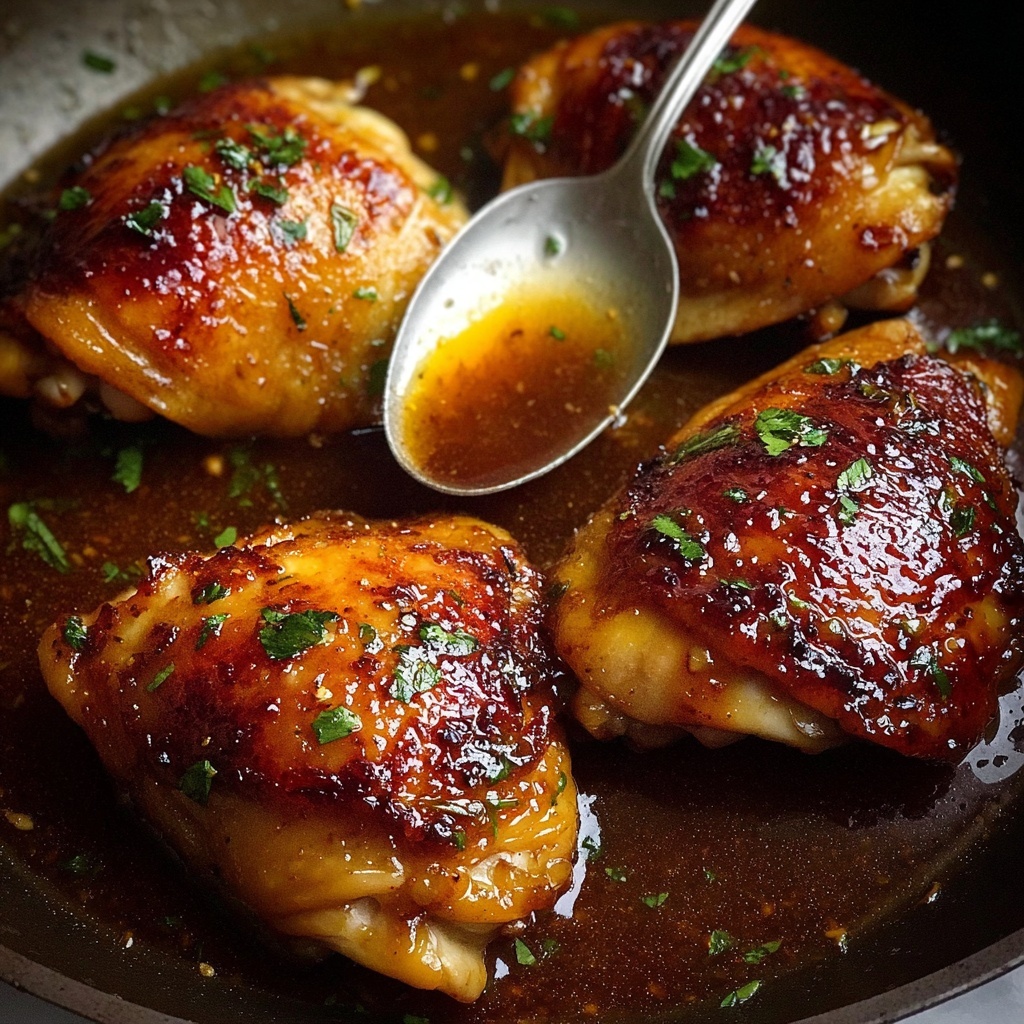
If you’re looking for a dish that combines sweet, savory, and garlicky flavors with juicy chicken breast cooked to perfection, then this Honey Garlic Chicken Breast Recipe is your new best friend in the kitchen. It’s a quick and easy meal that delivers big on taste, balancing the rich garlic with a bright splash of apple cider vinegar and the natural sweetness of honey. Each bite is tender and bursting with glaze-coated goodness, making it perfect for busy weeknights or whenever you need a comforting dish that feels both special and simple to prepare.
Ingredients You’ll Need
The beauty of this Honey Garlic Chicken Breast Recipe lies in its straightforward ingredients that come together beautifully to create a dish with flavorful flair. Each component plays a vital role, whether adding texture, enhancing aroma, or creating that irresistible sauce that clings lovingly to the chicken.
- Chicken breast (500g / 1 lb, boneless and skinless): The centerpiece of this dish, chicken breast offers lean protein that soaks up the honey garlic sauce wonderfully.
- Salt and pepper, to taste: Essential seasonings that bring out the natural flavors of the chicken and the sauce.
- Flour (1/4 cup): Used for a light coating that helps achieve a golden crust and thickens the sauce slightly.
- Unsalted butter (3 1/2 tbsp, divided): Adds richness and helps sauté the garlic perfectly, enhancing the overall flavor.
- Garlic cloves (2, minced): Fresh garlic infuses the sauce with its unmistakable sweet and pungent aroma.
- Apple cider vinegar (1 1/2 tbsp): Brings a subtle tang that balances the sweetness of the honey, brightening the dish.
- Soy sauce (1 tbsp): Adds depth and a savory umami kick, rounding out the flavors beautifully.
- Honey (1/3 cup): The hero ingredient that sweetens and glazes the chicken, giving it that signature sticky, glossy finish.
How to Make Honey Garlic Chicken Breast Recipe
Step 1: Prepare the Chicken
Start by slicing your boneless, skinless chicken breasts in half horizontally to create four thinner pieces. This step helps the chicken cook quickly and evenly while soaking up more of the sauce’s delicious flavors. Season each piece generously with salt and pepper, because simple seasoning is the foundation of a tasty dish.
Step 2: Coat with Flour
Place your flour in a shallow dish and dredge each chicken piece, coating both sides evenly. This not only helps create a light crispy layer that locks in moisture during cooking but also gives the sauce something to cling to, enhancing every bite. Don’t forget to shake off any excess flour to avoid gummy spots.
Step 3: Heat the Skillet and Cook Chicken
Warm most of the butter over high heat in a large skillet until it’s hot and shimmering. Add the chicken pieces and cook them 2 to 3 minutes on one side until beautifully golden brown. Flip and cook for an additional minute on the other side. The fast, high-heat sear locks in juiciness and creates a delightful crust.
Step 4: Adjust Heat and Add Garlic
Turn the heat down to medium-high and push the chicken to one side of the pan. In the space you’ve made, add the minced garlic along with the last teaspoon of butter you reserved. Stir quickly as the butter melts; this releases the garlicky aroma that sets the tone for the entire dish.
Step 5: Add Sauce Ingredients
Now pour in the apple cider vinegar, soy sauce, and honey. Gently stir or swirl the skillet to combine all the ingredients, making sure the chicken is evenly coated in the soon-to-be luscious sauce. Bringing this mixture to a simmer lets the flavors mingle and deepen.
Step 6: Simmer Sauce and Coat Chicken
Let the sauce bubble gently for about a minute to thicken slightly. Then, carefully turn the chicken pieces in the sauce so every inch gets that beautiful, sticky glaze. If your sauce thickens a bit too much, adding a tiny splash of water will loosen it up without compromising flavor.
Step 7: Finish and Serve
Remove the skillet from heat immediately to prevent any burning and plate your chicken. Spoon plenty of that glossy honey garlic sauce over the top while the chicken is still warm, ready to wow your taste buds.
How to Serve Honey Garlic Chicken Breast Recipe
Garnishes
To add a fresh and vibrant touch to your Honey Garlic Chicken Breast Recipe, try sprinkling chopped green onions or toasted sesame seeds on top. Not only do these garnishes provide a lovely color contrast, but they also contribute a slight crunch and an extra layer of flavor that complements the sauce perfectly.
Side Dishes
This dish pairs beautifully with simple steamed rice to soak up any extra sauce or a creamy mashed potato for comfort food vibes. For a lighter option, toss together a crisp green salad or roasted vegetables; their natural textures and flavors balance the richness of the chicken wonderfully.
Creative Ways to Present
Serve the honey garlic chicken over a bed of sautéed greens or alongside stir-fried noodles for a fun twist. You can also slice the chicken thinly and arrange it over a platter garnished with fresh herbs for an elegant, shareable presentation that’s perfect for entertaining.
Make Ahead and Storage
Storing Leftovers
Allow your cooked Honey Garlic Chicken Breast Recipe to cool completely before transferring to an airtight container. Stored in the refrigerator, it will stay fresh and delicious for up to three days. This makes it a perfect option for meal prep or quick dinners later in the week.
Freezing
This recipe freezes well, making it convenient for busy days. Place the cooled chicken and sauce in a freezer-safe container or heavy-duty freezer bag. Properly stored, it can last in the freezer for up to two months without losing its flavor or texture.
Reheating
Reheat your leftovers gently in a skillet over medium-low heat, adding a splash of water if needed to loosen the sauce. This method keeps the chicken moist and prevents the sauce from burning. Alternatively, the microwave works fine—just cover and heat in short bursts, stirring in between.
FAQs
Can I use chicken thighs instead of chicken breast?
Absolutely! Chicken thighs are more forgiving and stay juicy even with a bit more cooking time. Just adjust your cooking time accordingly to ensure they’re fully cooked through.
Is there a substitute for apple cider vinegar?
If you don’t have apple cider vinegar on hand, white vinegar or any clear vinegar works well. They all provide the necessary acidity to balance the sweetness of the honey.
Can I use maple syrup instead of honey?
Yes, maple syrup is a fantastic alternative that brings its own unique sweet depth to the sauce. It’s especially great if you want to avoid using honey for dietary preferences.
How thick should I cut the chicken breasts?
The chicken breasts should be cut thinly, about half the original thickness, so they cook quickly and absorb the sauce better. You’ll get a tender result without dry edges.
Can I make this recipe gluten-free?
Definitely! Swap out the all-purpose flour for a gluten-free flour blend or cornstarch for dredging. Also, check that your soy sauce is gluten-free to keep the dish safe for those with sensitivities.
Final Thoughts
There’s just something so comforting and satisfying about this Honey Garlic Chicken Breast Recipe that makes it a go-to anytime you want a meal that’s both quick and full of flavor. The harmony of garlic, honey, and a touch of tang brings joy with every bite, and I’m confident it will quickly become a favorite in your cooking repertoire. So why not give it a try tonight and see just how easy it is to make dinner feel special?
Print
Honey Garlic Chicken Breast Recipe
- Prep Time: 5 minutes
- Cook Time: 7 minutes
- Total Time: 12 minutes
- Yield: 4 servings
- Category: Main Course
- Method: Frying
- Cuisine: American
Description
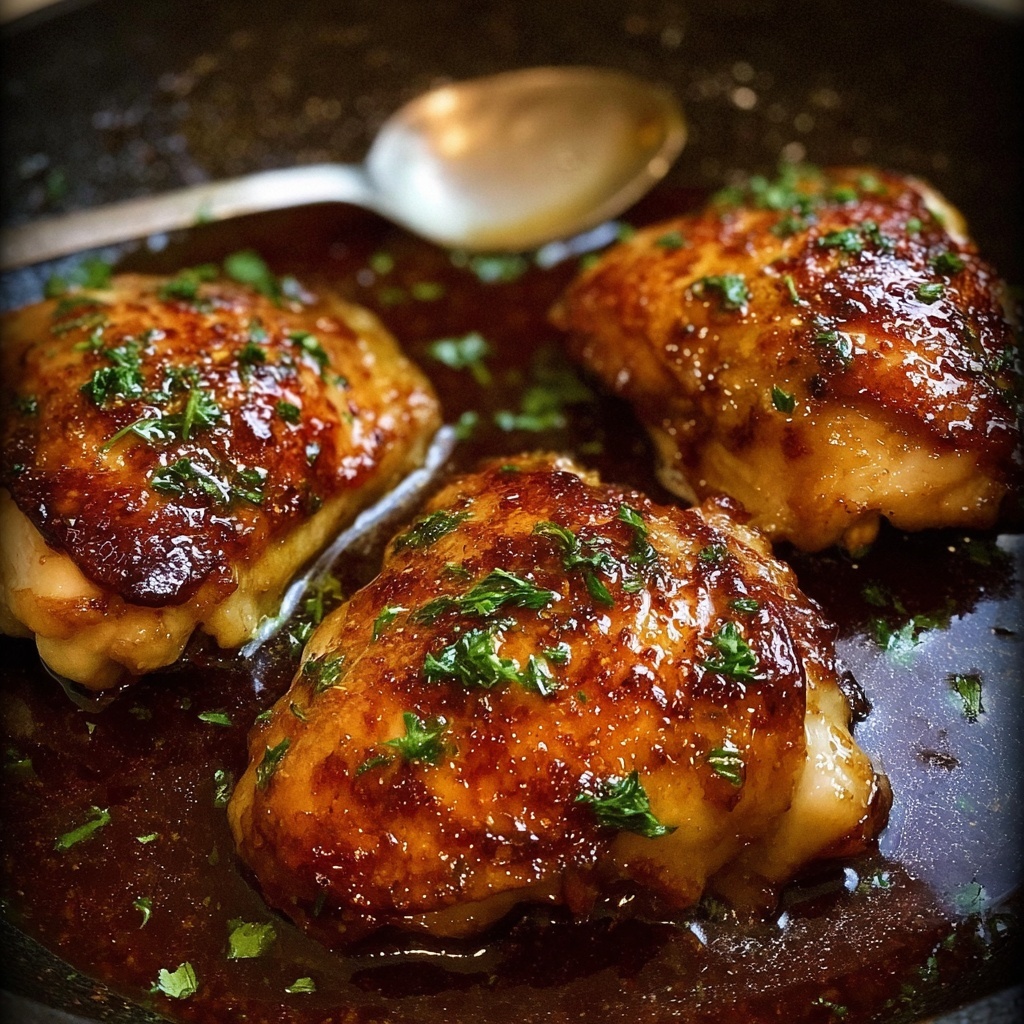
This Honey Garlic Chicken Breast recipe delivers tender, juicy chicken breasts coated in a luscious honey garlic sauce with a hint of soy and apple cider vinegar. Perfect for a quick and flavorful weeknight dinner, this dish combines simple ingredients and skillet cooking for a delicious meal ready in just 12 minutes.
Ingredients
Chicken and Coating
- 500g / 1 lb chicken breast, boneless and skinless (2 pieces)
- Salt and pepper, to taste
- 1/4 cup flour
Sauce and Cooking
- 3 1/2 tbsp (50g) unsalted butter, divided (or 2 1/2 tbsp olive oil)
- 2 garlic cloves, minced
- 1 1/2 tbsp apple cider vinegar (or white or other clear vinegar)
- 1 tbsp soy sauce, light or all purpose
- 1/3 cup honey (or maple syrup)
Instructions
- Prepare the Chicken. Cut the chicken breasts in half horizontally to make 4 thin steaks. Season both sides of each piece with salt and pepper to taste to enhance flavor.
- Coat with Flour. Place the flour in a shallow dish. Dredge each chicken piece in the flour, coating evenly, then shake off any excess to ensure a light crust.
- Heat the Skillet and Cook Chicken. Melt most of the butter (reserve about 1 teaspoon for later) in a large skillet over high heat until hot. Add the chicken pieces and cook for 2 to 3 minutes until the underside is golden brown. Flip the chicken and cook the other side for 1 minute to develop a nice sear.
- Adjust Heat and Add Garlic. Reduce heat to medium-high. Push the chicken to one side of the pan to create space for the garlic. Add the minced garlic and reserved butter. Stir the garlic briefly once the butter melts to release its aroma without burning.
- Add Sauce Ingredients. Pour in the apple cider vinegar, soy sauce, and honey. Stir or gently shake the pan to combine and evenly coat the chicken with the sauce mixture.
- Simmer Sauce and Coat Chicken. Let the sauce simmer for about 1 minute or until it slightly thickens. Turn the chicken pieces in the sauce to coat thoroughly. If the sauce thickens too much, add a small splash of water to loosen it.
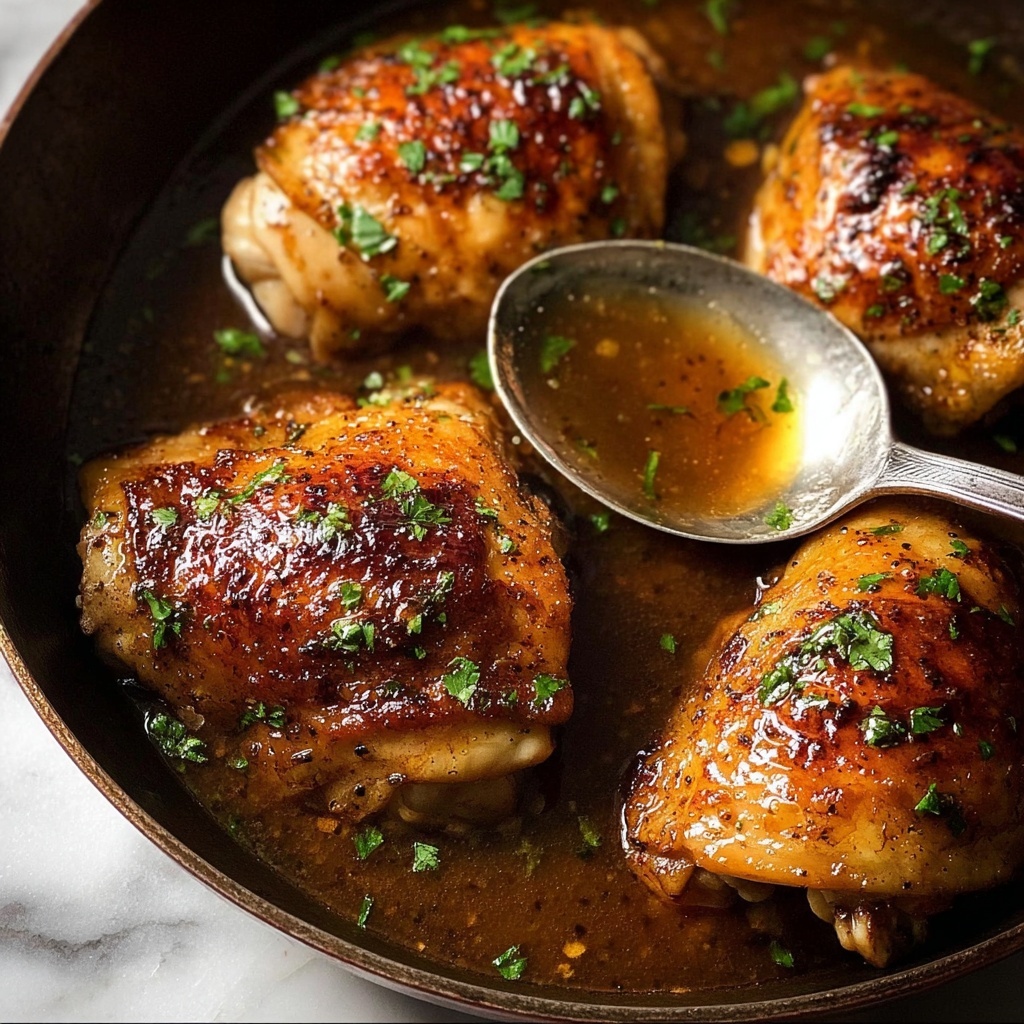
- Finish and Serve. Remove the skillet from heat immediately to prevent burning. Plate the chicken and spoon the remaining sauce over the top. Serve hot for a delightful meal.
Notes
- Cutting chicken breasts thinner helps them cook evenly and quickly.
- Use either unsalted butter or olive oil as the fat for cooking the chicken.
- If the sauce thickens too much, a little water added can loosen it for easier coating.
- Adjust seasoning with salt and pepper to your taste before cooking.
- Serve with steamed rice or vegetables for a balanced meal.


