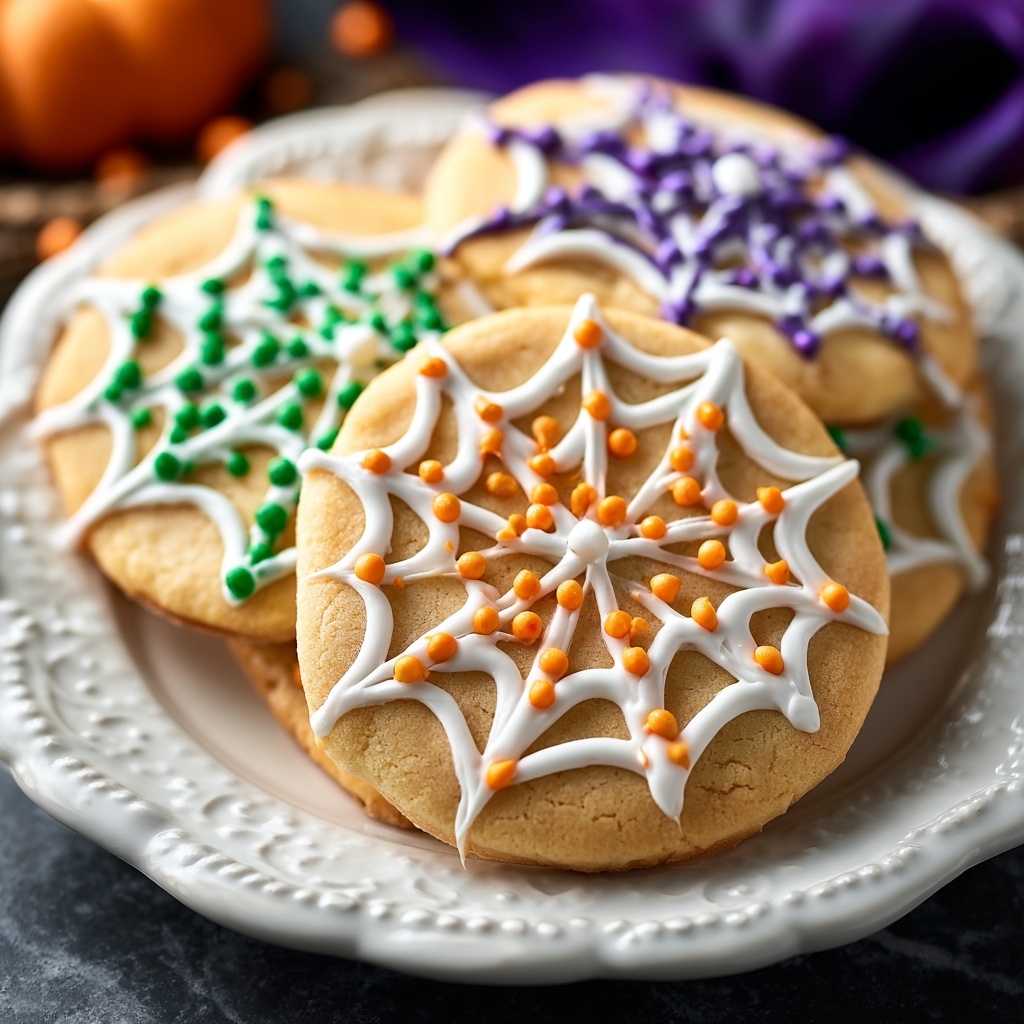
If you’re searching for a festive treat that perfectly captures the playful spirit of Halloween, look no further than the Hocus Pocus Cookies Recipe. These vibrant, tri-colored cookies bring a magical twist to your baking with their bright green, orange, and purple doughs all swirled together, bursting with creamy white chocolate chips and topped with fun Halloween sprinkles. The mix of cake flour and all-purpose flour creates a delightful texture that’s both soft and slightly chewy, making every bite simply enchanting. Whether you’re baking for a spooky party or just want a cozy kitchen adventure, this recipe delivers fun, flavor, and eye-catching color all in one delicious package.
Ingredients You’ll Need
Gathering these simple but essential ingredients will ensure the perfect balance of taste, texture, and color for your Hocus Pocus Cookies Recipe. Each component plays a key role, from the buttery base to the magical trio of food coloring that makes these cookies so visually stunning.
- Butter, 1 ½ cups softened: Provides richness and tender crumb to the cookie dough.
- White sugar, 2 cups: Sweetens and helps create a crisp edge when baked.
- Eggs, 3 large: Bind the dough together and add moisture for perfect texture.
- Vanilla extract, 3 tsp: Adds warm, inviting flavor enhancing the overall sweetness.
- Cornstarch, 1 ½ tsp: Lightens the dough and gives a delicate softness to the cookies.
- Baking soda, 1 ½ tsp: Helps the cookies spread and rise slightly for the ideal shape.
- Salt, ¾ tsp: Balances sweetness and intensifies other flavors.
- Cake flour, 2 cups: Contributes to a tender, velvety mouthfeel.
- All-purpose flour, 2 ½ cups: Provides structure and stability to the dough.
- Gel food coloring in orange, green, and purple: Creates the vibrant, spooky colors key to this recipe’s Halloween charm.
- White chocolate chips, 2 cups: Melt into sweet pockets of creamy joy inside each cookie.
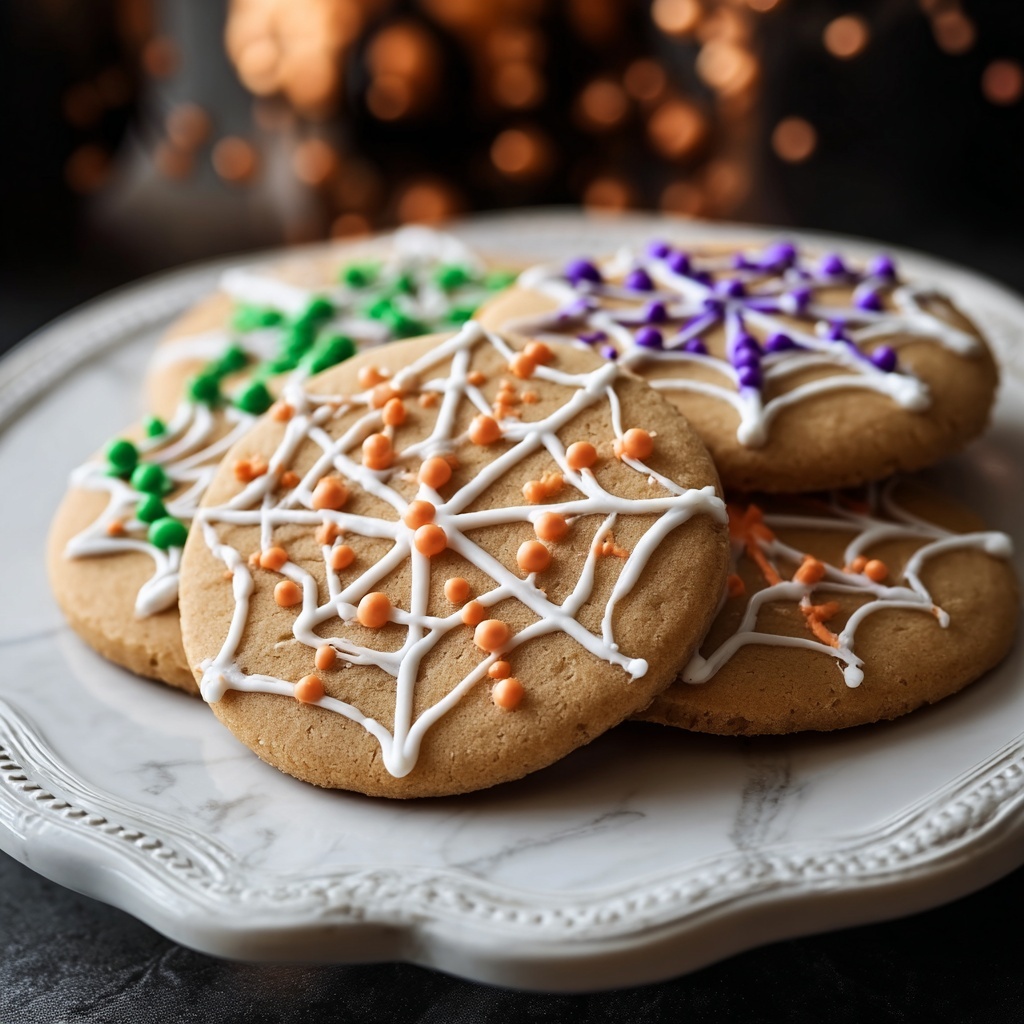
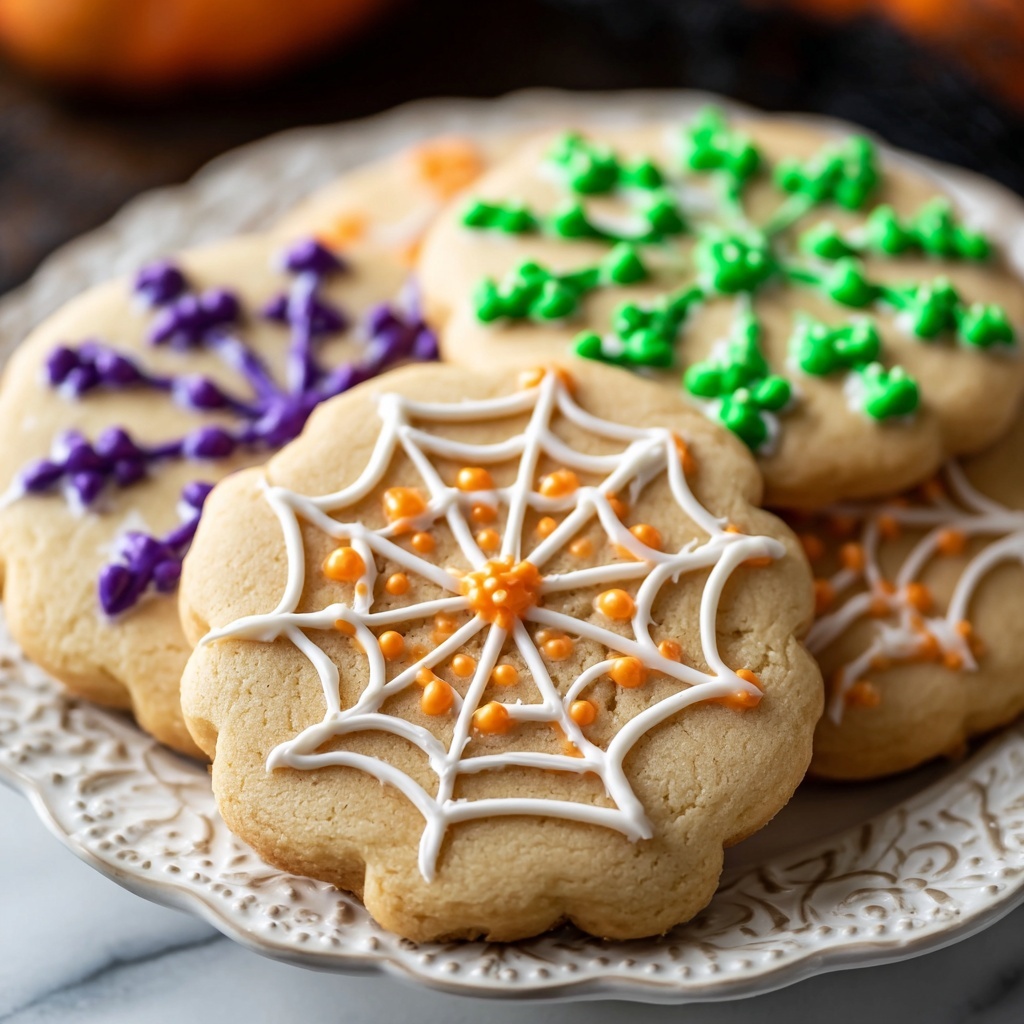
- Halloween sprinkles: Add a crunchy, festive finish that’s perfect for the season.
How to Make Hocus Pocus Cookies Recipe
Step 1: Prepare Baking Sheet
Start by lining your baking sheet with parchment paper. This step is a simple lifesaver—making cleanup easy and preventing the cookies from sticking to the pan, which keeps their shape flawless and colorful.
Step 2: Cream Butter and Sugar
Using a stand mixer or hand mixer, beat the softened butter and white sugar together until the mixture is light, fluffy, and pale in color. This process introduces air into the batter, which helps create a soft and tender texture in your finished cookies.
Step 3: Add Eggs and Vanilla
Crack in the eggs one at a time, mixing thoroughly after each addition so the dough comes together evenly. Then, stir in the vanilla extract, which infuses the dough with a lovely aromatic warmth that complements those white chocolate chips beautifully.
Step 4: Combine Dry Ingredients
In a separate bowl, whisk together the cake flour, all-purpose flour, cornstarch, baking soda, and salt. This ensures everything is distributed evenly, so your cookies bake perfectly every time, with the right rise and softness.
Step 5: Mix Dry and Wet Ingredients
Gradually add the dry flour mixture into the butter and egg batter. Mix just until combined to avoid overworking the dough, which keeps your cookies tender and soft without being tough.
Step 6: Color the Dough
Divide your cookie dough into three equal portions. Add gel food coloring—green to one batch, orange to the second, and purple to the third. Knead each portion individually until the colors are fully absorbed and vivid throughout, transforming your dough into a rainbow of Halloween magic.
Step 7: Form Cookies
Scoop about 2 teaspoons from each colored dough and press them together to create a single ball featuring all three colors swirled perfectly. Flatten the balls slightly, roll the edges in Halloween sprinkles for extra crunch and festivity, then press some white chocolate chips into the tops of the cookies to add a gooey, sweet surprise.
Step 8: Chill Dough
Refrigerate your dough balls for 30 minutes before baking. Chilling helps the cookies keep their shape and ensures those vibrant colors stay distinct while baking.
Step 9: Preheat Oven
While the dough chills, preheat your oven to 400°F (200°C). This higher temperature helps the cookies bake quickly, giving them crisp edges while keeping the centers soft and chewy.
Step 10: Bake Cookies
Arrange the dough balls on the prepared sheet, leaving space for spreading. Bake for 12 to 14 minutes, or until the edges turn a gentle golden brown. Remove the cookies and allow them to cool on a wire rack. This cooling helps them set perfectly, ready to be enjoyed!
How to Serve Hocus Pocus Cookies Recipe
Garnishes
Sprinkling a few extra Halloween sprinkles on freshly baked cookies just before serving adds an irresistible crunchy texture and seasonal flair. You can also drizzle melted white or dark chocolate over the top for an elegant touch that looks way more complicated than it is.
Side Dishes
Serve these magical cookies alongside a warm cup of spiced pumpkin latte or a classic glass of cold milk to complement their sweetness. For adults, a splash of cinnamon-spiked hot cider pairs beautifully, completing the cozy autumn vibe.
Creative Ways to Present
Turn your Hocus Pocus Cookies into a festive centerpiece by arranging them on a tiered cake stand surrounded by mini pumpkins and autumn leaves. Alternatively, wrap a few cookies in clear bags tied with orange and black ribbons—you’ll have an easy, charming gift for friends and family that carries the Halloween spirit wherever it goes.
Make Ahead and Storage
Storing Leftovers
Place cooled cookies in an airtight container at room temperature, and they will stay fresh for up to one week. Be sure to layer them between parchment paper to keep sprinkles intact and prevent sticking.
Freezing
You can freeze the unbaked dough balls after forming them. Arrange them on a baking sheet to freeze solid, then transfer to a freezer-safe bag for up to three months. When ready to bake, thaw the dough in the refrigerator overnight and bake as usual for fresh-from-the-oven magic anytime.
Reheating
Warm leftover cookies gently in a 300°F oven for about 5 minutes to refresh their softness and melt the white chocolate chips slightly. Avoid microwaving, which can sometimes make the texture less desirable. Enjoy your cookies warm with gooey chocolate in every bite.
FAQs
Can I substitute regular flour for cake flour in the Hocus Pocus Cookies Recipe?
While cake flour contributes to a tender and soft texture, if you don’t have it on hand, you can make a substitute by replacing 2 tablespoons of all-purpose flour with cornstarch for each cup of flour needed. This helps mimic the lighter texture.
What if I don’t have gel food coloring? Can I use liquid food coloring instead?
Gel food coloring is preferred because it delivers vibrant colors without altering the dough’s consistency. You can use liquid food coloring, but add it sparingly to avoid softening the dough—start with a few drops and build up the color gradually.
Are the cookies very sweet with all the white chocolate chips?
The white chocolate chips add pockets of creamy sweetness, but the balance of dough and chips keeps it from being overwhelming. If you prefer, reduce the chips by half or substitute with semi-sweet chocolate for a less sweet bite.
Can I make these cookies vegan or dairy-free?
To make this recipe vegan or dairy-free, substitute butter with a plant-based alternative, use flax or chia eggs, and choose dairy-free white chocolate chips. Keep in mind these swaps might slightly alter texture and flavor but can still yield delicious results.
Why do I need to chill the dough before baking?
Chilling firms up the dough, which helps keep the distinct colors from blending during baking and allows the cookies to retain their beautiful, swirled shape. It also helps the cookies bake evenly with a perfect chewy texture.
Final Thoughts
There’s something truly special about the Hocus Pocus Cookies Recipe, a spellbinding treat that brings out smiles with its playful colors and comforting flavors. Whether you’re celebrating Halloween or just feeling a bit magical in your kitchen, these cookies will brighten your day and delight your taste buds. I can’t wait for you to try them and watch those vibrant, sweet bites disappear — one enchanted cookie at a time!
Print
Hocus Pocus Cookies Recipe
- Prep Time: 40 minutes
- Cook Time: 14 minutes
- Total Time: 1 hour 14 minutes
- Yield: 24 servings
- Category: Dessert
- Method: Baking
- Cuisine: American
Description
Delightfully festive Hocus Pocus Cookies bursting with vibrant Halloween colors and studded with creamy white chocolate chips, rolled in spooky sprinkles for a perfect seasonal treat. These soft, chewy cookies combine the flavors of rich butter and vanilla, with a charming twist of colorful dough sections to add whimsical magic to your baking.
Ingredients
Wet Ingredients
- 1 ½ cups butter, softened
- 2 cups white sugar
- 3 large eggs
- 3 tsp vanilla extract
Dry Ingredients
- 1 ½ tsp cornstarch
- 1 ½ tsp baking soda
- ¾ tsp salt
- 2 cups cake flour
- 2 ½ cups all-purpose flour
Additional Ingredients
- Orange, green, and purple gel food coloring
- 2 cups white chocolate chips
- Halloween sprinkles
Instructions
- Prepare Baking Sheet: Line a baking sheet with parchment paper to prevent sticking and ensure even baking.
- Cream Butter and Sugar: Using a stand mixer, beat the softened butter and white sugar together until the mixture becomes light and fluffy, creating a smooth base for the cookies.
- Add Eggs and Vanilla: Incorporate the eggs one at a time, mixing well after each addition to fully combine. Then stir in the vanilla extract for flavor.
- Combine Dry Ingredients: In a separate bowl, whisk together cake flour, all-purpose flour, cornstarch, baking soda, and salt to evenly distribute leavening agents and seasoning.
- Mix Dry and Wet Ingredients: Gradually add the dry flour mixture to the creamed butter mixture, mixing until just combined to form the cookie dough.
- Color the Dough: Divide the dough into three equal parts. Add green gel food coloring to one portion, orange to another, and purple to the last. Knead each portion thoroughly until the color is evenly blended.
- Form Cookies: Scoop 2 teaspoons from each colored dough and press the three scoops together into small balls. Flatten slightly, then roll the edges in Halloween sprinkles. Press white chocolate chips into the tops for added sweetness and decoration.
- Chill Dough: Place the dough balls into the refrigerator for 30 minutes to firm up, which helps maintain the cookie shape during baking.
- Preheat Oven: Set your oven to 400°F (200°C) so it reaches the proper temperature by the time you’re ready to bake.
- Bake Cookies: Bake the cookies on the prepared sheet for 12-14 minutes or until the edges turn golden brown. Remove from oven and cool the cookies on a wire rack before serving.
Notes
- The chilling step is crucial for shaping and helps the cookies hold their form.
- Use gel food coloring rather than liquid to avoid altering dough consistency.
- White chocolate chips can be substituted with regular milk or dark chocolate chips if preferred.
- Baking times may vary slightly depending on your oven; watch for golden edges as the indicator.
- Store baked cookies in an airtight container at room temperature for up to 5 days.


