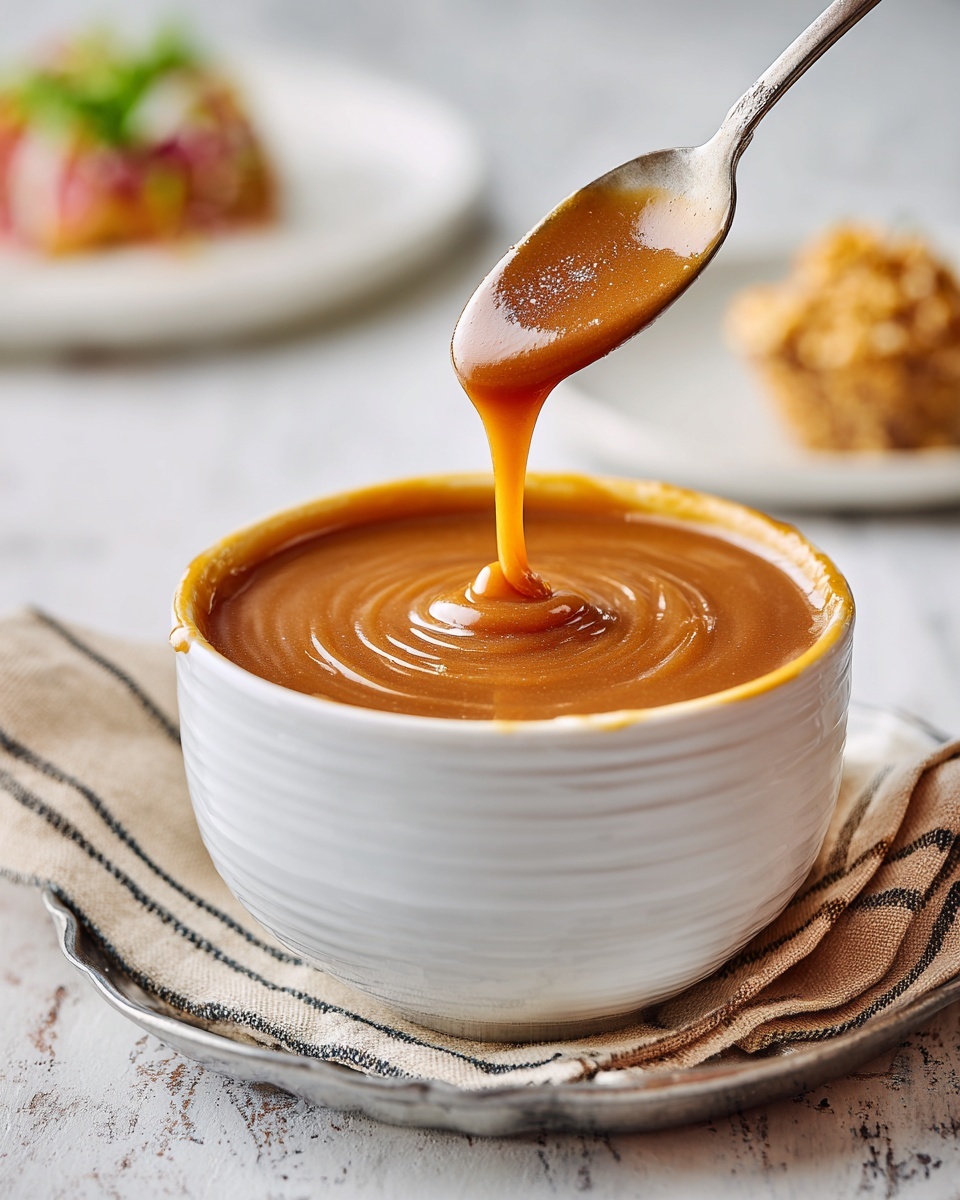
If you’ve ever wanted a rich, silky gravy without the fuss of saving pan drippings, you’re in for a treat. This Easy Homemade Gravy Recipe (No Drippings) Recipe is a delightful shortcut that delivers full flavor and comforting warmth using simple pantry staples. Whether you’re aiming for a vegetarian option or just craving a quick sauce to jazz up your meal, this gravy is smooth, flavorful, and ridiculously easy to whip up anytime you need that luscious, homemade touch.

Ingredients You’ll Need
Getting the perfect gravy starts with a handful of straightforward ingredients that each play a vital role in crafting its irresistible texture and taste. From butter’s richness to the subtle spices that bring depth, you’ll see how every component makes this gravy shine.
- 4 tablespoons unsalted butter: Provides the creamy base and richness essential for smooth gravy.
- 1/4 cup all-purpose flour: The thickening agent that turns simple broth into luscious gravy.
- 2 cups low-sodium chicken broth (or vegetable broth for vegetarian): Brings savory body and moisture without overpowering the flavors.
- 1 teaspoon onion powder: Adds a gentle oniony sweetness that enhances the savory notes.
- 1/2 teaspoon garlic powder: Gives a warm, subtle kick to the flavor profile.
- 1/2 teaspoon salt (or to taste): Balances and elevates all the other flavors perfectly.
- 1/4 teaspoon black pepper: Adds a faint heat and complexity without overwhelming the palate.
- Optional: 1/2 teaspoon soy sauce or Worcestershire sauce: Boosts umami and richness, making the gravy deeply flavorful.
How to Make Easy Homemade Gravy Recipe (No Drippings) Recipe
Step 1: Melt the Butter and Make the Roux
Start by melting your butter in a medium saucepan over medium heat. Once it’s completely melted, whisk in the all-purpose flour to create a roux. Keep whisking continuously for 1 to 2 minutes until you see a light golden color and can smell that nutty, toasty aroma. This step is so crucial because it cooks out the raw flour taste and sets the stage for a rich, velvety gravy.
Step 2: Slowly Add the Broth
Next, add your broth gradually—just a little at a time—while whisking nonstop. This careful process ensures your gravy stays smooth without any lumps popping up. Using low-sodium broth lets you control the saltiness, keeping your gravy perfectly balanced every time.
Step 3: Season It Up
Now stir in the onion powder, garlic powder, salt, and pepper, and add the optional soy or Worcestershire sauce if you’re using it. These little touches bring layers of flavor that make this gravy feel anything but simple. It’s like the secret ingredient that turns everyday gravy into something special.
Step 4: Simmer Until Thickened
Bring the mixture to a gentle simmer and let it cook for about 4 to 5 minutes, stirring often. This is where the magic happens as the gravy thickens to your desired consistency. If it gets too thick, you can always whisk in a splash of broth to loosen it up without losing that rich texture.
Step 5: Taste and Adjust
Finally, don’t skip the taste test. Adjust salt, pepper, or add a pinch more soy or Worcestershire sauce to tailor it perfectly to your liking. Serve it warm over your favorite dishes and watch those faces light up!
How to Serve Easy Homemade Gravy Recipe (No Drippings) Recipe

Garnishes
Sometimes, a small garnish takes your gravy from good to restaurant-worthy. Fresh chopped parsley or thyme adds a pop of color and a hint of fresh herbal brightness that complements the gravy’s richness beautifully.
Side Dishes
This gravy is a natural partner for mashed potatoes, roasted vegetables, biscuits, or even savory pancakes. Its smooth texture and savory flavor make it a versatile addition that elevates every bite.
Creative Ways to Present
For a fun twist, drizzle this gravy over a baked potato bar or use it as a dipping sauce for crispy vegetable fritters. It also pairs wonderfully as a creamy drizzle on casseroles or savory bread puddings for a decadent finish.
Make Ahead and Storage
Storing Leftovers
Once cooled, transfer your leftover gravy into an airtight container and pop it into the refrigerator. It will stay fresh and flavorful for up to four days, making it perfect to make ahead for busy weeknights or holiday meals.
Freezing
Good news if you want to keep it longer—this gravy freezes well! Just let it cool completely, freeze in portion-sized containers, and thaw overnight in the fridge before reheating gently on the stove.
Reheating
Reheat your gravy over low heat on the stove, stirring frequently. If it thickens too much during storage, simply whisk in a splash of broth to bring it back to the perfect pourable consistency without sacrificing any flavor.
FAQs
Can I make this gravy vegan?
Absolutely! Just swap the butter for a plant-based alternative and use vegetable broth along with tamari or a vegan Worcestershire sauce. It’s just as delicious without animal products.
What if I want thicker or thinner gravy?
To thicken, cook the gravy a few minutes longer to reduce it, or add a little more flour early in the roux. For thinner gravy, stir in more broth a little at a time until it reaches your desired consistency.
Can I use this recipe with other types of broth?
Yes! Beef broth will give your gravy a richer, heartier flavor. Mushroom broth is another great option for a deep, earthy vegetarian twist.
Do I need to whisk constantly while making this?
Whisking steadily especially when adding broth helps avoid lumps and ensures a smooth sauce. It’s worth the little extra attention for perfectly silky results.
How long will this gravy stay good in the fridge?
Stored in an airtight container, this gravy will last about four days in the refrigerator. Beyond that, the flavor and texture may begin to degrade.
Final Thoughts
There’s something incredibly satisfying about making a homemade gravy that’s both easy and delicious, especially when you don’t have to rely on drippings. This Easy Homemade Gravy Recipe (No Drippings) Recipe is sure to become your go-to for dinners big and small, bringing warmth and flavor to your table in just minutes. Give it a try and enjoy that perfect gravy every time!
Print
Easy Homemade Gravy Recipe (No Drippings) Recipe
- Prep Time: 5 minutes
- Cook Time: 10 minutes
- Total Time: 15 minutes
- Yield: 8 servings
- Category: Sauce
- Method: Stovetop
- Cuisine: American
- Diet: Vegetarian
Description
This Easy Homemade Gravy Recipe is a quick and simple way to make a delicious, smooth gravy without using drippings. Perfect for serving over mashed potatoes, meats, or vegetables, it uses a classic roux base with broth and seasonings to create rich flavor. A vegetarian option can easily be made by using vegetable broth and soy sauce.
Ingredients
Basic Ingredients
- 4 tablespoons unsalted butter
- 1/4 cup all-purpose flour
- 2 cups low-sodium chicken broth (or vegetable broth for vegetarian)
- 1 teaspoon onion powder
- 1/2 teaspoon garlic powder
- 1/2 teaspoon salt (or to taste)
- 1/4 teaspoon black pepper
Optional Ingredients
- 1/2 teaspoon soy sauce or Worcestershire sauce for depth of flavor
Instructions
- Make the Roux: In a medium saucepan over medium heat, melt the butter. Once melted, whisk in the flour to form a smooth roux. Cook, whisking continuously, for 1–2 minutes until lightly golden and fragrant.
- Add Broth Gradually: Slowly whisk in the broth a little at a time, making sure the mixture stays smooth. This method prevents lumps and ensures a creamy texture.
- Season the Gravy: Stir in the onion powder, garlic powder, salt, and black pepper. Add the optional soy sauce or Worcestershire sauce if using, to enhance the depth of flavor.
- Simmer and Thicken: Bring the gravy to a gentle simmer and cook for 4–5 minutes, stirring often, until thickened to your desired consistency.
- Taste and Adjust: Taste the gravy and adjust seasoning as needed. Serve warm over mashed potatoes, meat, or vegetables.
Notes
- For a richer flavor, use a mix of chicken and beef broth.
- To make it vegetarian, use vegetable broth and soy sauce instead of chicken broth and Worcestershire sauce.
- Gravy can be made ahead and stored in the refrigerator for up to 4 days.
- Reheat gently on the stove, adding broth if needed to thin to desired consistency.


