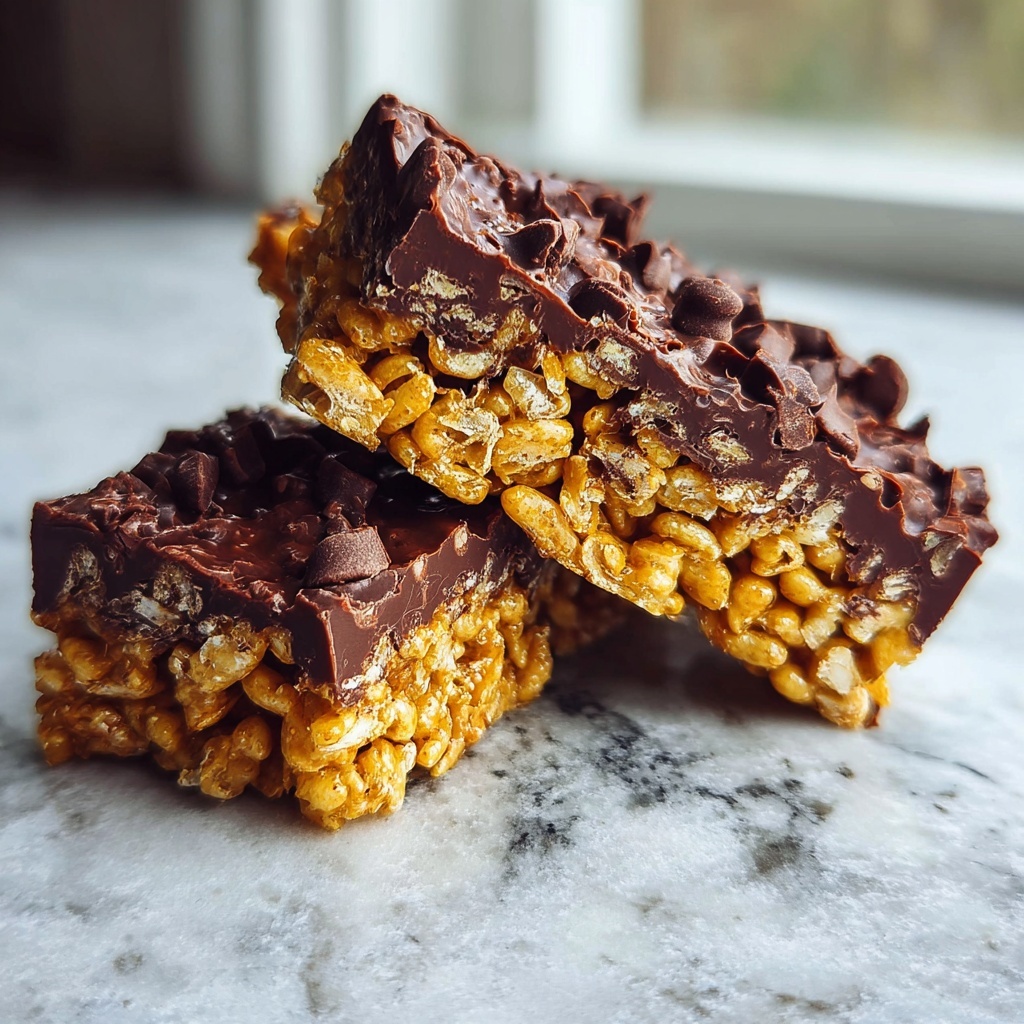
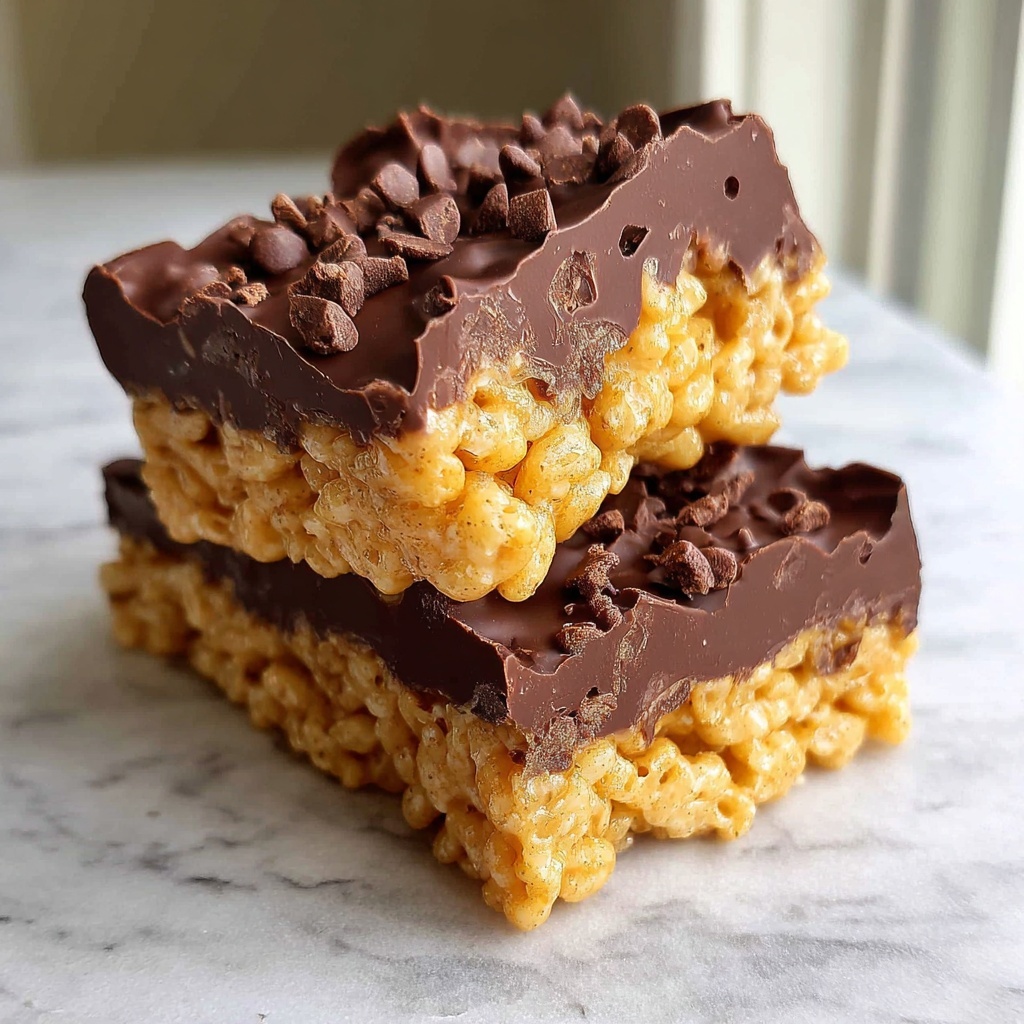
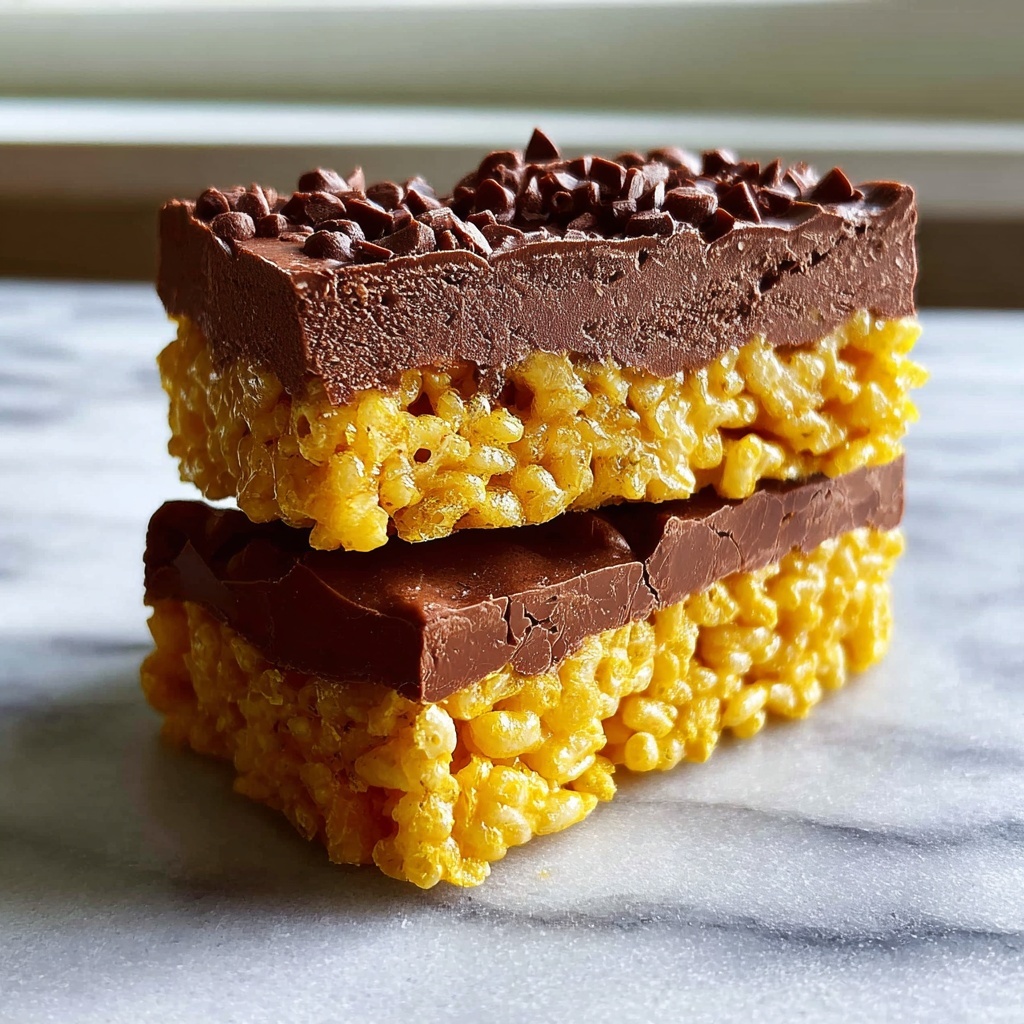
If you’ve been hunting for a sweet treat that’s both nostalgic and simple to whip up at home, this Easy Homemade Crunch Bars Recipe is exactly what you need. These chewy, chocolatey bars bring together the perfect crunch of rice cereal with the smooth richness of peanut butter and melted chocolate, creating a delightful texture and flavor combo. Whether you’re making snacks for the kids or something to satisfy your own sweet tooth, these bars are guaranteed to become a staple in your kitchen.
Ingredients You’ll Need
Gathering the right ingredients is the first step to making these bars irresistibly good. The components might seem basic, but each plays a crucial role in balancing taste, texture, and even color for this easy homemade crunch bars recipe.
- 2 cups of rice cereal: Provides that signature light crunch and a neutral base that carries all the flavors beautifully.
- 1 cup of chocolate chips: The sweet, melty core of chocolate that glues everything together with creamy richness.
- 1/2 cup of peanut butter: Adds a smooth, nutty depth and binds the cereal pieces in the mix.
- 1/4 cup of honey: Natural sweetness that also helps with the chewy texture, giving a sticky, delicious bite.
- 1/2 teaspoon of vanilla extract: Enhances the overall flavor with a subtle warm note, making the bars irresistibly aromatic.
How to Make Easy Homemade Crunch Bars Recipe
Step 1: Combine Peanut Butter, Honey, and Vanilla
Start by gently warming the peanut butter, honey, and vanilla extract together in a saucepan over low heat. This step is all about melding those luscious flavors and making the mixture velvety smooth, ensuring it will coat the cereal perfectly.
Step 2: Stir Until Smooth and Well Combined
Keep stirring the mixture as it heats so nothing sticks or burns on the bottom. The goal here is a glossy blend that looks silky and fully mixed — this smoothness means your crunch bars will hold together beautifully later on.
Step 3: Add Chocolate Chips and Melt
Next, toss in the chocolate chips straight into your warm mixture and stir continuously. Watching the chocolate melt into that peanut butter and honey bath is pure magic, creating a rich, chocolatey sauce that’s impossible to resist.
Step 4: Stir in Rice Cereal Until Fully Coated
Remove the pan from heat and immediately fold in the rice cereal. Make sure every bit of that crisp cereal is generously coated with the luscious chocolate-peanut butter mixture — this is what gives the bars their crunch and chewy cohesion.
Step 5: Press Mixture Into a Lined Baking Dish
Transfer your coated cereal mixture into a baking dish lined with parchment paper or foil for easy removal. Press down firmly and evenly; you want the bars to set in a compact slab so they hold their shape once firm.
Step 6: Refrigerate Until Firm
Pop your baking dish into the refrigerator for at least one hour. This chilling step is key because it lets the bars harden, making them easier to cut and giving you that satisfying crunch with each bite.
Step 7: Cut Into Bars and Serve
Finally, when your bars are fully set, lift them out of the dish using the paper or foil edges and slice into your desired-sized portions. Now you’re ready to enjoy or package your homemade treats for sharing!
How to Serve Easy Homemade Crunch Bars Recipe
Garnishes
While these bars are lovely on their own, you can elevate them by sprinkling a few sea salt flakes on top before chilling to contrast the sweetness. For a fun twist, drizzle melted white chocolate or sprinkle mini chocolate chips post-cutting for added texture and flair.
Side Dishes
Pair your crunch bars with a cold glass of milk or a warm mug of coffee or tea. Their sweet, nutty flavor balances perfectly with beverages that are creamy or slightly bitter, making snack time a total pleasure for any time of day.
Creative Ways to Present
These bars look charming served on a rustic wooden board surrounded by fresh berries or nuts. For a party, stack them in a cute dessert tray or wrap individually in parchment tied with twine — quirky, easy, and perfect for gifting or lunchboxes.
Make Ahead and Storage
Storing Leftovers
You can keep your Easy Homemade Crunch Bars Recipe leftovers fresh by storing them in an airtight container at room temperature for up to three days. For longer storage, the refrigerator is best to maintain firmness and freshness without drying out.
Freezing
These bars freeze wonderfully. Wrap individual portions tightly in plastic wrap and store in a freezer-safe bag for up to one month. Just thaw them at room temperature when you’re ready for a quick treat that tastes as fresh as the day you made them.
Reheating
Because these bars are best enjoyed at room temperature or chilled, reheating isn’t usually necessary. However, if you prefer a softer bite, a few seconds in the microwave (10-15 seconds) will warm the chocolate and make them even more indulgent.
FAQs
Can I use other types of cereal instead of rice cereal?
Absolutely! While rice cereal gives a light crunch, you can experiment with puffed wheat, cornflakes, or even granola for a different texture. Just keep in mind the flavor and crunch level may vary slightly.
Is it possible to make these bars nut-free?
Yes, simply substitute the peanut butter with sunflower seed butter or a similar nut-free alternative. This still provides the creamy binding effect without the allergen concerns.
How long do these crunch bars keep fresh?
If properly stored in an airtight container, they should stay fresh for about 3-5 days at room temperature. Refrigeration can extend freshness even further, preventing them from becoming too soft.
Can I add mix-ins like nuts or dried fruit?
Definitely! Adding chopped nuts, dried cranberries, or even shredded coconut can boost both flavor and texture. Just fold them in with the rice cereal before pressing the mixture into the pan.
What’s the best way to cut the bars cleanly?
Use a sharp knife, and for an extra clean cut, warm the blade under hot water and dry it before slicing. This helps prevent crumbling and keeps the bars looking neat and inviting.
Final Thoughts
This Easy Homemade Crunch Bars Recipe is a brilliant combination of ease and deliciousness. It’s a wonderful go-to when you want a sweet snack that feels special but doesn’t require hours in the kitchen. I can’t wait for you to try making these bars and see how quickly they disappear — trust me, they’re just that good!
Print
Easy Homemade Crunch Bars Recipe
- Prep Time: 15 minutes
- Cook Time: 10 minutes
- Total Time: 1 hour 15 minutes
- Yield: 12 servings
- Category: Snack
- Method: Stovetop
- Cuisine: American
Description
This easy homemade crunch bars recipe is a quick and delightful treat that combines the perfect blend of peanut butter, honey, and chocolate chips with crunchy rice cereal. These no-bake bars are simple to make and perfect for snacking or as a sweet treat that everyone will love.
Ingredients
Ingredients
- 2 cups of rice cereal
- 1 cup of chocolate chips
- 1/2 cup of peanut butter
- 1/4 cup of honey
- 1/2 teaspoon of vanilla extract
Instructions
- Heat peanut butter mixture: In a saucepan, combine the peanut butter, honey, and vanilla extract over low heat, stirring gently until the mixture is smooth and fully blended together.
- Melt chocolate chips: Add the chocolate chips to the saucepan and stir continuously until they are completely melted and incorporated into the peanut butter mixture for a creamy texture.
- Combine with cereal: Remove the saucepan from heat, then fold in the rice cereal, stirring thoroughly to ensure every piece is evenly coated with the chocolate and peanut butter mixture.
- Press mixture into pan: Transfer the coated cereal mixture into a lined baking dish, pressing it down firmly and evenly to create a compact layer.
- Chill to set: Place the baking dish in the refrigerator and chill for at least 1 hour or until the bars are firm enough to cut.
- Cut and serve: Once set, remove from the fridge, cut into 12 bars, and serve as a delicious snack.
Notes
- Use natural or creamy peanut butter for the best consistency and flavor.
- For a nut-free version, substitute peanut butter with sunflower seed butter.
- You can add chopped nuts or dried fruits to the mixture for extra texture.
- Store bars in an airtight container in the refrigerator to keep them fresh for up to one week.
- If you prefer sweeter bars, increase the honey quantity slightly.


