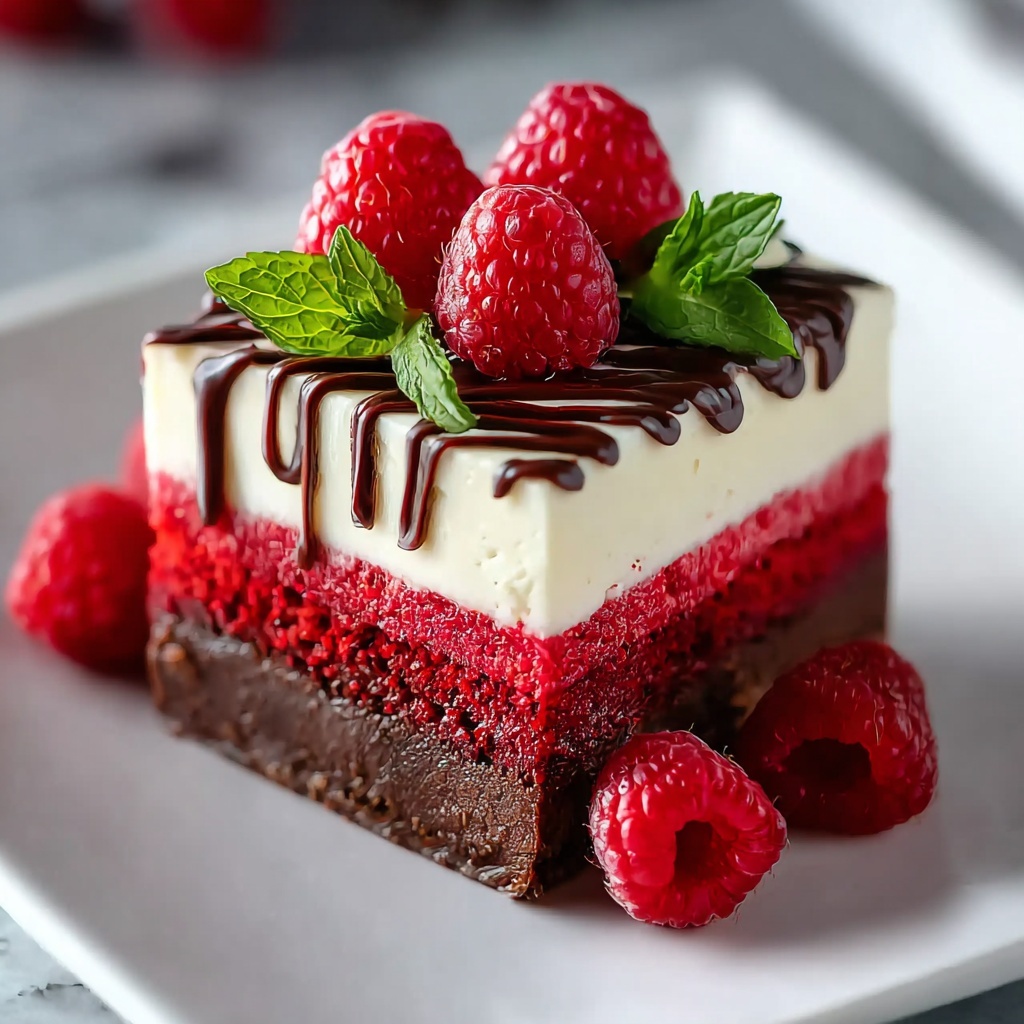
If you’re craving a luscious dessert that fits perfectly into your low-carb lifestyle, this Decadent Keto Red Velvet Cheesecake Recipe will become your new go-to favorite. It brings together the rich, velvety textures of classic red velvet cake with the creamy indulgence of cheesecake, all while staying keto-friendly and free from refined sugars. The almond flour crust provides a subtle nuttiness, complementing the smooth cream cheese filling that’s just sweet enough, thanks to erythritol. Whether you want to impress guests or treat yourself, this dessert blends comfort and elegance effortlessly.
Ingredients You’ll Need
Getting ready to bake this stunning cheesecake is a breeze since the ingredients are straightforward yet vital for the perfect taste and texture. Each component plays a key role in building the final flavor profile, from the crumbly crust to the silky filling.
- Almond flour: Acts as a low-carb, gluten-free base giving a nutty flavor and a tender, crumbly crust.
- Erythritol: A keto-friendly sweetener that adds sweetness without sugar spikes.
- Unsweetened cocoa powder: Brings the signature chocolate hint essential for red velvet flavor.
- Unsalted butter, melted: Helps bind the crust ingredients and adds rich moisture.
- Large eggs: Provide structure and a luscious texture both in crust and filling.
- Vanilla extract: Elevates the flavor with warm aromatic notes.
- Baking powder: Gives the crust a gentle lift and lightness.
- Cream cheese, softened: The star of the cheesecake filling for smooth, creamy indulgence.
- Sour cream: Adds tangy richness and balances the sweetness perfectly.
- Lemon juice: Enhances freshness and brightens the filling’s flavor.
How to Make Decadent Keto Red Velvet Cheesecake Recipe
Step 1: Preheat and Prepare Your Oven
Begin by warming your oven to 350°F (175°C). This ensures the perfect temperature for both the crust and the filling to bake evenly and develop that gorgeous texture you’re aiming for with this Decadent Keto Red Velvet Cheesecake Recipe.
Step 2: Make the Almond Flour Crust
In a mixing bowl, combine almond flour, erythritol, cocoa powder, and baking powder. This dry mixture is your crust base, offering the subtle cocoa taste needed. Then stir in the melted butter, eggs, and vanilla extract until it forms a well-blended batter that you can press into the pan.
Step 3: Bake the Crust
Press your crust mixture firmly and evenly into the bottom of a springform pan—it’s important to pack it tight to avoid crumbling later. Bake for 10-12 minutes until it sets and a bit firm to the touch. This step locks in that delicious nutty and chocolatey foundation for your cheesecake.
Step 4: Prepare the Cream Cheese Filling
While the crust cools slightly, beat the cream cheese until it’s silky and smooth, free of lumps. Then add sour cream, lemon juice, and another portion of erythritol, blending well to achieve a creamy, tangy mixture that’s key to the Red Velvet cheesecake’s signature shine and flavor.
Step 5: Assemble and Bake the Cheesecake
Pour the cream cheese mixture over your baked crust and smooth the surface carefully with a spatula. Bake again for 40-45 minutes until the filling is set but still slightly jiggly near the center. This careful baking process gives you that irresistible rich and velvety layer we love in the Decadent Keto Red Velvet Cheesecake Recipe.
Step 6: Cool Before Serving
Allow your cheesecake to cool completely at room temperature before chilling it in the fridge. Cooling helps it firm up perfectly for slicing, making the flavors meld together beautifully and ensuring an impeccable texture every time.
How to Serve Decadent Keto Red Velvet Cheesecake Recipe
Garnishes
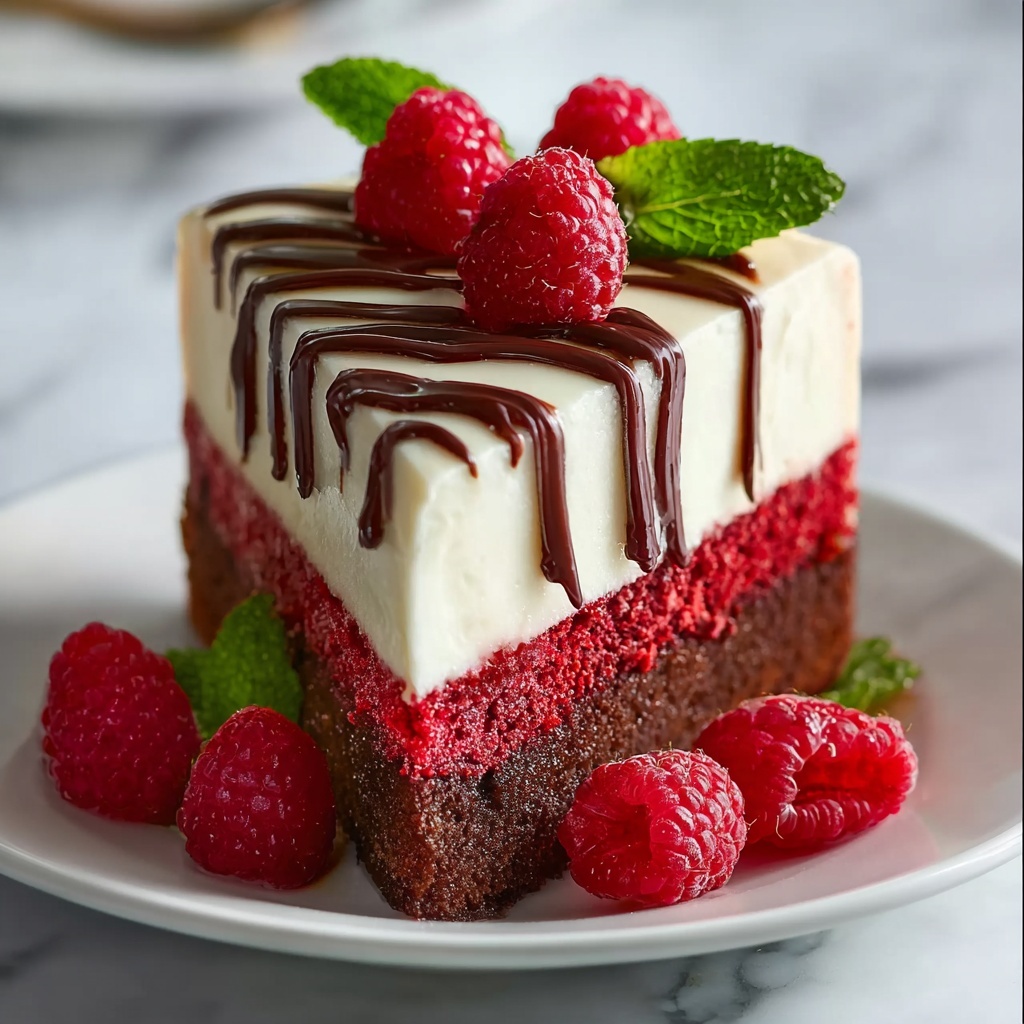
Add a personal touch to your cheesecake serving by garnishing it with fresh berries, a sprinkle of unsweetened cocoa, or a few crushed pecans for added crunch. These garnishes enhance both the visual appeal and the complementary flavors of the dessert.
Side Dishes
For an extra special treat, serve slices alongside keto-friendly whipped cream or a dollop of mascarpone cheese. A cup of rich coffee or herbal tea also pairs marvelously, balancing the creaminess with a pleasant warmth.
Creative Ways to Present
Try serving this cheesecake in mini springform pans or cupcake liners for bite-sized delights, perfect for parties. Alternatively, layer crumbled cheesecake with a sugar-free berry compote in parfait glasses for a playful twist on presentation that impresses every time.
Make Ahead and Storage
Storing Leftovers
Keep any leftover cheesecake covered in the refrigerator for up to 5 days. A loose layer of plastic wrap or an airtight container will preserve the creamy texture while preventing it from absorbing any fridge odors.
Freezing
This Decadent Keto Red Velvet Cheesecake Recipe freezes beautifully. Slice it into portions, wrap individually in plastic wrap and foil, then freeze for up to 2 months. Thaw in the fridge overnight before serving for a quick dessert solution.
Reheating
Since it’s a cheesecake, it’s best enjoyed chilled or at room temperature. Avoid reheating as it can alter the texture. Simply set your slices out for 20-30 minutes before serving to take the chill off and bring out all the rich flavors.
FAQs
Can I use a different sweetener?
Absolutely! While erythritol works perfectly in this recipe, you can substitute with other keto-friendly sweeteners like monk fruit or stevia blends, adjusting to your preferred sweetness level.
Is it necessary to use a springform pan?
Using a springform pan makes removing the cheesecake easier and keeps the sides intact. If you don’t have one, a regular cake pan lined with parchment paper can work, but be gentle when removing.
Can I add food coloring to make it more red?
Yes, if you prefer a traditional deep red hue, adding a few drops of natural red food coloring won’t affect the keto balance and will give you that iconic red velvet look.
What’s the best way to soften cream cheese?
Leave it out at room temperature for about an hour before using or microwave it in short bursts of 10 seconds until soft but not melted for easy mixing.
Can I make this dairy-free?
While this recipe relies on cream cheese and sour cream for its creamy texture, you might experiment with keto-friendly dairy-free alternatives, though the texture and taste may vary from the classic version.
Final Thoughts
There’s something truly magical about sinking your fork into a slice of this Decadent Keto Red Velvet Cheesecake Recipe. It’s the perfect balance of creamy, rich, and subtly sweet without straying from your keto goals. I hope you have as much fun making and enjoying it as I do sharing it with friends and family. Give it a try and watch it become a beloved staple in your dessert repertoire!
Print
Decadent Keto Red Velvet Cheesecake Recipe
- Prep Time: 15 minutes
- Cook Time: 1 hour
- Total Time: 1 hour 15 minutes
- Yield: 12 servings
- Category: Dessert
- Method: Baking
- Cuisine: American
- Diet: Low Carb
Description
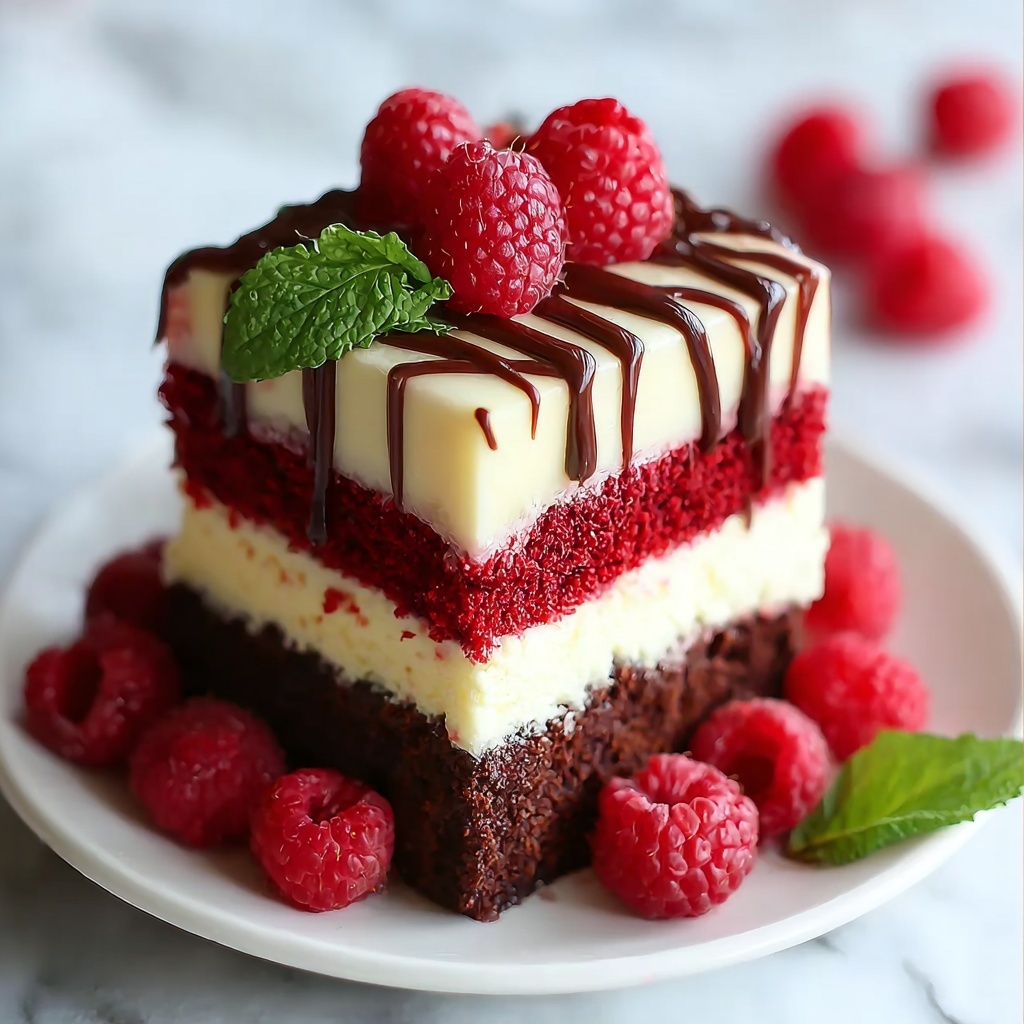
This Decadent Keto Red Velvet Cheesecake is a low-carb, sugar-free dessert perfect for ketogenic diets. Featuring a rich almond flour crust combined with a luscious cream cheese filling flavored with cocoa and a hint of lemon, this cheesecake offers the classic red velvet taste without the guilt. It’s baked to perfection, resulting in a creamy, smooth texture with an indulgent flavor that satisfies your sweet tooth while keeping carbs low.
Ingredients
Crust
- 2 cups almond flour
- 1 cup erythritol
- 1/2 cup unsweetened cocoa powder
- 1 teaspoon baking powder
- 1/2 cup unsalted butter, melted
- 2 large eggs
- 2 teaspoons vanilla extract
Filling
- 16 oz cream cheese, softened
- 1/2 cup sour cream
- 2 teaspoons lemon juice
- 1 cup erythritol
- 2 large eggs (assumed to be included in filling for texture and balance – added to complete the recipe)
Instructions
- Preheat Oven: Preheat your oven to 350°F (175°C) to ensure it’s ready for baking the crust and cheesecake.
- Prepare Crust Mixture: In a large bowl, combine almond flour, erythritol, unsweetened cocoa powder, and baking powder. Mix thoroughly to evenly distribute the dry ingredients.
- Add Wet Ingredients to Crust: Stir in the melted unsalted butter, eggs, and vanilla extract to the dry mixture. Mix until you have a uniform, moist dough.
- Press and Bake Crust: Press this crust mixture firmly into the bottom of a springform pan, shaping it evenly. Bake in the preheated oven for 10-12 minutes until set.
- Make Cheesecake Filling: In a separate bowl, beat the softened cream cheese until smooth and creamy. Add sour cream, lemon juice, erythritol, and the additional eggs, then mix until fully combined and smooth.
- Assemble Cheesecake: Pour the cream cheese filling over the pre-baked crust and smooth the top with a spatula for even baking.
- Bake Cheesecake: Return the pan to the oven and bake for an additional 40-45 minutes, or until the cheesecake is set but still slightly jiggly in the center.
- Cool and Serve: Remove from oven and let the cheesecake cool completely before slicing and serving to allow it to firm up and develop its full flavor.
Notes
- Ensure cream cheese and sour cream are at room temperature for easier mixing and smoother texture.
- Using erythritol keeps this recipe keto-friendly by replacing sugar with a low-carb sweetener.
- Make sure not to overbake the cheesecake; it should still have a slight jiggle when done to achieve a creamy texture.
- Allow the cheesecake to cool at room temperature before refrigerating for best slicing results.
- Optional: Add a few drops of red food coloring for a more traditional red velvet appearance.


