“`html
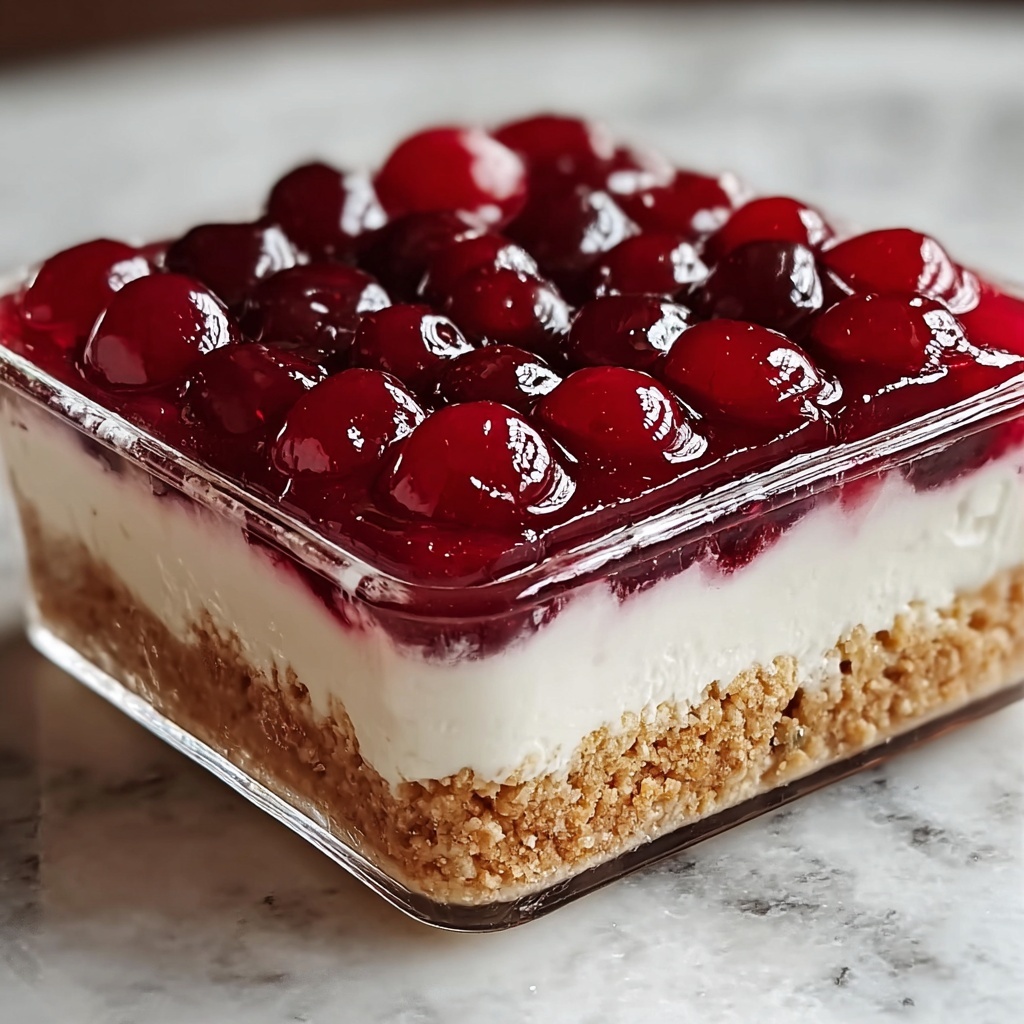
If you’re craving a dessert that feels like a warm hug on a plate, look no further than this Classic Cherry Delight Recipe. It’s a luscious blend of creamy, dreamy layers piled over a buttery graham cracker crust, topped with vibrant cherry pie filling that brings the perfect pop of sweetness and color. Whether you’re making it for a family gathering or just because you deserve a little treat, this no-bake delight is absolutely irresistible, easy to whip up, and guaranteed to become a favorite in your dessert rotation.
Ingredients You’ll Need
The beauty of the Classic Cherry Delight Recipe lies in its simple, straightforward ingredients that play their roles perfectly to create a harmonious taste and texture experience. Each ingredient is essential, whether adding sweetness, creaminess, or that delightful crunch from the crust.
- Unsalted butter: Melts smoothly to bind the graham cracker crumbs for a firm yet tender crust.
- Graham cracker crumbs: Provide a sweet, slightly crunchy foundation that perfectly balances the rich filling.
- Granulated sugar: Adds just a touch of extra sweetness and helps the crust hold together.
- Cream cheese: Softened for a silky, tangy base that cuts through the sweet layers beautifully.
- Powdered sugar: Sweeps in a smooth sweetness that dissolves perfectly into the cream cheese.
- Pure vanilla extract: Infuses warmth and depth to the creamy filling, making every bite comforting.
- Cool Whip: Whipped and airy, it lightens the cream cheese mixture into a fluffy mousse-like texture.
- Cherry pie filling: The star topping, bursting with juicy cherries and a sweet glaze that brightens the dessert.
How to Make Classic Cherry Delight Recipe
Step 1: Prepare the Crust
Start by melting the unsalted butter in a medium bowl in the microwave—this only takes about 30 seconds. Next, add the graham cracker crumbs and granulated sugar to the melted butter. Stir everything together until the crumbs are evenly coated, which helps them bind together when pressed. Firmly press this mixture into the bottom of a greased 8×8-inch baking dish. This sturdy, buttery crust sets the stage for the creamy layers to come.
Step 2: Make the Creamy Filling
In a large bowl, beat the softened cream cheese with a mixer until it’s perfectly smooth and free of lumps. Add the powdered sugar and pure vanilla extract, mixing again until everything is fully combined and silky. Now, gently fold in the Cool Whip; this step transforms the filling into a light, fluffy cloud of flavor. Spread this dreamy mixture evenly over your graham cracker crust, creating a velvety layer that’s pure indulgence.
Step 3: Add the Cherry Topping
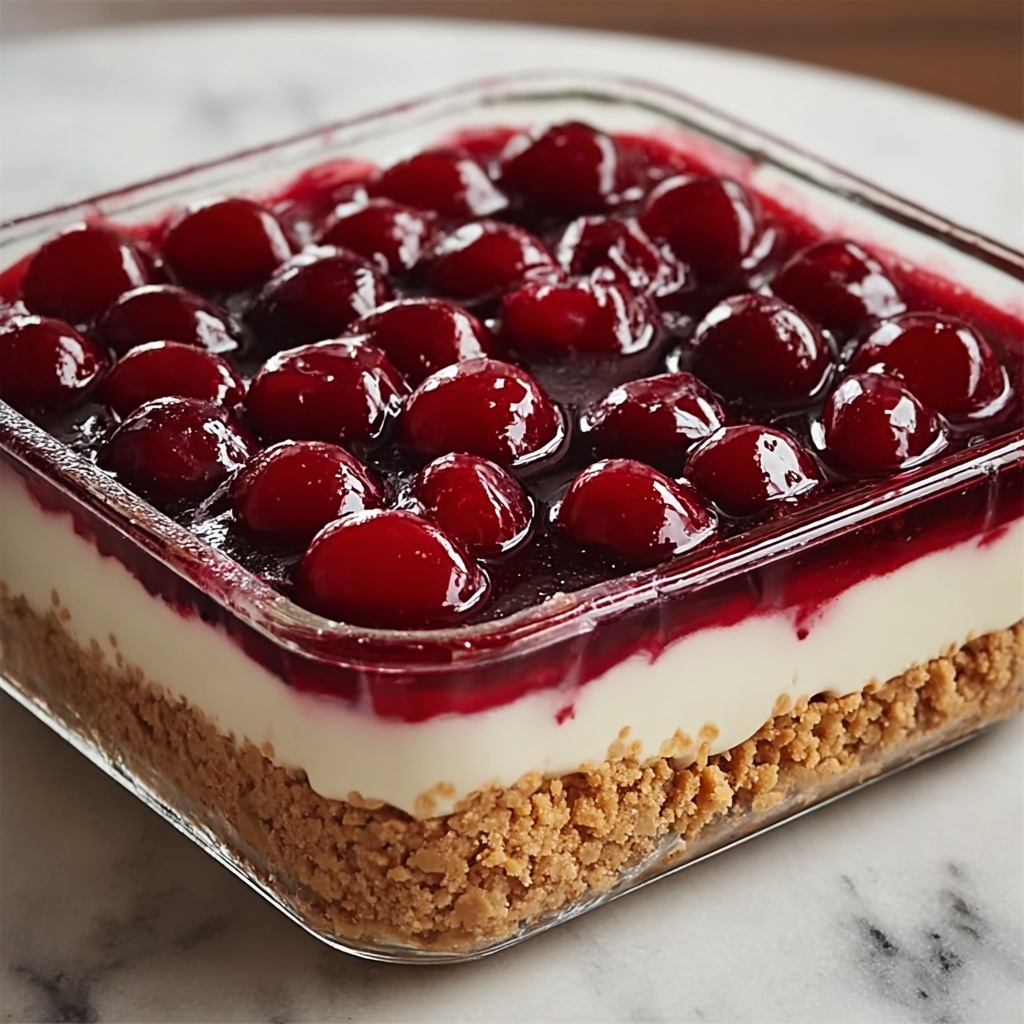
Take the cherry pie filling and spoon it lovingly over the cream cheese layer. Spread it as evenly as possible — don’t be shy about piling on those juicy cherries! This finishing touch is what makes the Classic Cherry Delight Recipe truly pop, bringing vibrant color and that irresistible burst of sweet-tart flavor that makes every spoonful memorable.
Step 4: Chill and Set
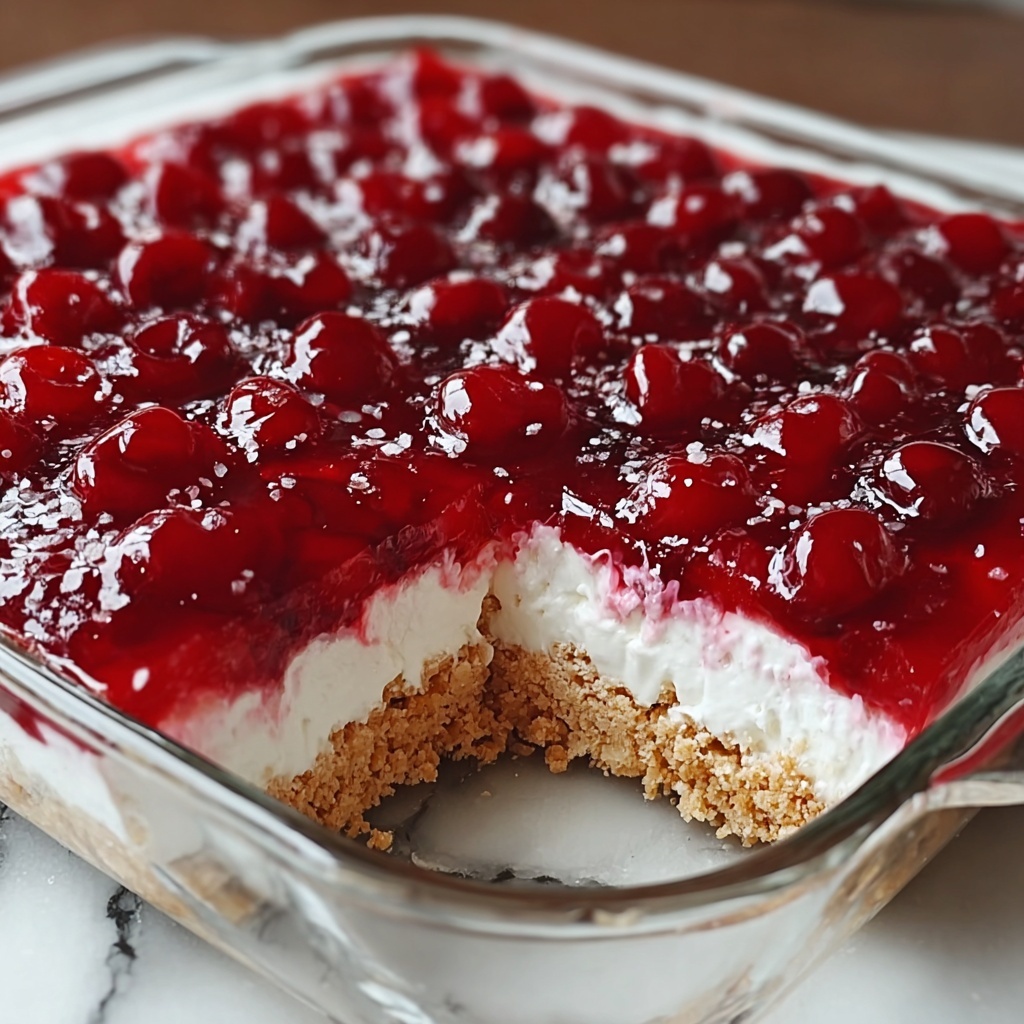
Refrigeration is key here. Place your dessert in the fridge for at least 2 hours, but overnight is best if you can wait that long. This chilling time lets the layers firm up and the flavors meld together beautifully. When you’re ready to serve, you’ll be rewarded with a cool, creamy slice of heaven.
How to Serve Classic Cherry Delight Recipe
Garnishes
Garnishing your Classic Cherry Delight Recipe can be as simple or as fancy as you like. A few extra fresh cherries on top can elevate the look, while a sprinkle of finely chopped nuts adds crunch and depth. If you’re feeling playful, a drizzle of melted dark chocolate or a dusting of cocoa powder provides a decadent contrast to the cherry sweetness.
Side Dishes
This dessert pairs wonderfully with light accompaniments. Think of a dollop of freshly whipped cream for an extra creamy touch or some vanilla bean ice cream to echo the dessert’s smooth texture. Fresh fruit on the side, like sliced strawberries or blueberries, adds a fresh brightness that complements the rich cherry layers beautifully.
Creative Ways to Present
For a twist on tradition, try serving the Classic Cherry Delight Recipe in individual glasses or mason jars—perfect for parties or casual get-togethers. Layer the crust, filling, and cherries more than once to create a stunning parfait effect. You can also use festive-themed serving dishes to add personality or create mini versions in muffin tins for easy portion control.
Make Ahead and Storage
Storing Leftovers
Leftover Classic Cherry Delight Recipe is just as delightful as the day it was made. Keep it covered tightly with plastic wrap or in an airtight container in the refrigerator for up to 3 days. This way, the layers stay fresh, and the flavors continue to deepen.
Freezing
If you want to enjoy this dessert later, it freezes surprisingly well. Wrap it securely with plastic wrap and then foil to prevent freezer burn, and store it for up to one month. When you’re ready to indulge, thaw in the fridge overnight to maintain its creamy texture and vibrant cherry topping.
Reheating
This dessert is best enjoyed chilled, so reheating is not recommended. However, if your slice needs a little softening after fridge time, let it sit at room temperature for 10-15 minutes before serving for the perfect melt-in-your-mouth experience.
FAQs
Can I use fresh cherries instead of cherry pie filling?
Absolutely! Fresh cherries make a wonderful topping, especially when tossed with a bit of sugar and lemon juice to mimic that pie filling sweetness and shine. Just keep in mind the texture will be less syrupy.
Is it necessary to use Cool Whip, or can I use fresh whipped cream?
You can definitely substitute fresh whipped cream if you prefer. It will add a more natural flavor and slightly different texture, but either works beautifully for this dreamily creamy filling.
Can I make this dessert gluten-free?
Yes! Simply swap the graham cracker crumbs with a gluten-free graham cracker or a gluten-free cookie crumble. The rest of the ingredients are naturally gluten-free.
How long does it take to prepare this dessert?
The hands-on time is very short — about 15 to 20 minutes — but you need to chill it for at least 2 hours to let it set perfectly before serving.
Can I double the recipe for a larger gathering?
Definitely! Just double all the ingredients and use a larger baking dish or prepare two 8×8 pans. Adjust chilling time to ensure the dessert sets properly.
Final Thoughts
You simply cannot go wrong with the Classic Cherry Delight Recipe. It’s a sweet, comforting, and crowd-pleasing dessert that feels like a special occasion no matter when you make it. So grab those ingredients, invite a friend over, and enjoy every bite of this delightful cherry dream. Trust me, this recipe is going to earn a permanent spot in your dessert repertoire!
“`
Print
Classic Cherry Delight Recipe
- Prep Time: 15 minutes
- Cook Time: 0 minutes
- Total Time: 2 hours 15 minutes
- Yield: 9 servings
- Category: Dessert
- Method: No-Cook
- Cuisine: American
Description
Classic Cherry Delight is a no-bake, creamy dessert featuring a buttery graham cracker crust, a smooth cream cheese filling, and a sweet cherry pie topping. Perfect for gatherings, this easy-to-make treat offers a delightful balance of textures and flavors that will please any crowd.
Ingredients
Crust
- 7 tablespoons unsalted butter
- 1 1/2 cups graham cracker crumbs (about 9 whole crackers)
- 3 tablespoons granulated sugar
Filling
- 8 ounces cream cheese, softened
- 1 cup powdered sugar
- 1 teaspoon pure vanilla extract
- 1 container Cool Whip (8 ounces)
Topping
- 1 can cherry pie filling (21 ounces)
Instructions
- Prepare the Crust: Melt the butter in a medium bowl using the microwave for about 30 seconds until fully melted.
- Mix Crust Ingredients: Combine the graham cracker crumbs and granulated sugar with the melted butter, stirring until the mixture is evenly combined.
- Press into Baking Dish: Firmly press the crumb mixture into the bottom of a greased 8×8-inch baking dish to form an even crust layer. Set aside.
- Make the Filling: In a large bowl, beat the softened cream cheese with a mixer until smooth and creamy, ensuring there are no lumps.
- Add Sweeteners and Flavor: Add the powdered sugar and vanilla extract to the cream cheese, mixing thoroughly until fully incorporated.
- Fold in Cool Whip: Gently fold the container of Cool Whip into the cream cheese mixture, blending carefully to keep the filling light and airy.
- Spread Filling: Evenly spread the cream cheese mixture over the prepared graham cracker crust in the baking dish.
- Add Cherry Topping: Spoon the cherry pie filling over the cream cheese layer, spreading it evenly to cover the surface.
- Chill and Serve: Refrigerate the assembled dessert for at least 2 hours, preferably overnight, to let it set and flavors meld before serving.
Notes
- Ensure the cream cheese is softened at room temperature for easy mixing and a smooth filling.
- Press the crust firmly for a sturdy base that holds the filling well.
- Chilling overnight improves texture and flavor integration.
- For a lighter dessert, use a reduced-fat cream cheese and low-fat whipped topping.
- You can substitute cherry pie filling with other fruit pie fillings like blueberry or strawberry for variety.


