Classic Butter Croissants Recipe
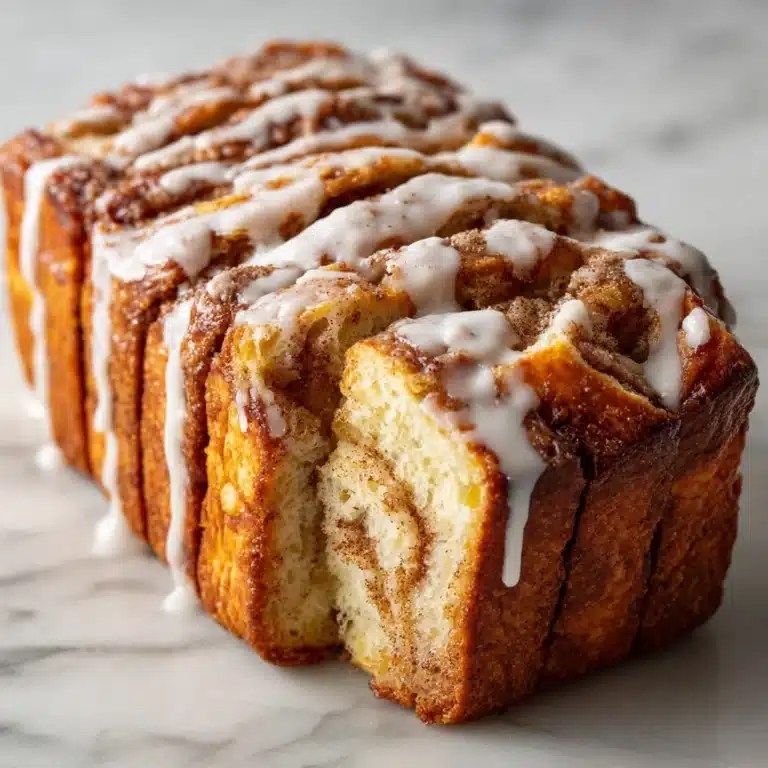
If you’ve ever strolled past a bakery with golden, flaky pastries beckoning from the window, you already know the power of Classic Butter Croissants. There’s just nothing quite like the shatteringly crisp layers and fragrant buttery aroma wafting from a tray of fresh, homemade croissants. While it may seem like the stuff of Parisian dreams, making these pastries at home is entirely doable, and the result is an irresistibly delicious breakfast treat that’s worth every moment of effort.

Ingredients You’ll Need
The magic of Classic Butter Croissants begins with a handful of simple, high-quality ingredients. Each plays a vital role in creating the light, flaky texture and rich, nuanced flavor that make these croissants unforgettable. Let’s take a look at what you’ll need and why it matters:
- All-purpose flour: Provides the essential structure, allowing the dough to rise and those beautiful layers to form.
- Granulated sugar: Gives a touch of sweetness and helps activate the yeast for a golden finish.
- Instant yeast: Speeds up rising and gives the croissants their signature airy crumb.
- Salt: Balances the flavor and strengthens the dough.
- Whole milk (warm): Adds richness, tenderness, and helps bring everything together.
- Unsalted butter (softened, for dough): Creates a supple base dough that’s easy to work with and enhances flavor.
- Unsalted butter (cold, for laminating): This is the star of the show, forming flaky, pull-apart layers during lamination.
- Egg: Used for a glossy, bakery-style finish thanks to a simple egg wash.
- Water: Mixed with the egg to ensure perfect browning.
How to Make Classic Butter Croissants
Step 1: Prepare the Dough
Begin your journey to perfect Classic Butter Croissants by mixing flour, sugar, yeast, and salt together in a large bowl. Add the warm milk and softened butter, stirring until a rough dough forms. Knead it for about five minutes until the dough becomes smooth and elastic—it should feel slightly tacky but not sticky. Cover the bowl and refrigerate for at least one hour, allowing the gluten to relax and the flavors to meld.
Step 2: Make the Butter Block
While your dough is chilling, take the cold butter meant for laminating and place it between two sheets of parchment paper. Use a rolling pin to pound and roll it into a neat 8×8-inch square, aiming for butter that’s firm yet pliable. Keeping the butter cold is crucial for those signature croissant layers later on.
Step 3: Enclose the Butter and Laminate
Once your dough is thoroughly chilled, dust your work surface with flour and roll the dough into a 12×12-inch square. Set the chilled butter square in the center at a diagonal, then fold the dough corners over to fully enclose the butter like a cozy envelope. Roll out this butter packet into a long rectangle, then fold it into thirds, letter-style. This first “turn” is key for the flaky layers, so wrap the dough and chill for 30 minutes to keep everything cold and manageable.
Step 4: Repeat Rolling and Folding
Repeat the rolling and folding process two more times, each time rolling the dough into a rectangle, folding it into thirds, and chilling for 30 minutes between turns. These turns build up the delicate layers that define Classic Butter Croissants, so be patient—it’s worth it!
Step 5: Shape the Croissants
After completing the final fold and giving the dough a good chill (at least one hour, overnight is best), roll the dough out into a large rectangle about 1/4 inch thick. Using a sharp knife or pizza cutter, trim the edges and then slice the dough into long triangles. Starting from the wide base, roll each triangle tightly toward the tip, giving you that unmistakable croissant shape. Arrange them on a parchment-lined baking sheet, making sure the tip is tucked under each croissant to prevent unrolling.
Step 6: Proof and Bake
Cover the shaped croissants and let them rise at room temperature for 1.5 to 2 hours, until they look puffy and jiggly—don’t rush this step! Preheat your oven to 400°F (200°C). Beat the egg with a tablespoon of water and brush the tops gently. Bake for 15 to 20 minutes, or until your kitchen smells heavenly and the croissants are deeply golden. Let them cool slightly before serving—they’ll be hot and irresistibly fragrant!
How to Serve Classic Butter Croissants

Garnishes
For a little extra flair, sprinkle your Classic Butter Croissants with a shower of powdered sugar or add a light glaze of honey once they’re just cool enough to handle. If you’re feeling decadent, a smear of raspberry or apricot jam is always a good idea, or add a square of chocolate to the center before rolling for an easy pain au chocolat variation.
Side Dishes
Pair these croissants with a strong cup of coffee or a creamy café au lait for a true Parisian breakfast experience. For a balanced brunch, serve alongside fresh fruit salad, soft scrambled eggs, or a platter of cheese and charcuterie. Classic Butter Croissants are incredibly versatile and shine on any breakfast or brunch table.
Creative Ways to Present
Invite your guests to “build their own croissant” with a spread of whipped butter, fruit preserves, and artisan cheeses. For special occasions, slice croissants horizontally and fill them with smoked salmon and herbed cream cheese or pile in roasted veggies and scrambled eggs. The possibilities are endless—and every one is utterly delicious.
Make Ahead and Storage
Storing Leftovers
If you have any Classic Butter Croissants left (though I doubt it!), simply place them in an airtight container at room temperature for up to two days. They may soften slightly, but a quick refresh in the oven brings them right back to life.
Freezing
One of the best things about making croissants at home is that you can bake some now and freeze the rest for another day. Freeze unbaked, shaped croissants on a tray, then transfer them to a freezer-safe bag. When you’re ready for fresh croissants, bake straight from the freezer—just add a few extra minutes to the baking time.
Reheating
To revive day-old croissants, pop them in a preheated oven at 325°F for 5 to 8 minutes. This brings back their signature crisp exterior and warm, pillowy interior, making them taste almost as good as freshly baked.
FAQs
Can I use active dry yeast instead of instant yeast?
Absolutely! Just be sure to activate the yeast in warm milk with a pinch of sugar before adding it to your flour mixture. The rise times may be slightly longer, so keep an eye on your dough as it proofs.
Why does the butter need to stay cold when laminating?
Cold butter is the secret to flaky layers in Classic Butter Croissants. If the butter melts or becomes too soft, it will blend into the dough and the layers won’t develop, so chilling between folds is essential.
How do I know when the croissants are fully proofed and ready to bake?
Your croissants are ready when they look puffed, jiggly, and have nearly doubled in size. If you tap them lightly, they should feel airy—not dense. Under-proofed croissants won’t be as light and fluffy, so patience pays off!
Can I prepare the dough ahead of time?
Yes—you can refrigerate the laminated dough overnight after the last turn. In fact, an overnight chill often leads to even better flavor and easier shaping the next day.
What if the croissant dough tears or butter leaks out?
If you notice any butter poking through the dough, simply patch it with a little extra flour-dusted dough. Keep everything as cool as possible, and don’t worry—a little escaping butter won’t ruin your Classic Butter Croissants!
Final Thoughts
If you’re longing for the ultimate homemade pastry experience, Classic Butter Croissants truly deliver on every front. Take your time, savor the process, and the result will reward you with layers upon layers of buttery goodness you’ll want to share with everyone—or maybe keep to yourself! Gather your ingredients, roll up your sleeves, and dive in. You’ll soon have a batch of croissants that taste like they came straight from a Paris bakery, right in your own kitchen.
Print
Classic Butter Croissants Recipe
- Total Time: 6–8 hours (includes chilling and proofing time)
- Yield: 12 croissants 1x
- Diet: Vegetarian
Description
Learn how to make classic butter croissants at home with this detailed recipe. These flaky, buttery pastries are a delightful treat for breakfast or any time of day.
Ingredients
Dough:
- 4 cups all-purpose flour
- 1/2 cup granulated sugar
- 1 tablespoon instant yeast
- 1 1/2 teaspoons salt
- 1 1/4 cups whole milk (warm)
- 1/2 cup unsalted butter (softened, for dough)
Butter Block:
- 1 1/4 cups unsalted butter (cold, for laminating)
Egg Wash:
- 1 egg
- 1 tablespoon water
Instructions
- Dough Preparation: Combine flour, sugar, yeast, and salt. Add warm milk and softened butter. Knead until smooth. Refrigerate for 1 hour.
- Butter Block: Roll cold butter into a square. Chill. Roll out dough, enclose butter, fold, and chill. Repeat folding process.
- Shaping Croissants: Roll out dough, cut into triangles, roll into croissants. Let rise. Brush with egg wash.
- Baking: Preheat oven. Bake croissants until golden brown. Cool before serving.
Notes
- For extra flakiness, chill the croissants before baking.
- Dough can be frozen after shaping for later baking.
- Prep Time: 2 hours (active)
- Cook Time: 20 minutes
- Category: Breakfast
- Method: Baking
- Cuisine: French
Nutrition
- Serving Size: 1 croissant
- Calories: 320
- Sugar: 5g
- Sodium: 210mg
- Fat: 20g
- Saturated Fat: 13g
- Unsaturated Fat: 6g
- Trans Fat: 0g
- Carbohydrates: 28g
- Fiber: 1g
- Protein: 5g
- Cholesterol: 55mg


