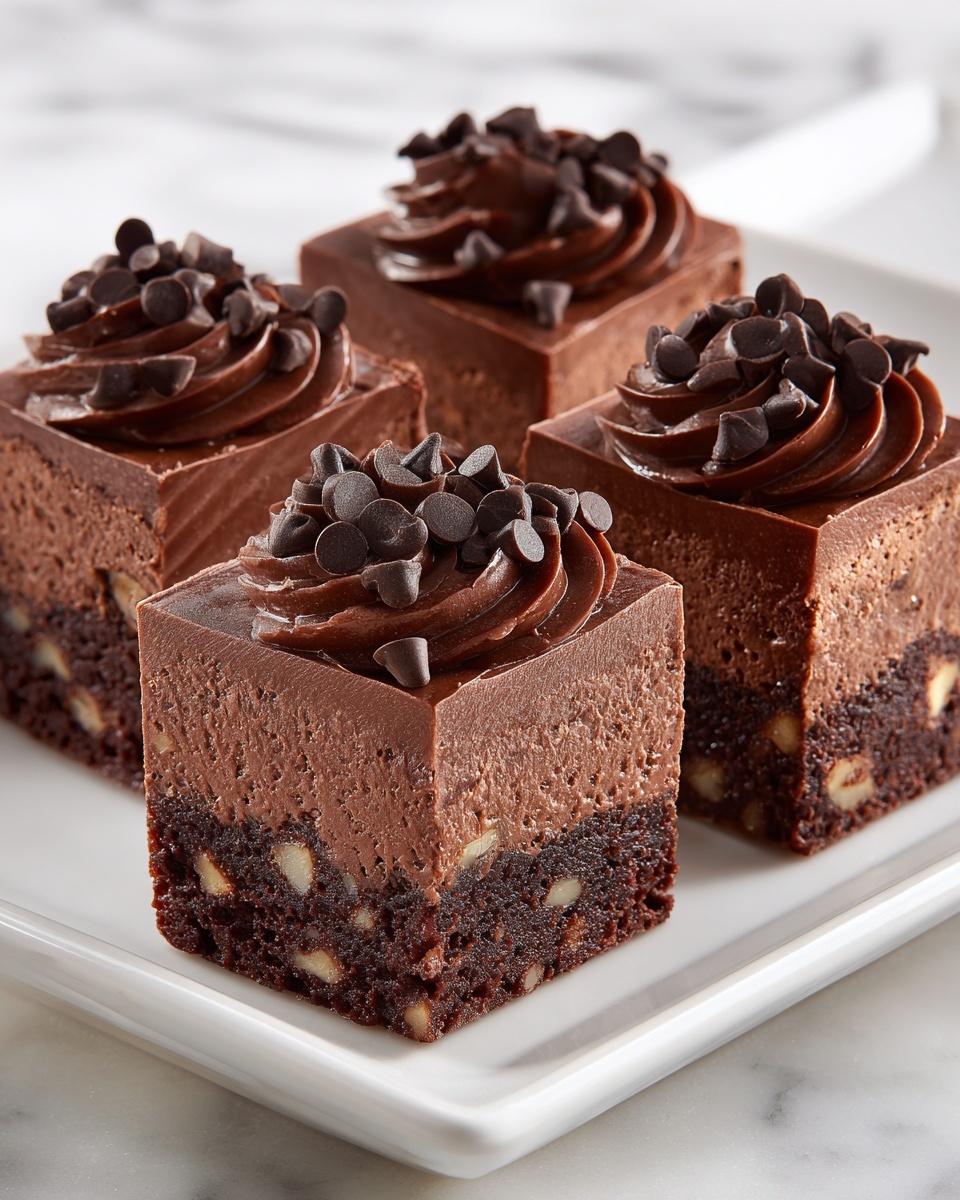
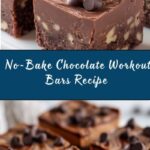
If you’re on the lookout for a snack that’s delicious, nutritious, and perfect to fuel your active lifestyle, this Chocolate Workout Bars Recipe is an absolute game-changer. These bars combine the rich, indulgent flavor of chocolate with wholesome ingredients like nut butter and oat flour, giving you a delightful treat that’s packed with energy and protein. Whether you’re powering through a workout, need a mid-day pick-me-up, or just crave something satisfying and guilt-free, these bars are ready to become your new favorite go-to snack.
Ingredients You’ll Need
This recipe is wonderfully simple but every ingredient plays a crucial role, working together to create the perfect balance of texture, flavor, and nutrition. From the creamy nut butter to the chocolatey cocoa powder, each component adds its own magic to the mix.
- Peanut butter or almond butter: Provides healthy fats and creaminess, creating the chewy base of the bars.
- Honey, maple syrup, or agave syrup: Adds natural sweetness and helps bind ingredients together.
- Unsweetened cocoa powder: Offers rich chocolate flavor without extra sugar.
- Oat flour: Gives structure and adds a gentle, comforting chewiness.
- Protein powder (optional): Boosts protein content to support muscle repair and recovery.
- Salt: Enhances all the flavors and balances the sweetness.
- Milk of choice: Adjusts dough consistency and keeps the bars moist.
- Mini chocolate chips (optional): Add bursts of melty chocolate surprise in every bite.
How to Make Chocolate Workout Bars Recipe
Step 1: Prepare Your Pan
Start by lining an 8×8-inch baking pan with parchment paper. This simple step ensures your bars don’t stick and makes cleanup a breeze, so you can focus on enjoying your delicious creation.
Step 2: Mix the Wet Ingredients
In a medium bowl, combine the peanut or almond butter, honey (or your chosen syrup), and unsweetened cocoa powder. Stir these together until you achieve a smooth, chocolatey mixture that smells absolutely amazing.
Step 3: Add the Dry Ingredients
Next, stir in the oat flour, protein powder if you’re using it, and a pinch of salt. Mix until you form a thick dough where every bite will deliver a perfect balance of nutrition and texture.
Step 4: Adjust the Dough Consistency
If the dough feels too dry or crumbly, add your milk one tablespoon at a time, mixing after each addition. This step is all about getting that ideal pliable, slightly sticky dough that presses easily into the pan.
Step 5: Incorporate Chocolate Chips
For an extra chocolatey touch and a bit of fun texture, fold in mini chocolate chips. They melt slightly as the bars set, creating delightful pockets of gooey goodness.
Step 6: Press and Chill
Press the dough evenly into your prepared pan and smooth the surface with a spatula or your hands. Pop the pan into the refrigerator and let the bars chill for at least one hour so they firm up perfectly.
Step 7: Slice and Enjoy
Once set, lift the bars out using the parchment paper, slice into your desired size, and get ready to enjoy the perfect pre- or post-workout snack.
How to Serve Chocolate Workout Bars Recipe
Garnishes
Want to dress up your bars before serving? Try sprinkling a few sea salt flakes on top or add a dusting of extra cocoa powder. If you’re feeling adventurous, a drizzle of melted dark chocolate or a sprinkle of finely chopped nuts amps up both the look and flavor.
Side Dishes
These bars are wonderfully portable on their own, but they also pair beautifully with a glass of cold milk or your favorite plant-based alternative. For a refreshing contrast, enjoy them with a bowl of fresh berries or a scoop of Greek yogurt on the side.
Creative Ways to Present
If you’re sharing at a gathering or gifting these bars, consider wrapping individual pieces in wax paper tied with twine or stacking them neatly in a pretty tin. You could also cut them into bite-sized squares for a delightful snack platter that’s perfect for sharing.
Make Ahead and Storage
Storing Leftovers
These bars keep best when stored in an airtight container in the refrigerator. They’ll stay fresh and chewy for up to a week, making it easy to grab a quick, energizing snack whenever you need one.
Freezing
If you want to keep these bars for longer, they freeze wonderfully. Wrap them individually in plastic wrap and place them in a freezer-safe bag or container. When you’re ready to eat, just thaw in the fridge overnight.
Reheating
While these bars are perfect cold or at room temperature, if you prefer a warm treat, pop one in the microwave for 15–20 seconds. The chocolate chips will soften deliciously, and you’ll get that fresh-out-of-the-oven feeling in seconds.
FAQs
Can I use a different nut butter in this Chocolate Workout Bars Recipe?
Absolutely! Almond butter, cashew butter, or even sunflower seed butter all work beautifully. Just choose your favorite flavor and consistencies, and the bars will turn out fantastic.
Is protein powder necessary in this recipe?
Not at all. Protein powder is optional and can be added if you want an extra protein boost, but the bars are already packed with protein from the nut butter and oats, so they work perfectly without it.
Can these bars be made gluten-free?
Yes! Use certified gluten-free oat flour to ensure the bars remain gluten-free, making them suitable for those with gluten sensitivities.
How long do these Chocolate Workout Bars last?
When stored properly in the fridge, they last about one week. For longer storage, freezing is a great option and keeps them tasty for up to three months.
Can I substitute the sweetener?
Definitely. Honey, maple syrup, or agave syrup all work well. You can also experiment with other liquid sweeteners you enjoy, but keep the quantity consistent for the best texture.
Final Thoughts
There’s something truly comforting about making homemade snacks that not only taste incredible but also fuel your body the right way. This Chocolate Workout Bars Recipe hits all those marks — it’s easy, wholesome, and utterly delicious. I can’t wait for you to try it and discover just how simple and satisfying healthy snacking can be!
Print
Chocolate Workout Bars Recipe
- Prep Time: 15 minutes
- Cook Time: 0 minutes
- Total Time: 1 hour 15 minutes
- Yield: 8 bars
- Category: Snack
- Method: No-Cook
- Cuisine: American
- Diet: Vegetarian
Description
These Chocolate Workout Bars are a nutritious and delicious snack perfect for replenishing energy after exercise. Combining peanut or almond butter, cocoa powder, and oat flour, they offer a rich chocolate flavor with the option to boost protein content for added muscle support. Easy to prepare and no-bake, these bars set in the refrigerator, making them an ideal grab-and-go healthy treat.
Ingredients
Dry Ingredients
- 1/4 cup unsweetened cocoa powder
- 1/2 cup oat flour
- 1/4 cup protein powder (optional)
- 1/4 tsp salt
- 1/4 cup mini chocolate chips (optional)
Wet Ingredients
- 1/2 cup peanut butter or almond butter
- 1/4 cup honey, maple syrup, or agave syrup
- 2 tbsp milk of choice, as needed
Instructions
- Prepare the Pan: Line an 8×8-inch baking pan with parchment paper to prevent sticking and make it easier to remove the bars later.
- Mix Wet Ingredients: In a bowl, combine the peanut butter, honey (or chosen syrup), and cocoa powder. Stir until smooth and well incorporated, creating a chocolatey base.
- Add Dry Ingredients: Stir in the oat flour, optional protein powder, and salt. Mix until a thick dough forms, ensuring all dry ingredients are evenly distributed.
- Adjust Consistency: Gradually add milk one tablespoon at a time if the dough feels dry or crumbly, stirring until you achieve a moldable consistency.
- Incorporate Chocolate Chips: Fold in the mini chocolate chips if using, distributing them evenly throughout the dough for bursts of chocolate in each bar.
- Shape the Bars: Press the mixture evenly into the prepared pan, smoothing the top with the back of a spoon or your hands for an even surface.
- Chill to Set: Refrigerate the pan for at least 1 hour to allow the bars to firm up and hold their shape.
- Slice and Store: Once set, slice into 8 bars and store in an airtight container in the refrigerator to keep them fresh.
Notes
- You can substitute peanut butter with almond butter or any other nut/seed butter to suit your preference or dietary needs.
- The protein powder is optional but helps increase the protein content, making these bars more suitable for post-workout recovery.
- Adjust sweetness by choosing honey, maple syrup, or agave syrup according to your taste and dietary restrictions.
- Adding milk is to help achieve the right dough consistency; use dairy or plant-based milk as preferred.
- Store bars in the refrigerator for up to one week or freeze for longer storage.
- For a crunchier texture, try adding chopped nuts or seeds into the mixture.


