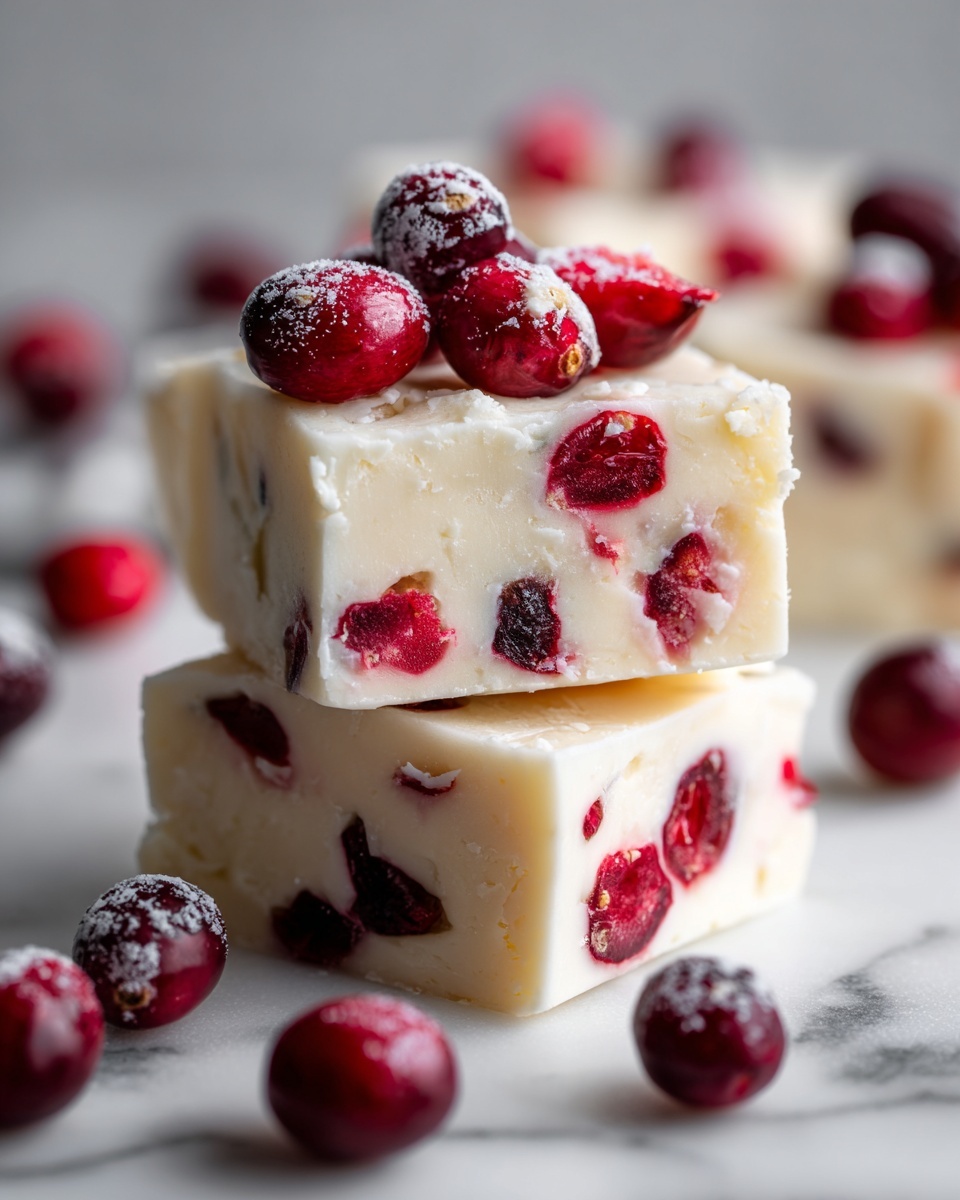
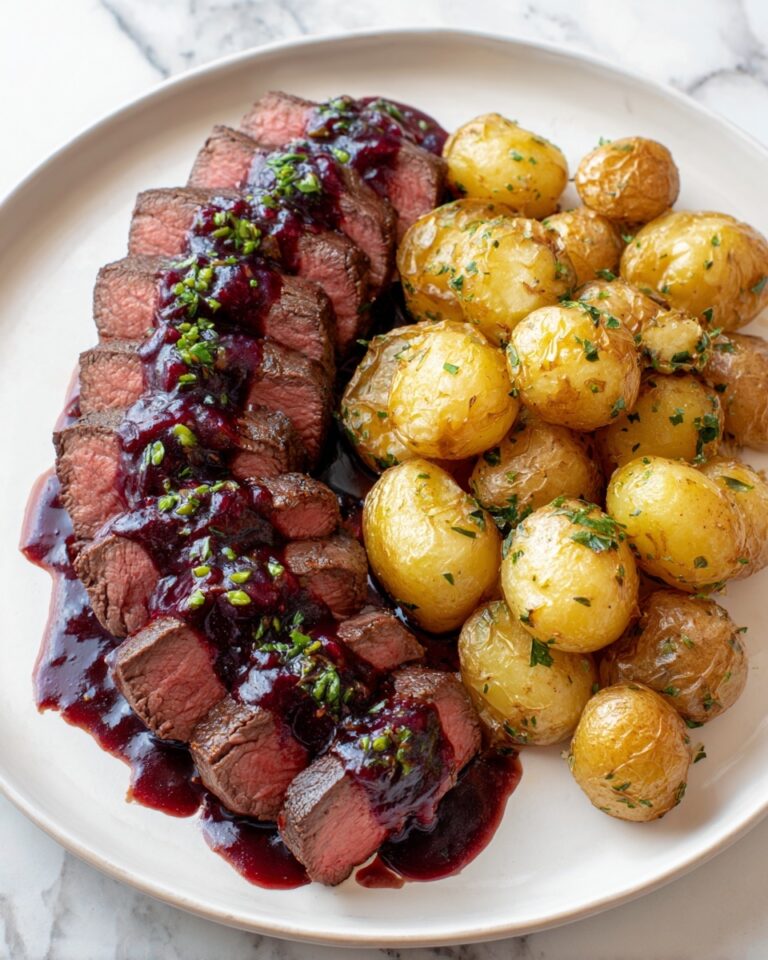
If you have a soft spot for the perfect blend of cherry and chocolate, then this Cherry Garcia Fudge Recipe is about to become your new obsession. Imagine bite-sized squares of creamy, dreamy fudge packed with juicy maraschino cherries, crunchy walnuts, and rich chocolate—all coming together in a no-bake, super simple treat that feels like a loving hug from your favorite ice cream flavor. This fudge is not only irresistible but also incredibly easy to whip up when you want to impress without fuss. Get ready to indulge in something truly special that’s bursting with flavor and texture in every bite.
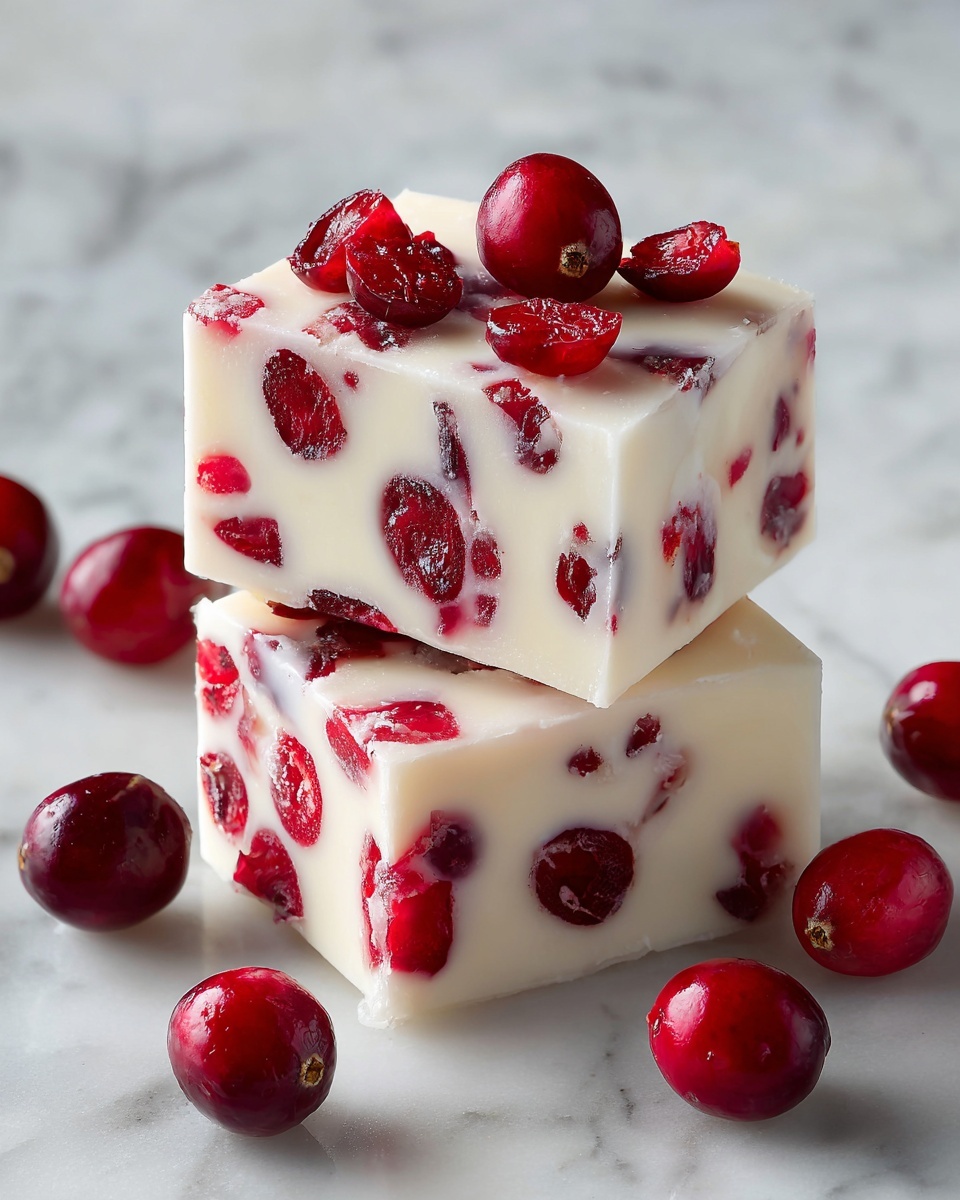
Ingredients You’ll Need
All you need for this cherry-chocolate delight are a handful of classic, pantry-friendly ingredients that each play a crucial role in making the fudge perfectly smooth, fruity, and satisfyingly crunchy. Trust me, these simple components come together beautifully to create a treat that’s more than the sum of its parts.
- 2 cups semi-sweet chocolate chips: Provides the rich, chocolatey base that melts smoothly for that luscious fudge texture.
- 1 can (14 oz) sweetened condensed milk: Adds incredible creaminess and sweetness while binding everything together without baking.
- 1/2 cup chopped maraschino cherries (drained and patted dry): The star ingredient delivering bursts of juicy cherry flavor and vibrant color.
- 1/2 cup chopped walnuts: Adds a satisfying crunch and earthiness that balances the sweetness perfectly.
- 1/2 teaspoon vanilla extract: Enhances the overall flavor with warm, sweet notes that complement the chocolate and cherries.
- 1/4 teaspoon almond extract (optional): Offers a subtle nutty aroma that makes the fudge taste extra special and bakery-fresh.
- 1/2 cup mini chocolate chips (for topping, optional): A delightful finishing touch for extra chocolate bursts and texture on top.
How to Make Cherry Garcia Fudge Recipe
Step 1: Prepare Your Pan
Start by lining an 8×8-inch baking dish with parchment paper. Make sure to leave some overhang on the sides—it makes lifting the fudge out a breeze once it’s set. This little prep step saves time and keeps your fudge looking neat and perfect for cutting into squares.
Step 2: Melt the Chocolate Base
In a medium saucepan over low heat, combine your semi-sweet chocolate chips with the sweetened condensed milk. Stir constantly for about 5 minutes until everything melts into a smooth, glossy mixture. This gentle melting process ensures the fudge will be silky without burning the chocolate.
Step 3: Flavor Infusion
Remove the saucepan from heat and immediately stir in your vanilla extract and almond extract if you’re using it. These extracts take the flavor to the next level, turning simple chocolate fudge into a flavor-packed Cherry Garcia experience.
Step 4: Fold in the Goodies
Now, gently fold in the chopped maraschino cherries and walnuts. Be sure your cherries are properly drained and patted dry before adding—they keep your fudge from becoming watery. This step ensures every bite has that perfect balance of chewy cherry and crunchy nut.
Step 5: Chill and Set
Pour your luscious fudge mixture into the prepared pan and smooth out the top with a spatula. If you want that extra chocolate pop, sprinkle mini chocolate chips on top before chilling. Place the pan in the refrigerator and let it chill for at least 2 hours until the fudge firms up completely.
Step 6: Slice and Enjoy
Once the fudge is set, use the parchment paper overhang to lift it out of the pan. Cut it into about 25 small squares, and you’re ready to dive into these cherry chocolate morsels of joy.
How to Serve Cherry Garcia Fudge Recipe
Garnishes
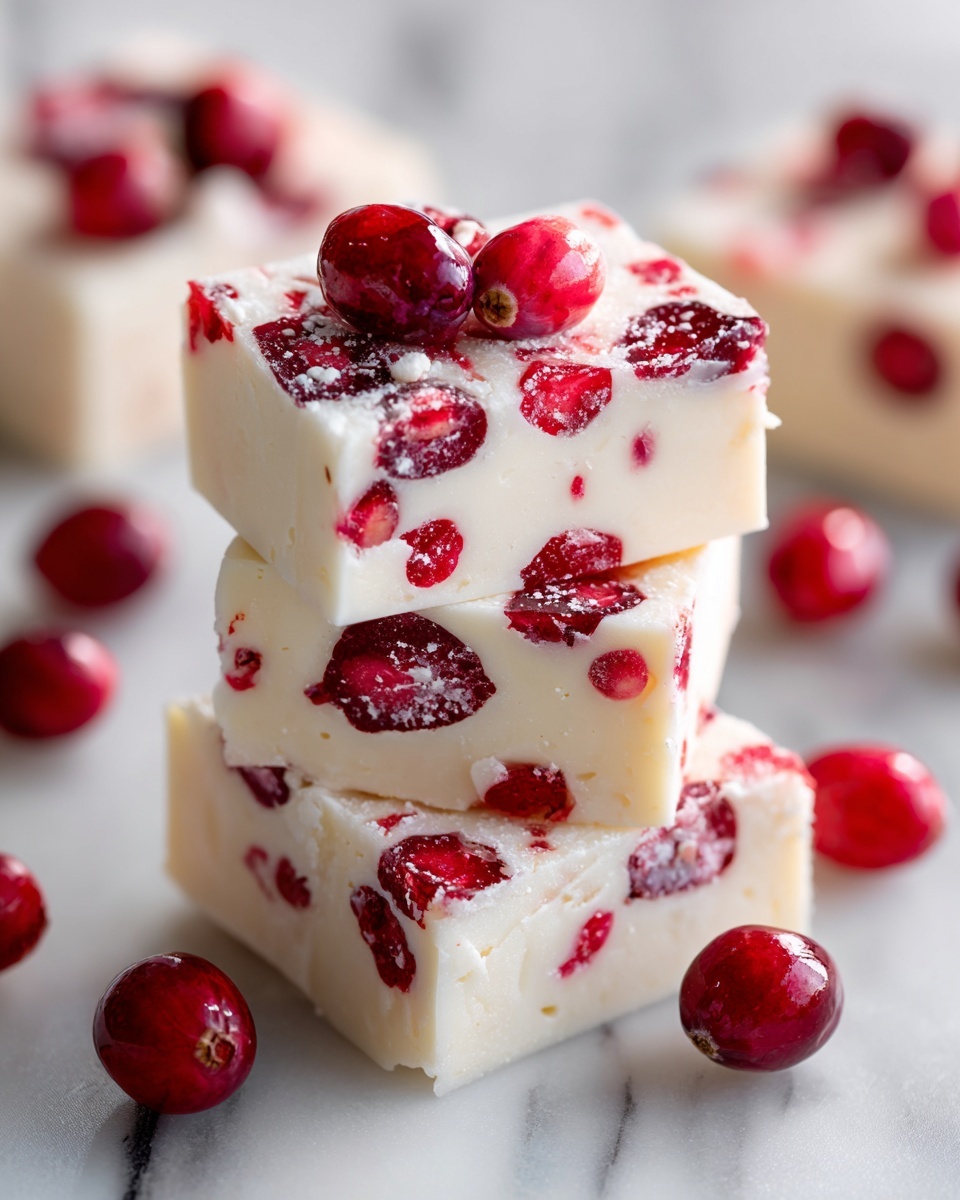
For a pretty presentation that’s both simple and impressive, top each fudge square with a small maraschino cherry half or a whole walnut. You could even drizzle a bit of melted white chocolate for a pop of contrast. These finishing touches not only make the fudge look gorgeous but add extra flavor accents that guests will notice right away.
Side Dishes
This fudge pairs wonderfully with rich, creamy coffee or a classic black tea to balance its sweetness. A glass of cold milk works just as well for a nostalgic treat, especially if you want to serve it as a midday indulgence or at a party dessert table.
Creative Ways to Present
For gifting or special occasions, arrange the fudge squares in a decorative tin layered with wax paper or festive tissue. You can also serve them on a wooden board with fresh cherries and nuts spread around for an inviting, rustic vibe. Wrapping individual pieces in colorful cellophane tied with a ribbon makes for charming little favors that friends and family will adore.
Make Ahead and Storage
Storing Leftovers
Cherry Garcia Fudge keeps beautifully in an airtight container stored in the refrigerator for up to one week. Be sure to separate layers with parchment or wax paper so the squares don’t stick together. This way, your fudge stays fresh, chewy, and delicious bite after bite.
Freezing
If you want to keep your fudge even longer, wrap individual squares tightly in plastic wrap or foil, then place them in a freezer-safe container. Frozen fudge can last for up to 3 months and thaws quickly at room temperature when you’re ready for a sweet treat.
Reheating
This fudge is best enjoyed cold or at room temperature, so reheating isn’t typically necessary. However, if you prefer softer fudge, you can leave it out at room temperature for 10 to 15 minutes before serving. Avoid microwaving as it may cause the fudge to sweat or become grainy.
FAQs
Can I use fresh cherries instead of maraschino cherries?
Fresh cherries contain much more moisture than maraschino cherries, which can affect the fudge’s texture. If you want to use fresh cherries, make sure to pit, chop, and dry them thoroughly, then consider reducing the sweetened condensed milk slightly to keep the fudge firm.
Is it possible to make this fudge nut-free?
Absolutely! You can simply omit the walnuts or substitute them with crushed graham crackers for a different but equally delicious crunch. This tweak makes the fudge safe and tasty for those with nut allergies.
How long does it take for the fudge to set?
While the fudge sets fairly quickly in the refrigerator, allowing it at least 2 hours ensures it firms up nicely for clean cuts and the best texture. For extra firmness, chilling overnight works perfectly too.
Can I use dark chocolate instead of semi-sweet?
Yes! Using dark chocolate chips will give the fudge a richer, more intense chocolate flavor, which pairs beautifully with the cherries and walnuts. You might want to taste the mixture before chilling and add a touch more condensed milk if it tastes too bitter for your liking.
What’s the best way to cut fudge into perfect squares?
Use a sharp knife and warm it slightly by dipping it in hot water and wiping it dry before slicing. This helps create smooth, clean cuts without cracking or sticking. Cleaning the knife between cuts also keeps the pieces looking neat and uniform.
Final Thoughts
There’s something truly magical about this Cherry Garcia Fudge Recipe—it’s comfort and elegance rolled into one irresistible bite. Whether you’re making it for a festive occasion, a cozy night in, or as a thoughtful homemade gift, this fudge is guaranteed to brighten your day and delight everyone lucky enough to try it. Don’t wait to treat yourself and those you love to this charming and delicious dessert classic!
Print
Cherry Garcia Fudge Recipe
- Prep Time: 10 minutes
- Cook Time: 5 minutes
- Total Time: 15 minutes (plus at least 2 hours chilling)
- Yield: 25 squares
- Category: Dessert
- Method: Stovetop
- Cuisine: American
- Diet: Vegetarian
Description
Cherry Garcia Fudge is a rich and creamy no-bake dessert combining semi-sweet chocolate, sweetened condensed milk, and classic flavors of maraschino cherries and walnuts. This easy-to-make fudge is perfect for holidays or any special occasion, offering a delightful balance of chocolate and fruit with a crunchy nutty texture.
Ingredients
Main Ingredients
- 2 cups semi-sweet chocolate chips
- 1 can (14 oz) sweetened condensed milk
- 1/2 cup chopped maraschino cherries (drained and patted dry)
- 1/2 cup chopped walnuts
- 1/2 teaspoon vanilla extract
- 1/4 teaspoon almond extract (optional)
Topping (Optional)
- 1/2 cup mini chocolate chips
Instructions
- Prepare Pan: Line an 8×8-inch baking dish with parchment paper, leaving some overhang on the sides to allow easy removal of the fudge once set.
- Melt Chocolate Mixture: In a medium saucepan over low heat, combine the semi-sweet chocolate chips and sweetened condensed milk. Stir constantly to ensure the mixture melts smoothly without burning, about 5 minutes.
- Add Flavorings: Remove the pan from heat and stir in the vanilla extract and almond extract (if using) to infuse the fudge with rich aromas.
- Incorporate Cherries and Nuts: Fold in the chopped maraschino cherries and walnuts evenly throughout the chocolate mixture to create a balanced texture and flavor.
- Set in Pan: Pour the fudge mixture into the prepared baking dish and smooth the surface with a spatula. Sprinkle the top with mini chocolate chips if desired for extra chocolatey bites.
- Chill: Refrigerate the fudge for at least 2 hours or until it is firm and set.
- Slice and Serve: Lift the fudge from the pan using the parchment paper overhang and cut into approximately 25 squares for serving.
Notes
- Ensure cherries are thoroughly dried with paper towels to prevent excess moisture, which can affect the fudge texture.
- Store the fudge in an airtight container in the refrigerator to keep it fresh for up to one week.
- For a nut-free alternative, omit walnuts or substitute with crushed graham crackers for added crunch.

