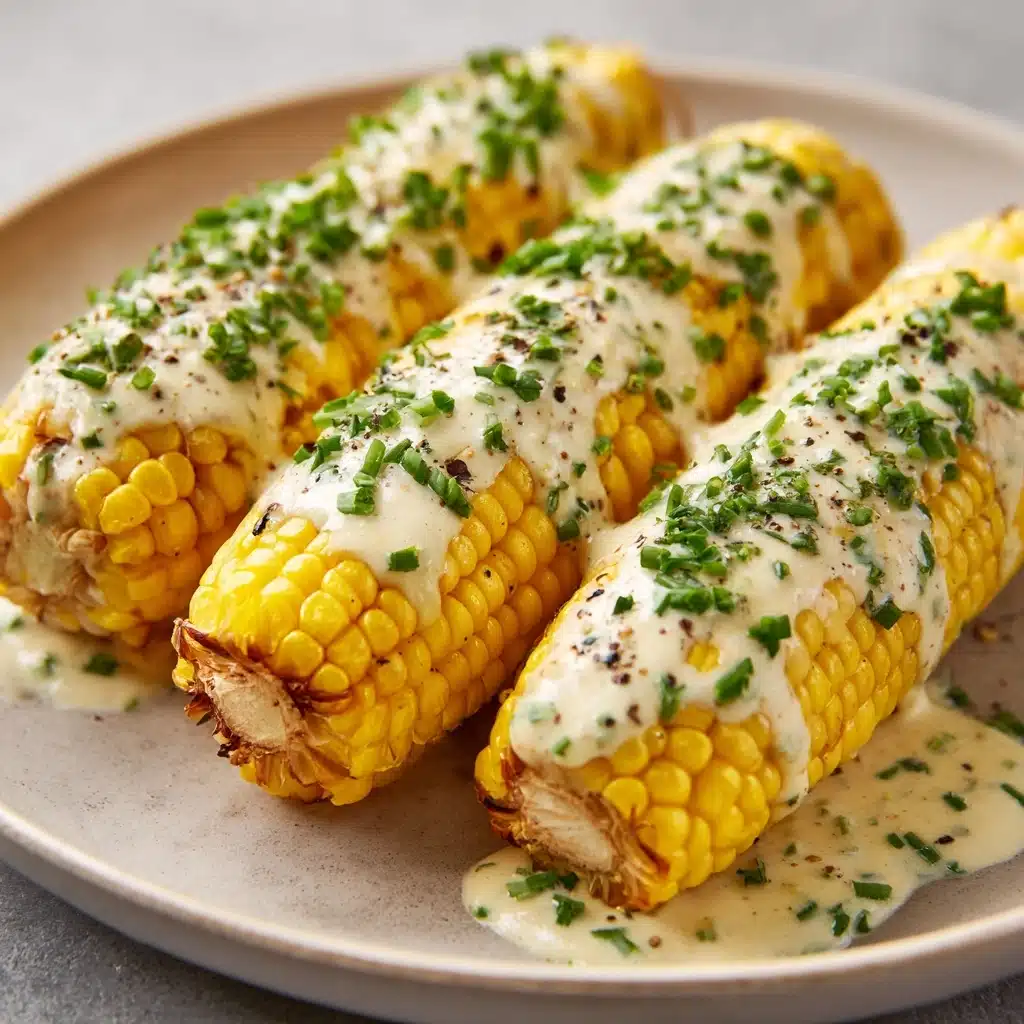
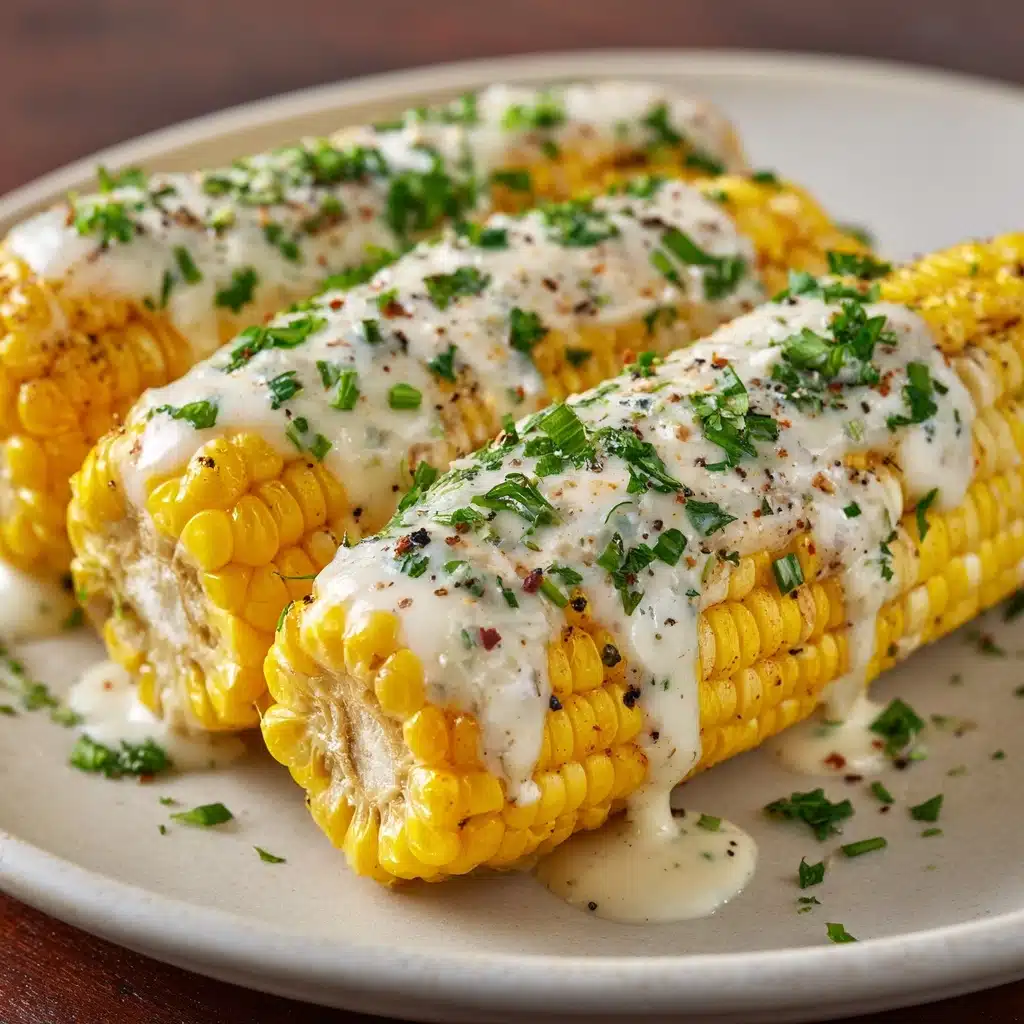
Cheesy Garlic Butter Corn on the Cob Recipe
If you dream of serving up a summer side that makes everyone’s eyes widen with delight, Cheesy Garlic Butter Corn on the Cob is your golden ticket. This dish takes plump, fresh ears of corn and transforms them into pure magic with the irresistible combination of melted butter, zesty garlic, nutty Parmesan, and a pop of bright herbs. Every bite is a juicy, cheesy celebration that’s downright addictive. Whether you’re firing up the grill for a backyard bash or savoring a cozy weeknight dinner, you’ll want to bookmark this scrumptious recipe for Cheesy Garlic Butter Corn on the Cob again and again.
Ingredients You’ll Need
What makes this dish such a knockout is how a handful of core ingredients come together, each bringing their signature flavor and flair. This list is beautifully approachable, proving that you don’t need anything fancy to whip up a side that tastes absolutely luxurious.
- Corn on the Cob: Opt for fresh, plump ears—these grill up sweet, juicy, and slightly smoky with delicious char marks.
- Unsalted Butter: Melted butter gives every kernel a silky, rich coat that caramelizes slightly on the grill.
- Fresh Garlic: Minced garlic infuses every bite with savory depth and that signature aroma we can’t resist.
- Salt: Just a sprinkle brings out the corn’s natural sweetness and balances the cheese.
- Black Pepper: Adds a subtle, earthy heat that pairs perfectly with creamy butter.
- Grated Parmesan Cheese: The star of the cheesy show—choose fresh Parmesan for the best melt and bold, nutty flavor.
- Fresh Parsley: Chopped parsley livens up the finished dish with a pop of color and freshness.
- Paprika (optional): Adds a gentle smokiness and a splash of fiery red color if you like a little extra flair.
- Lemon Wedges: Serve on the side so everyone can squeeze over a burst of brightness that balances the richness.
How to Make Cheesy Garlic Butter Corn on the Cob
Step 1: Preheat Your Grill or Grill Pan
Get things heated up for success! Preheat your outdoor grill or stovetop grill pan to medium-high heat. A properly hot grill ensures your corn gets those gorgeous char marks and caramelized spots that really make the flavors shine.
Step 2: Mix the Garlic Butter
In a small bowl, blend the melted unsalted butter with the minced fresh garlic, salt, and black pepper. Give it a good stir—it’s going to smell amazing! This is where the magic happens, coating each ear of corn with savory, buttery goodness.
Step 3: Brush the Corn Generously
Using a pastry brush, slather each shucked corn cob with the garlic butter mixture on all sides. Don’t be shy—the more you use, the more luscious and flavorful your corn will be as it grills.
Step 4: Grill the Corn
Lay your buttered corn directly on the hot grill. Let them cook for 10 to 12 minutes, turning every couple of minutes so all sides char evenly and the kernels become perfectly tender. The incredible aroma alone will have everyone asking when dinner’s ready!
Step 5: Finish with Cheese and Herbs
Pull the hot corn off the grill and, while it’s still steaming, immediately shower each ear with a generous sprinkle of grated Parmesan. Watch as it melts into a savory, cheesy crust. Garnish with chopped fresh parsley and a pinch of paprika for a restaurant-worthy finish.
Step 6: Serve with Lemon Wedges
Transfer your Cheesy Garlic Butter Corn on the Cob to a serving platter and offer lemon wedges on the side. A squeeze of lemon takes the flavors over the top, adding just the right tangy zip to balance the richness.
How to Serve Cheesy Garlic Butter Corn on the Cob
Garnishes
Dress up your platter by sprinkling a little extra Parmesan right before serving for even more cheesy appeal. A final dusting of fresh parsley and a hint of paprika add vivid color and a subtle kick. For a special touch, try adding a little crumbled Cotija cheese or a few flakes of sea salt just before digging in.
Side Dishes
Cheesy Garlic Butter Corn on the Cob is a dream match for summer cookouts, but it’s also delicious alongside classic sides like creamy coleslaw, crisp garden salads, grilled veggies, or hearty potato salad. Pair it with juicy grilled chicken, smoky ribs, or a sizzling veggie burger for a memorable meal.
Creative Ways to Present
Skewer the corn pieces onto sticks for fun, mess-free party treats or cut the grilled corn into “ribs” for a trendy twist. Serve the whole platter family-style on a big, festive board, or even turn the cheesy garlic corn into a topping for a loaded street corn salad.
Make Ahead and Storage
Storing Leftovers
If you’re lucky enough to have leftovers, simply let the Cheesy Garlic Butter Corn on the Cob cool completely. Wrap the cobs individually in foil or plastic wrap and store them in the fridge, where they’ll stay moist and flavorful for up to three days.
Freezing
To extend the corn’s life, freeze the cooled ears—either whole or cut into chunks—wrapped tightly in foil or packed in an airtight freezer bag. They’ll hold up nicely in the freezer for up to two months, ready for you to reheat later.
Reheating
For best results, reheat Cheesy Garlic Butter Corn on the Cob by wrapping the cobs in foil and warming in a 350°F oven until hot, about 10 to 12 minutes. You can also zap them in the microwave, covered with a damp paper towel, for quick and easy results. A quick sprinkle of extra cheese never hurts before serving!
FAQs
Can I make Cheesy Garlic Butter Corn on the Cob without a grill?
Absolutely! You can easily roast the buttered corn in the oven at 425°F for about 20 minutes, turning halfway through. It still gets beautifully caramelized and full of flavor.
What cheeses work well besides Parmesan?
While Parmesan delivers classic, nutty flavor, you can use shredded mozzarella for a gooier bite, Cotija for a Southwestern spin, or even sharp cheddar if you’re feeling bold.
How can I make this recipe vegan?
Simply swap the butter for your favorite plant-based alternative, use a vegan Parmesan substitute, and be sure your bread or additional toppings are dairy-free. The garlicky flavor will still shine!
Does this dish work well for meal prep?
Definitely! Cheesy Garlic Butter Corn on the Cob keeps beautifully in the fridge as leftovers. You can grill or roast a big batch and enjoy it cold or reheated throughout the week.
Is it possible to prepare the garlic butter in advance?
Yes! You can mix the garlic butter up to two days ahead. Keep it covered in the fridge, then gently reheat to melt and brush onto the corn when you’re ready to cook.
Final Thoughts
Few things capture the joy of summer and comfort food charm quite like Cheesy Garlic Butter Corn on the Cob. Don’t wait for a special occasion—gather up these simple ingredients and give it a go! Your tastebuds (and your guests) will be so glad you did.
Print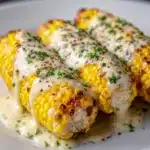
Cheesy Garlic Butter Corn on the Cob Recipe
- Total Time: 22 minutes
- Yield: 6 servings 1x
- Diet: Vegetarian, Gluten-Free
Description
Enjoy the summer flavors with this delicious recipe for Cheesy Garlic Butter Corn on the Cob. Grilled to perfection and topped with a savory garlic butter mixture, Parmesan cheese, and fresh herbs, this side dish is sure to be a hit at your next barbecue.
Ingredients
Ingredients:
- 6 ears of corn (shucked)
- 4 tablespoons unsalted butter (melted)
- 3 cloves garlic (minced)
- 1/2 teaspoon salt
- 1/4 teaspoon black pepper
- 1/2 cup grated Parmesan cheese
- 2 tablespoons chopped fresh parsley
- 1/4 teaspoon paprika (optional)
- lemon wedges for serving
Instructions
- Preheat the grill: Preheat grill or stovetop grill pan to medium-high heat.
- Prepare the garlic butter: In a small bowl, combine melted butter, garlic, salt, and pepper.
- Grill the corn: Brush each ear of corn generously with the garlic butter mixture and grill for 10–12 minutes, turning occasionally, until charred and tender.
- Add toppings: Remove corn from the grill, sprinkle with Parmesan cheese, and garnish with parsley and paprika.
- Serve: Serve with lemon wedges for an extra burst of flavor.
Notes
- For oven roasting, place corn on a baking sheet and roast at 425°F for 20 minutes, turning halfway.
- Cotija cheese can be used instead of Parmesan for a Mexican-style twist.
- Prep Time: 10 minutes
- Cook Time: 12 minutes
- Category: Side Dish
- Method: Grilling
- Cuisine: American
Nutrition
- Serving Size: 1 ear
- Calories: 180
- Sugar: 5g
- Sodium: 260mg
- Fat: 11g
- Saturated Fat: 6g
- Unsaturated Fat: 4g
- Trans Fat: 0g
- Carbohydrates: 17g
- Fiber: 2g
- Protein: 5g
- Cholesterol: 20mg

