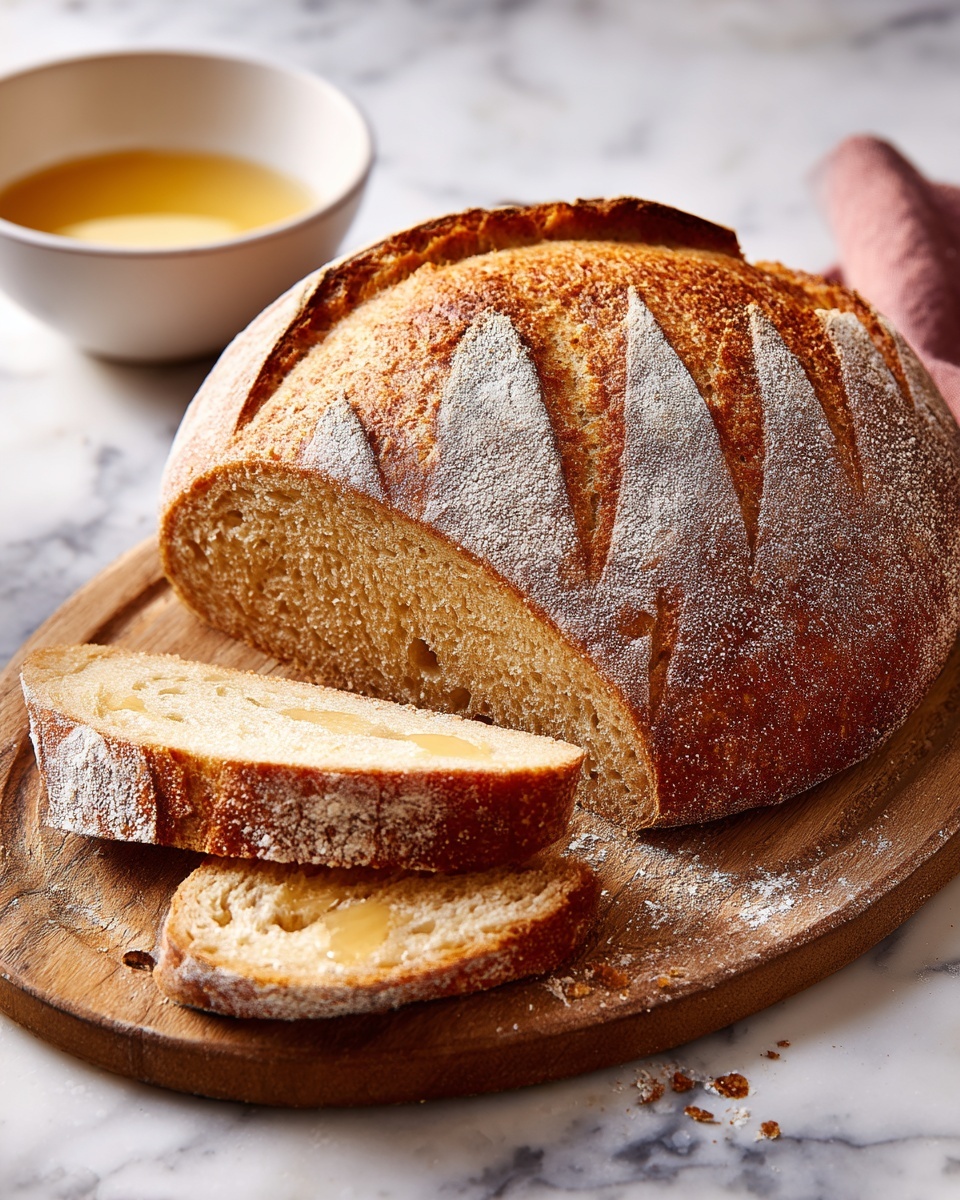
If you have ever wished for a bakery-quality loaf of bread without the hassle of kneading or fancy equipment, then you are in for a treat with the Best No Knead Artisan Bread Recipe. This straightforward, foolproof method creates a crusty, chewy masterpiece with a tender crumb and a deep, flavorful aroma. Whether you’re a beginner or a seasoned bread baker, this recipe captures the magic of artisan bread with minimal effort — making fresh homemade bread accessible anytime!
Ingredients You’ll Need
This recipe relies on a handful of simple, pantry-friendly ingredients, each playing a vital role in creating that perfect crust and fluffy interior. The beauty of this loaf is in its simplicity; no obscure additives, just pure, honest ingredients coming together for incredible results.
- All-purpose flour: The foundation for your bread, providing structure and chewiness with its perfect protein content.
- Coarse sea salt: Elevates the flavor dramatically while enhancing the dough’s texture.
- Active dry yeast (or instant yeast): The tiny powerhouse that makes the dough rise, giving your bread its airy crumb.
- Warm water (around 110°F): Activates the yeast and ensures a smooth, hydrated dough that’s not too sticky.
How to Make Best No Knead Artisan Bread Recipe
Step 1: Mix the Dry Ingredients
Start by whisking together the all-purpose flour, coarse sea salt, and yeast in a large bowl. This even distribution of ingredients sets the stage for a uniform rise and balanced flavor in every bite.
Step 2: Add Warm Water and Form Dough
Pour the warm water over your dry mix and stir until a shaggy dough forms. Don’t worry about getting it perfectly smooth — the rustic texture is part of the charm! The warmth kick-starts the yeast fermentation, promising a lovely rise.
Step 3: Let It Rest Overnight
Cover your bowl with a damp cloth or plastic wrap and let it sit comfortably at room temperature for 12 to 18 hours. This slow fermentation gives the dough complex flavor and those beautiful bubbles that signal it’s ready to bake.
Step 4: Preheat Your Oven and Dutch Oven
Half an hour before baking, crank your oven up to 450°F (230°C) and place a heavy Dutch oven or oven-safe pot inside to heat thoroughly. This hot vessel creates the perfect steamy environment your bread needs for a crisp, crackly crust.
Step 5: Shape the Dough
Turn the dough out onto a generously floured surface, folding it gently to form a round loaf. This shaping locks in the air bubbles, ensuring your bread will stay airy and light once baked.
Step 6: Transfer Dough to Hot Pot
Carefully lift your preheated Dutch oven out of the oven and gently lower the dough inside. Cover it with the lid right away to trap the steam, which helps develop that iconic artisan crust.
Step 7: Bake Twice
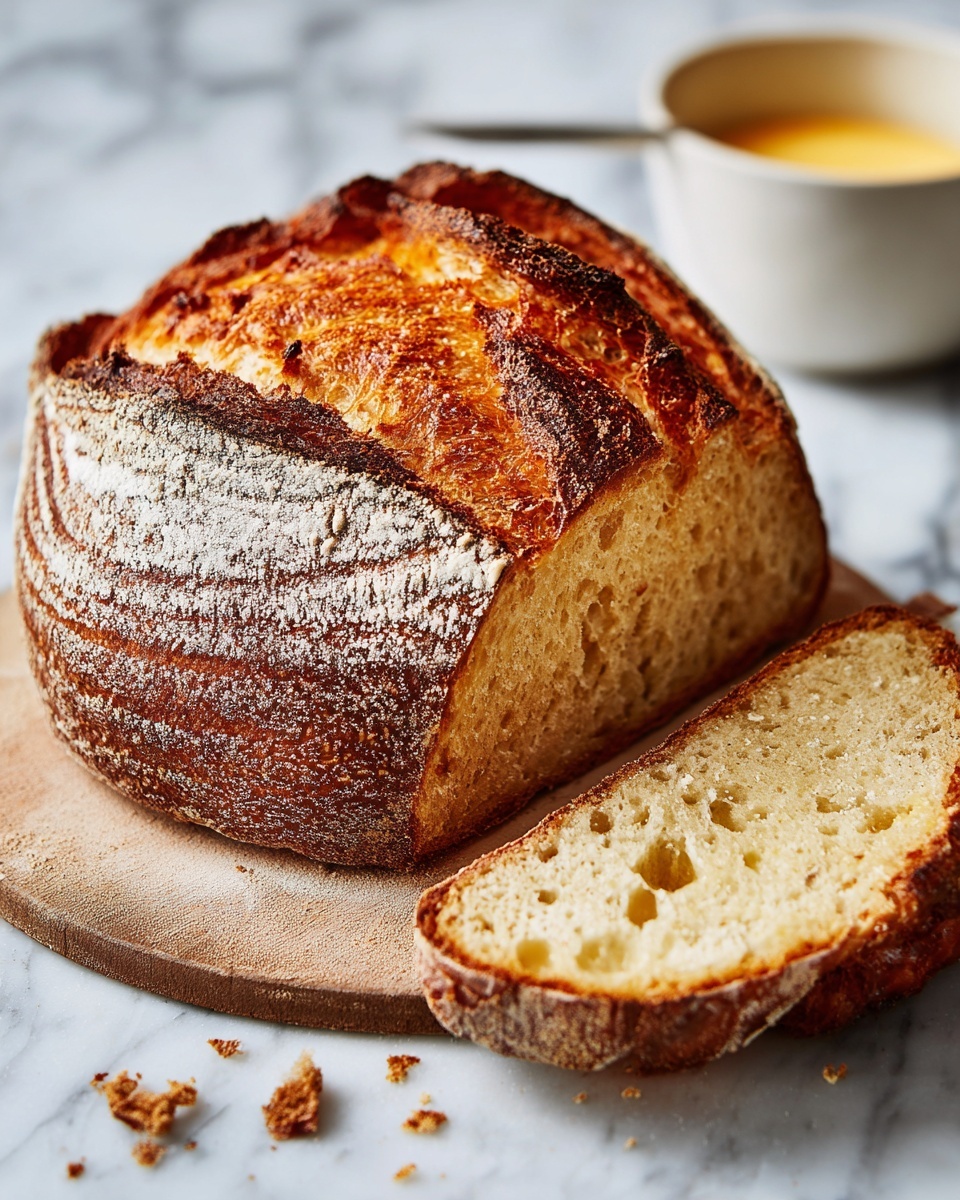
Bake covered for 30 minutes, then remove the lid and bake uncovered for another 10 to 15 minutes until the loaf is beautifully golden brown. You’ll love how the crust deepens in color and becomes delightfully crispy in this final baking stage.
Step 8: Cool Before Slicing
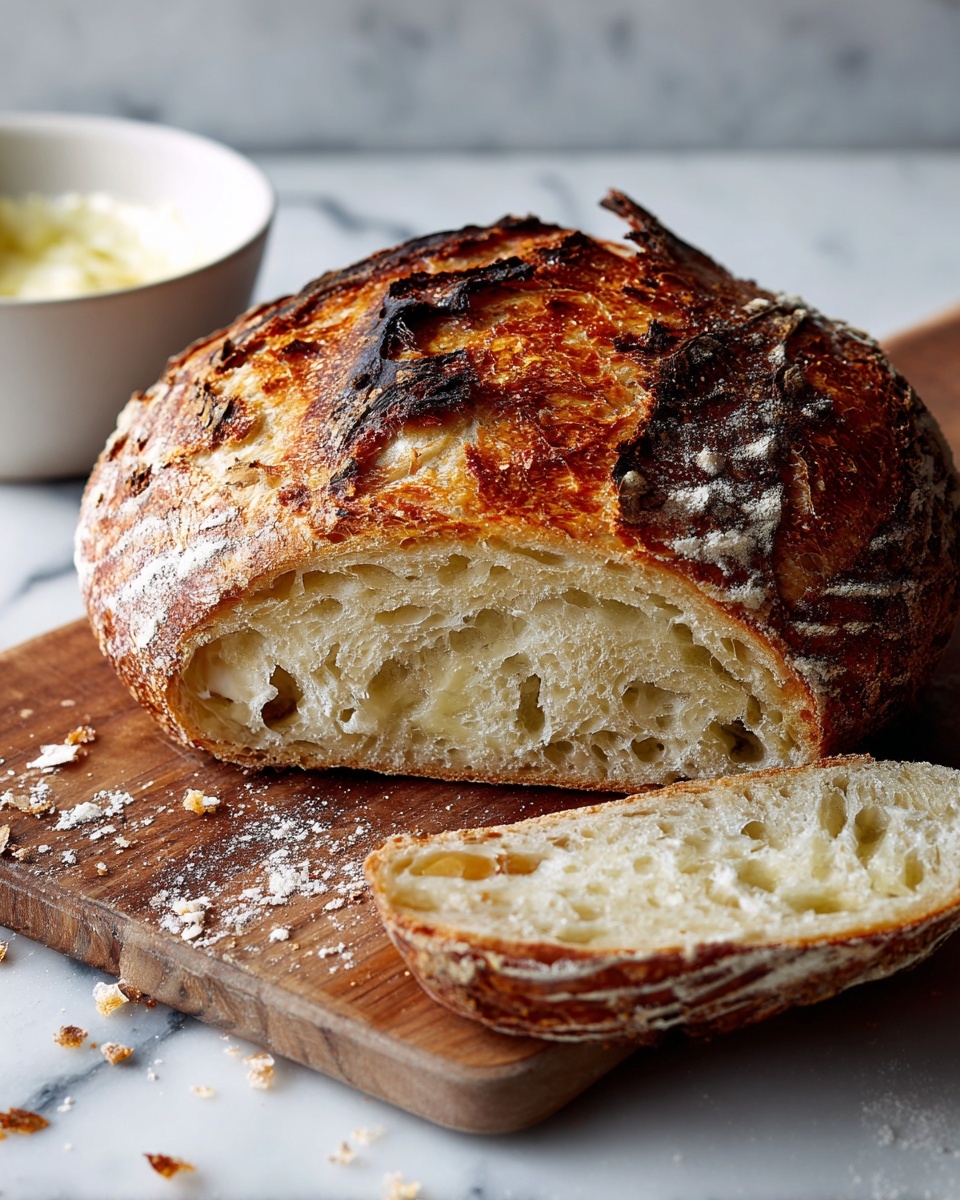
Once baked, remove your loaf from the pot and let it cool completely on a wire rack. This crucial step allows the crumb to set, so when you slice into it, you’ll get those gorgeous open holes every artisan loaf should have.
How to Serve Best No Knead Artisan Bread Recipe
Garnishes
A fresh loaf is a perfect canvas to customize! Consider rubbing the crust lightly with a cut garlic clove or brushing with melted butter for an extra touch of indulgence right out of the oven.
Side Dishes
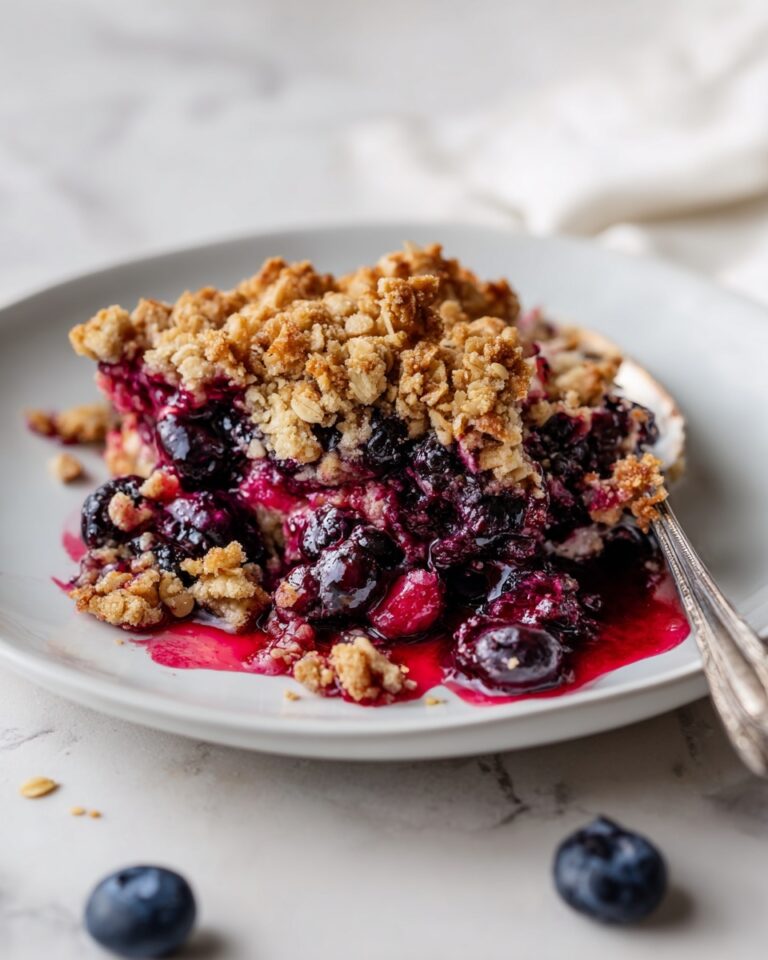
This bread pairs beautifully with everything from creamy soups and fragrant stews to tangy cheeses and fresh, herby salads. Its neutral yet flavorful profile complements so many dishes, it quickly becomes the star of your table.
Creative Ways to Present
Try slicing your bread into thick slabs to toast with olive oil and herbs, or slice thinly for a charming crostini platter. You can even hollow out the center to create an edible bread bowl for dips!
Make Ahead and Storage
Storing Leftovers
Keep your leftover bread fresh by storing it in a paper bag at room temperature. This allows air circulation, preserving the crust’s crunch while keeping the inside soft for up to two days.
Freezing
To enjoy your artisan bread later, wrap it tightly in plastic wrap and place it in a freezer-safe bag. It will maintain its quality for up to three months. Thaw at room temperature when you’re ready to savor that fresh-baked flavor again.
Reheating
Revive your bread by warming it in a preheated 350°F oven for about 10 minutes. This brings back that delightful crisp crust and freshly baked aroma, making every slice as good as when it first came out of the oven.
FAQs
Can I use whole wheat flour instead of all-purpose flour?
Absolutely! You can substitute up to half of the all-purpose flour with whole wheat flour for a nuttier flavor and more nutritious loaf. Just keep in mind that whole wheat can make the bread a bit denser.
Why does the dough need to rest for so long?
The long resting period allows for slow fermentation, which develops deep, complex flavors and creates that signature airy texture. It’s the secret behind the Best No Knead Artisan Bread Recipe’s incredible taste and crust.
Can I skip the Dutch oven and use a baking sheet instead?
While a Dutch oven helps create steam which is key for a crispy crust, you can bake on a preheated baking stone or sheet and add a pan of water to the oven to generate steam. The crust might be slightly different but still delicious.
Is it possible to make the dough smaller or larger?
Yes! This recipe scales well. Just keep your ingredient ratios consistent. Adjust baking times accordingly—a smaller loaf will bake a bit faster, while a larger one needs more time to cook through.
Why does the bread have holes and bubbles inside?
Those holes are a sign of good fermentation and hydration. The yeast creates carbon dioxide during the slow rise, which forms bubbles that get trapped in the dough, giving the bread its airy, open crumb.
Final Thoughts
I promise once you try the Best No Knead Artisan Bread Recipe, you’ll never feel intimidated by bread baking again. It’s simple, satisfying, and endlessly rewarding to pull a golden crusted loaf from your own oven. So gather those few ingredients, set aside some time, and get ready to impress yourself and everyone around with absolutely delicious homemade bread.
Print
Best No Knead Artisan Bread Recipe
- Prep Time: 10 minutes
- Cook Time: 45 minutes
- Total Time: 12 hours 55 minutes
- Yield: 1 loaf (about 1 pound bread)
- Category: Bread
- Method: Baking
- Cuisine: American
- Diet: Vegetarian
Description
This Best No Knead Artisan Bread Recipe delivers a rustic, crusty loaf with minimal effort. Using a slow fermentation process and baking the dough inside a preheated Dutch oven creates a homemade artisan bread with a crisp crust and soft, airy interior – no kneading required.
Ingredients
Dry Ingredients
- 3 cups all-purpose flour
- 2 teaspoons coarse sea salt
- 1/2 teaspoon active dry yeast (or instant yeast)
Wet Ingredients
- 1 ½ cups warm water (about 110°F)
Instructions
- Mix Ingredients: In a large bowl, combine the all-purpose flour, coarse sea salt, and active dry yeast thoroughly.
- Add Water and Stir: Pour in the warm water (around 110°F) and stir until a shaggy dough forms, with no dry flour remaining.
- First Rise: Cover the bowl with a damp cloth or plastic wrap and let it rest at room temperature for 12-18 hours. The dough will rise and develop light bubbles, indicating fermentation.
- Preheat Oven and Dutch Oven: About 30 minutes before baking, preheat your oven to 450°F (230°C). Place a Dutch oven or oven-safe pot with a lid inside the oven to heat up thoroughly.
- Shape the Dough: Turn the rested dough onto a floured surface. Shape it gently into a round loaf, handling the dough carefully to preserve its bubbles.
- Transfer Dough to Hot Pot: Remove the hot Dutch oven from the oven using oven mitts and place the shaped dough inside. Cover it with the lid to trap steam.
- Bake Covered: Bake the bread for 30 minutes with the lid on to create steam that helps form a crust.
- Bake Uncovered: After 30 minutes, remove the lid and continue baking for an additional 10-15 minutes, or until the loaf has developed a golden-brown, crisp crust.
- Cool the Bread: Remove the bread from the Dutch oven and place it on a wire rack to cool completely before slicing to allow the crumb to set.
Notes
- Use warm water to activate the yeast; water that’s too hot or cold can affect rising.
- Resting time can vary between 12 to 18 hours depending on room temperature; longer fermentation improves flavor.
- Using a Dutch oven or a heavy oven-safe pot with a lid is crucial to trap steam and achieve the crusty exterior.
- Make sure to cool the bread before slicing to maintain its internal texture.


