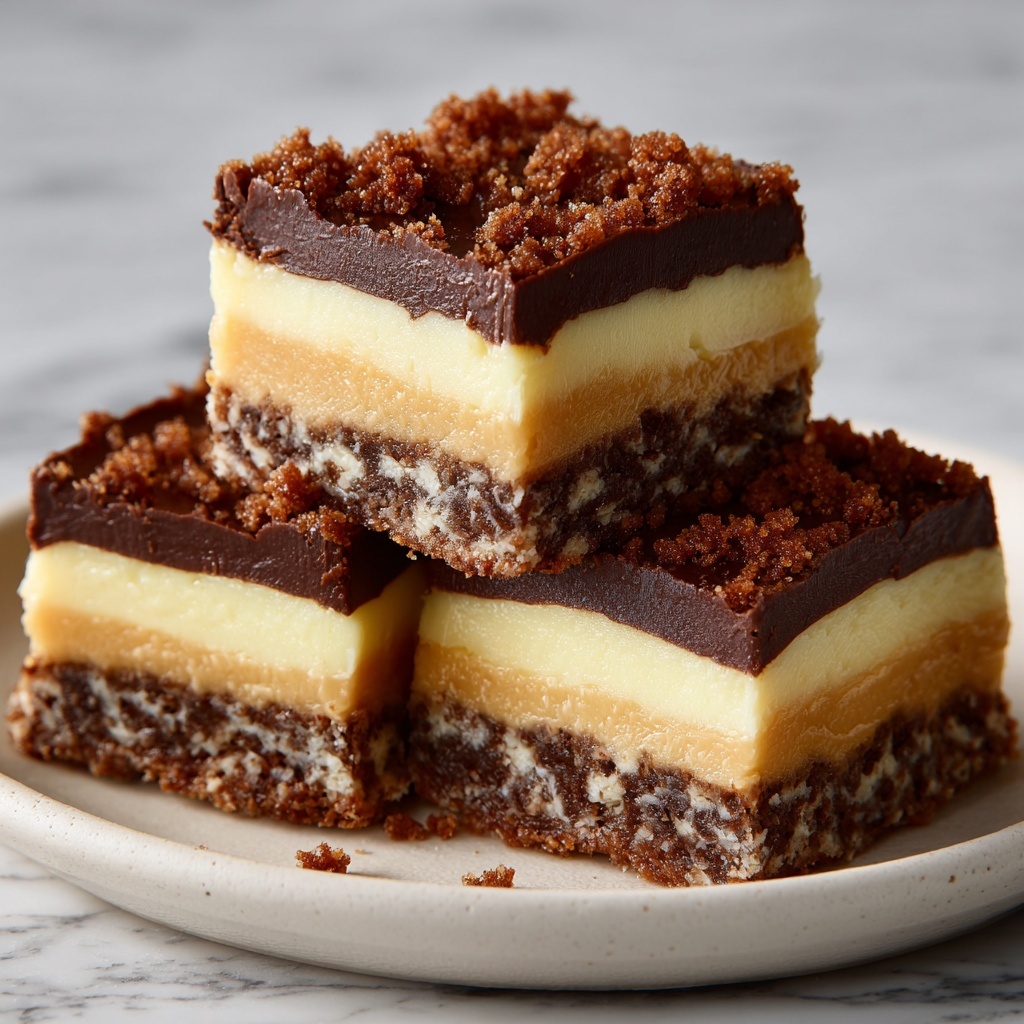
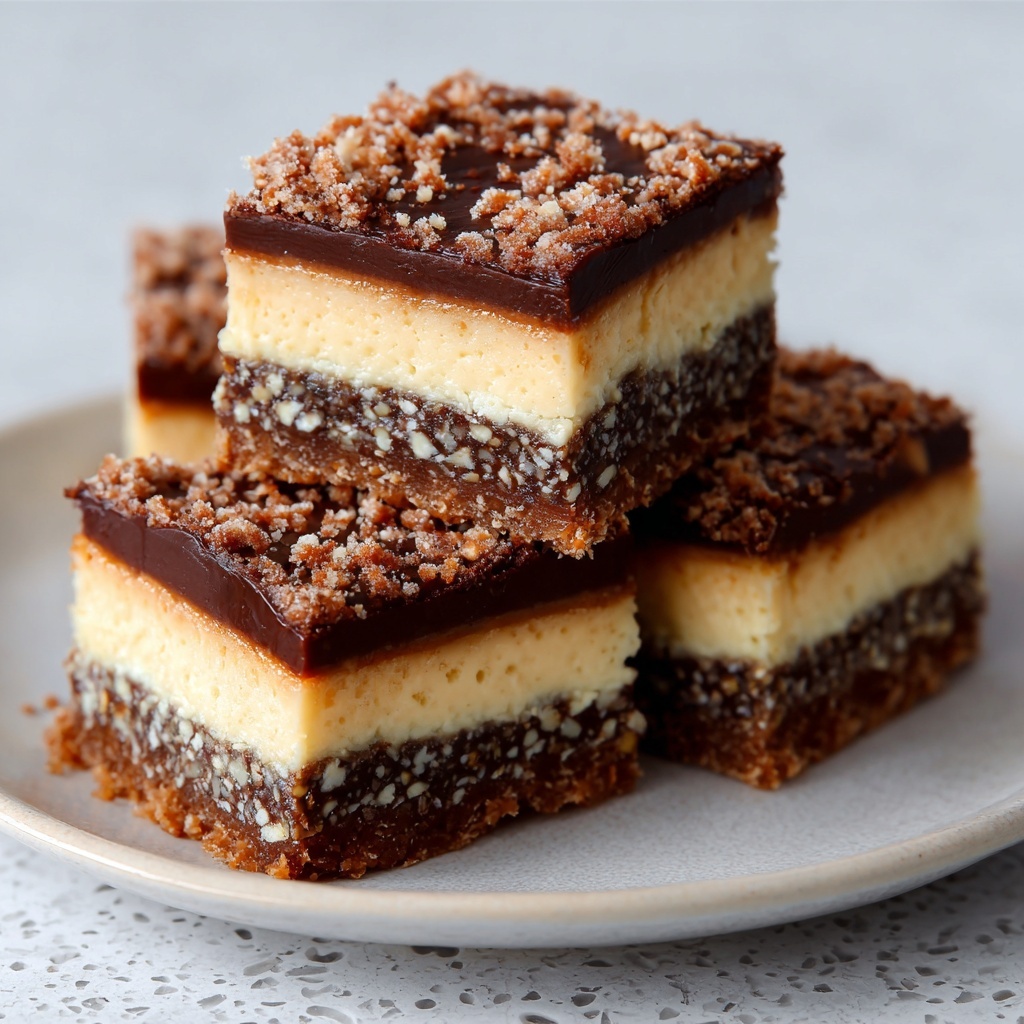
If you’ve been on the lookout for a dessert that is as impressive as it is delicious, then you’re in for a real treat. Nanaimo Bars: Discover Your New Favorite Chocolate Treat! Recipe is a classic Canadian no-bake delight known for its layers of rich chocolate, creamy custard, and a crunchy base that will captivate your taste buds from the very first bite. This dessert not only looks stunning on any dessert table but also combines textures and flavors in a way that feels indulgent yet comforting. Whether you’re sharing with friends or savoring a moment of sweet solitude, these bars are bound to become a fast favorite in your kitchen repertoire.
Ingredients You’ll Need
Getting ready to make Nanaimo Bars is a breeze because the ingredients list is straightforward but incredibly powerful. Each component plays a special role in the magic — from the crumbly base to the luscious custard middle and the glossy chocolate top. Here’s a rundown of what you’ll need to craft this layered masterpiece.
- 1 cup crushed graham crackers: Offers a crunchy, slightly sweet foundation that holds all the layers together beautifully.
- 1/2 cup cocoa powder: Adds a rich chocolate flavor that deepens the taste of the base.
- 1/2 cup icing sugar: Sweetens the base and the custard layer just right, giving a smooth texture to the filling.
- 1/2 cup desiccated coconut: Brings a wonderful nuttiness and slight chew that contrasts the creamy custard.
- 1/2 cup softened unsalted butter: Binds the base ingredients with a creamy quality that’s simply irresistible.
- 1 large egg, lightly beaten: Provides structure and a slight richness for the base’s perfect texture.
- 1/2 cup unsweetened chocolate, finely chopped: A key player in the custard layer, delivering intense chocolatey goodness.
- 2 tablespoons unsalted butter: Melted along with chocolate for a smooth custard consistency.
- 1 cup icing sugar: Sweetens the custard layer delicately without overpowering it.
- 2 tablespoons milk: Helps achieve the silky custard layer texture you’ll love.
- 1 teaspoon vanilla essence: Elevates the custard with a lovely fragrant note.
- 4 ounces semi-sweet chocolate, finely chopped: Forms the shiny, decadent top layer that seals in all the deliciousness beneath.
- 2 tablespoons unsalted butter: Melted with the semi-sweet chocolate for that perfect glossy finish.
How to Make Nanaimo Bars: Discover Your New Favorite Chocolate Treat! Recipe
Step 1: Prepare the Base
Begin by combining the crushed graham crackers, cocoa powder, icing sugar, desiccated coconut, and softened butter in a mixing bowl. Use your fingers or a spoon to mix everything until the texture resembles wet sand, where it’s crumbly but sticks together when pressed. Then, gently fold in the beaten egg to bind the base further. Press this mixture firmly into a greased 8-inch square baking dish, creating an even and compact layer that will be the sturdy backbone of your Nanaimo Bars.
Step 2: Make the Custard Layer
Next, in a small saucepan over low heat, melt the unsweetened chocolate and 2 tablespoons of butter together, stirring constantly to avoid burning. Once melted and smooth, remove it from the heat and let it cool for a few minutes to avoid scrambling the egg when mixing. In a separate bowl, stir together the icing sugar, milk, and vanilla essence until smooth. Slowly add the chocolate mixture to this bowl, blending thoroughly until silky and perfectly combined. Spread this luscious custard layer evenly over the prepared base and set aside for the next step.
Step 3: Top with Chocolate
The final layer is all about glossy, semi-sweet chocolate that adds a sophisticated finish to your bars. Melt the semi-sweet chocolate and 2 tablespoons of butter gently in a saucepan over low heat, stirring often until smooth and shiny. Pour this melted chocolate over the custard layer and spread it evenly with a spatula. Now it’s time for some patience—the dish needs to chill in the refrigerator for at least 2 hours to allow all the layers to set firmly into those iconic bars.
Step 4: Slice and Serve
When your Nanaimo Bars are fully chilled and the layers are firm, remove them from the fridge. Use a sharp knife to carefully slice into squares, making sure to clean the knife between cuts if needed for neat edges. Each square will showcase those beautiful distinct layers that everyone will admire even before tasting!
How to Serve Nanaimo Bars: Discover Your New Favorite Chocolate Treat! Recipe
Garnishes
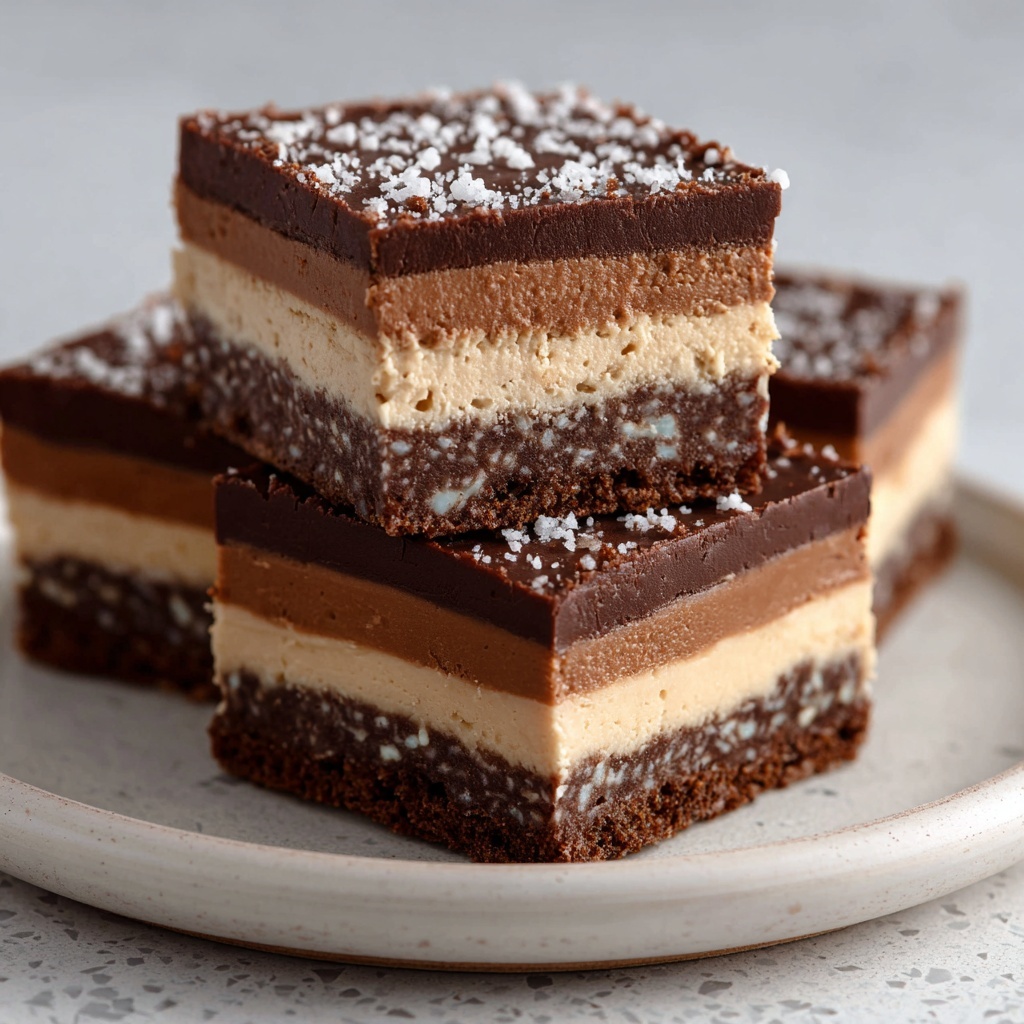
To elevate the presentation and add a little extra flair, consider sprinkling a dusting of cocoa powder or finely grated chocolate on top right before serving. Fresh berries or a small dollop of whipped cream on the side adds a pop of color and freshness that pairs excellently with the rich chocolate. For a seasonal twist, a pinch of crushed peppermint can offer a festive touch that your guests will love.
Side Dishes
Nanaimo Bars are a dessert standout on their own, but pairing them with a hot beverage like coffee, tea, or even a rich hot chocolate intensifies the enjoyment. If you’re serving at a gathering, light fruit salads or sorbets can complement the bars nicely by balancing their richness with a refreshing contrast.
Creative Ways to Present
If you want to get a little creative, try serving Nanaimo Bars in individual glass jars or mini silicone molds for a fun, portable treat. Another idea is layering mini bars with whipped cream and fresh fruit to create decadent parfaits. These dessert ideas add wow factor for parties and special occasions and make your “Nanaimo Bars: Discover Your New Favorite Chocolate Treat! Recipe” even more memorable.
Make Ahead and Storage
Storing Leftovers
Once made, Nanaimo Bars keep wonderfully in an airtight container in the refrigerator for up to 4 days. The flavors actually have a chance to meld more deeply, making the treat even better with time. Just make sure to keep them chilled to maintain that perfect firmness of the layers.
Freezing
To store Nanaimo Bars for longer, they freeze beautifully. Wrap individual bars in plastic wrap before placing them in a freezer-safe container or bag. They can be frozen for up to 2 months. When you’re ready to enjoy, simply thaw them overnight in the fridge and slice as usual.
Reheating
Since Nanaimo Bars are best served chilled, reheating is generally not recommended. However, if you prefer a softer texture, you can let the bars sit at room temperature for about 10–15 minutes before enjoying, but avoid any heat that may melt the layers.
FAQs
What makes Nanaimo Bars unique?
Nanaimo Bars are unique because they combine three distinct layers: a crumbly, chocolate-infused base, a creamy custard middle, and a shiny chocolate topping. This texture and flavor contrast is what makes them a standout dessert.
Can I use a different type of chocolate?
Absolutely! While semi-sweet and unsweetened chocolate are traditional, you can experiment with milk or dark chocolates to suit your taste preferences. Just keep an eye on sweetening adjustments if you switch to sweeter chocolate.
Is it necessary to add an egg to the base?
The egg helps bind the base together and adds richness. If you prefer an egg-free version, you can try using a bit more butter or a vegan binder, but the texture may vary slightly.
How long should I chill the bars?
Chilling for at least 2 hours is key to letting the layers set firmly. For best results, you can even refrigerate overnight.
Can I make Nanaimo Bars gluten-free?
Yes, by swapping graham crackers for gluten-free alternatives and double-checking all other ingredients, you can enjoy gluten-free Nanaimo Bars without compromising much on texture or taste.
Final Thoughts
I can’t recommend the Nanaimo Bars: Discover Your New Favorite Chocolate Treat! Recipe enough for anyone who wants a dessert that’s sure to impress and satisfy. It’s a delightful journey through textures and flavors with every bite, and the process of making it feels so rewarding. So gather your ingredients, invite some friends or family, and get ready to fall in love with these luscious, no-bake bars that just might become your new favorite chocolate treat!
Print
Nanaimo Bars: Discover Your New Favorite Chocolate Treat! Recipe
- Prep Time: 30 minutes
- Cook Time: 15 minutes
- Total Time: 2 hours 45 minutes
- Yield: 16 servings
- Category: Dessert
- Method: No-Cook
- Cuisine: Canadian
Description
Nanaimo Bars are a classic Canadian no-bake dessert featuring three distinct layers: a crumbly graham cracker base, a creamy custard-flavored middle, and a rich chocolate topping. This decadent treat combines textures and flavors perfectly, making it an irresistible chocolate delight that you can prepare ahead and chill to perfection.
Ingredients
Base Layer
- 1 cup crushed graham crackers
- 1/2 cup cocoa powder
- 1/2 cup icing sugar
- 1/2 cup desiccated coconut
- 1/2 cup softened unsalted butter
- 1 large egg, lightly beaten
Custard Middle Layer
- 1/2 cup unsweetened chocolate, finely chopped
- 2 tablespoons unsalted butter
- 1 cup icing sugar
- 2 tablespoons milk
- 1 teaspoon vanilla essence
Chocolate Topping
- 4 ounces semi-sweet chocolate, finely chopped
- 2 tablespoons unsalted butter
Instructions
- Prepare the Base: In a mixing bowl, blend the crushed graham crackers, cocoa powder, icing sugar, desiccated coconut, and softened butter until the mixture resembles wet sand. This mix creates the crumbly base texture characteristic of Nanaimo bars.
- Add the Egg: Incorporate the beaten egg into the mixture and stir thoroughly to ensure even distribution. Then firmly press this mixture into the base of a greased 8-inch square baking dish forming an even, compact layer.
- Melt Ingredients for Custard Layer: In a small saucepan over low heat, melt the unsweetened chocolate and 2 tablespoons of butter together, stirring continuously until smooth. Remove from heat and allow the mixture to cool slightly.
- Create Custard Middle Layer: In a separate bowl, combine the icing sugar, milk, and vanilla essence. Gradually mix in the cooled chocolate mixture until a silky, smooth custard is formed. Spread this evenly over the graham cracker base layer.
- Prepare Chocolate Topping: Melt the semi-sweet chocolate and 2 tablespoons of butter together in another saucepan over low heat, stirring until fully melted and smooth. Pour this chocolate topping over the custard layer and spread it evenly for a rich finish.
- Chill and Serve: Place the assembled dish in the refrigerator for at least 2 hours or until the layers are fully set and firm. Once chilled, slice into squares and serve as a delightful chocolate treat.
Notes
- Ensure the unsweetened chocolate in the custard layer is cooled slightly before mixing with icing sugar to avoid clumping.
- Press the base layer firmly to prevent crumbling when slicing the bars.
- Use a sharp knife dipped in hot water to make clean cuts.
- Store leftovers in an airtight container in the refrigerator for up to 5 days.
- For a dairy-free version, substitute butter with a dairy-free alternative and use dairy-free chocolate.


