
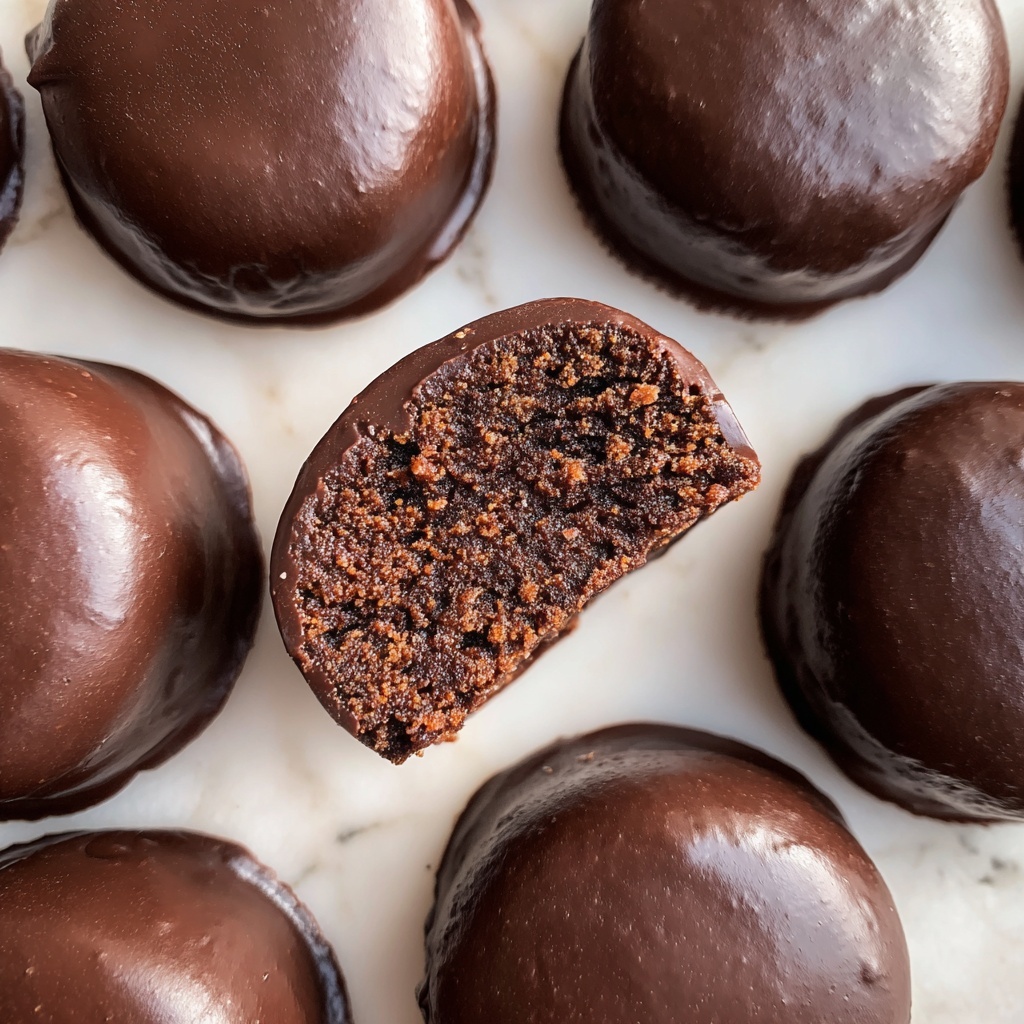
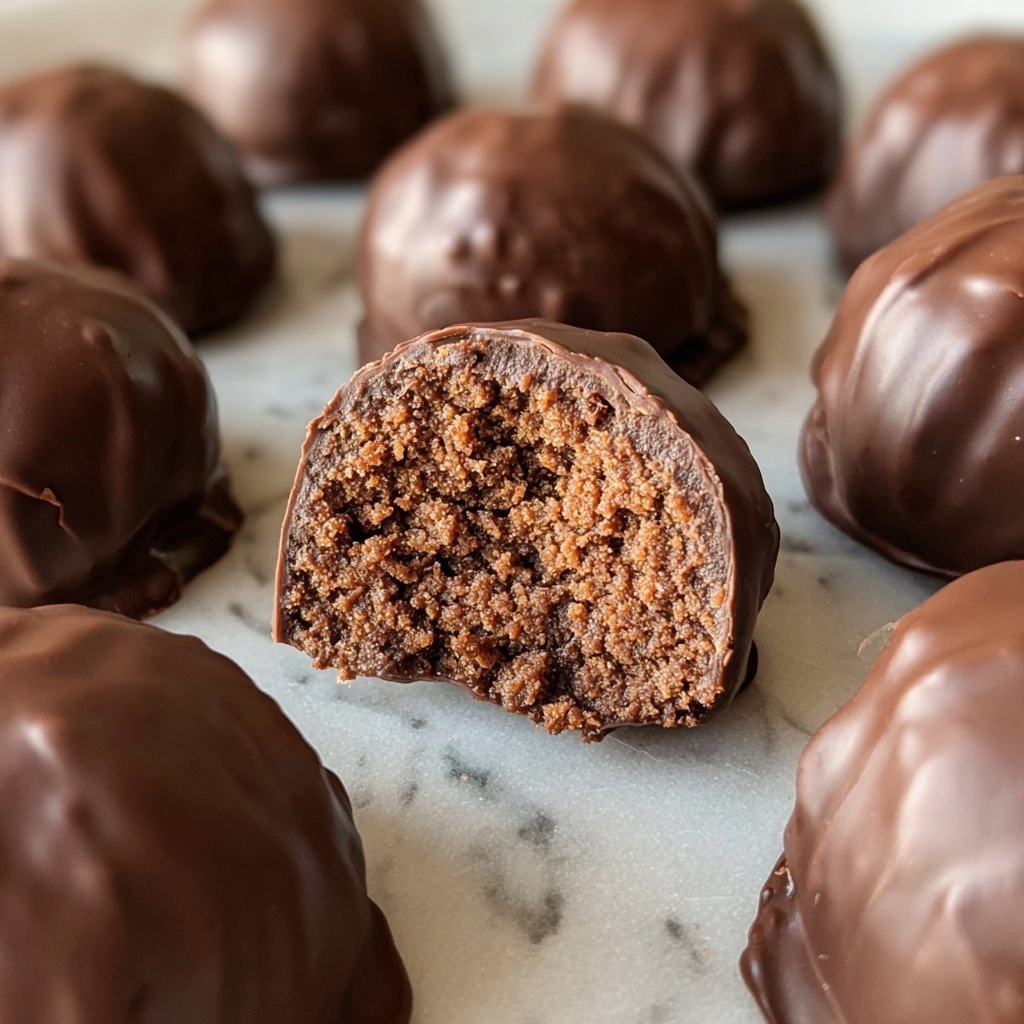
If you are craving a treat that’s both utterly indulgent and surprisingly wholesome, this Decadent Chocolate Snack Balls Recipe is going to be your new best friend. These little bites are packed with the rich flavor of cocoa and the creamy goodness of peanut butter, balanced perfectly by the natural sweetness of honey or maple syrup. They come together in just 10 minutes, making them an irresistibly delicious snack that’s perfect for anytime energy boosts or guilt-free dessert moments. Trust me, once you try this Decadent Chocolate Snack Balls Recipe, you’ll find yourself reaching for them again and again.
Ingredients You’ll Need
The beauty of this recipe lies in its simplicity. These ingredients are straightforward, pantry-friendly, and each one plays a vital role in creating the perfect texture, taste, and balance of flavors that make these snack balls so addictive.
- 1 cup rolled oats: Provides a hearty base with a wonderful chewy texture and a subtle nutty flavor.
- 1/2 cup creamy peanut butter (natural): Adds richness, healthy fats, and a creamy consistency to bind everything together.
- 1/4 cup honey or maple syrup: Offers natural sweetness and a sticky texture to hold the balls in shape.
- 1/4 cup unsweetened cocoa powder: Injects deep chocolate flavor without overpowering the other ingredients.
- 1/2 cup semi-sweet chocolate chips: Melts in your mouth and adds bursts of melty, gooey chocolate goodness.
- 2 tbsp chia seeds or flaxseeds (optional): Boosts nutrition with fiber and omega-3 fats, while adding a nice little crunch.
How to Make Decadent Chocolate Snack Balls Recipe
Step 1: Combine the Base Ingredients
Start by grabbing a large mixing bowl where you’ll combine the rolled oats, creamy peanut butter, honey or maple syrup, cocoa powder, and the optional chia or flaxseeds. Stir everything together with a sturdy spoon or spatula until you have a uniformly mixed, chocolatey dough. This step is key because it ensures every delicious bite is perfectly balanced with flavor and texture.
Step 2: Fold in the Chocolate Chips
Next, gently fold in the semi-sweet chocolate chips. This little addition creates irresistible pockets of melty chocolate throughout each ball. Make sure the chips are evenly distributed but try not to overmix to keep their shape intact.
Step 3: Shape the Snack Balls
Using your hands, scoop out small portions of the mixture—about one inch in diameter—and roll them between your palms until smooth and round. This is a fun and tactile step that makes you feel connected to your creation. If the mixture feels too sticky, a light sprinkle of oats on your hands can help.
Step 4: Chill to Firm Up
Place the rolled balls on a parchment-lined baking sheet and pop them in the refrigerator for at least 30 minutes. Chilling is important because it allows the ingredients to bind firmly, making the snack balls easier to handle and giving them their deliciously dense texture.
Step 5: Ready to Enjoy
Once chilled, these snack balls are perfectly firm and ready to be devoured. They can be served right out of the fridge or allowed to come to room temperature for a softer bite. Either way, prepare yourself for a truly decadent experience!
How to Serve Decadent Chocolate Snack Balls Recipe
Garnishes
To take your Decadent Chocolate Snack Balls Recipe to the next level, consider rolling them in crushed nuts, shredded coconut, or a dusting of cocoa powder before chilling. These simple garnishes add a delightful crunch or extra chocolatey layer that makes each bite even more exciting. Fresh berries or a pinch of sea salt on the side can also elevate the flavor experience beautifully.
Side Dishes
Pair these snack balls with a refreshing glass of cold milk, a warm cup of coffee, or even a creamy plant-based yogurt. Their rich flavor complements drinks and light accompaniments wonderfully, making them perfect for afternoon snacks or a sweet finish to a light meal.
Creative Ways to Present
For parties or gifting, arrange your snack balls in cute gift boxes lined with parchment paper, or serve them on a pretty platter with edible flowers for a stunning look. Wrapping each ball in wax paper and tying with twine also makes a charming homemade treat that friends and family will adore.
Make Ahead and Storage
Storing Leftovers
These snack balls store beautifully in an airtight container in the refrigerator for up to one week. Keeping them chilled preserves their texture and prevents the peanut butter and chocolate from becoming too soft. Just grab a couple whenever you need a quick, satisfying bite.
Freezing
If you want to prepare these treats well in advance, they freeze exceptionally well. Place the balls in a single layer on a baking sheet to freeze initially, then transfer to a freezer-safe container or bag. Frozen, they’ll last for up to three months and can be thawed overnight in the fridge before enjoying.
Reheating
Since these are no-bake snack balls, reheating isn’t necessary and not recommended. However, if you prefer them slightly softer, leave them out at room temperature for 10–15 minutes before indulging. This lets the peanut butter soften without losing their structural integrity.
FAQs
Can I use crunchy peanut butter instead of creamy?
Absolutely! Crunchy peanut butter will add a delightful texture to your snack balls, giving each bite a bit of extra chewiness and nutty crunch.
Are there vegan options for this Decadent Chocolate Snack Balls Recipe?
Yes, simply use maple syrup instead of honey and make sure your chocolate chips are dairy-free. That way, this recipe is perfectly vegan and just as delicious.
What if I don’t have rolled oats? Can I use another grain?
Rolled oats work best for texture and absorbency, but quick oats or even finely chopped nuts could work. Just keep the measurement the same and adjust the mixture consistency as needed.
Can I add protein powder or other supplements?
Definitely! Adding a tablespoon or two of your favorite protein powder can boost nutrition without sacrificing flavor. Just mix thoroughly to avoid clumps.
How long do these snack balls last at room temperature?
Because they contain natural ingredients and no preservatives, it’s best to keep them refrigerated and only leave them out for up to a few hours to maintain freshness and prevent spoilage.
Final Thoughts
If you’re looking for a quick, easy, and absolutely mouthwatering treat, you can’t go wrong with this Decadent Chocolate Snack Balls Recipe. It’s a perfect balance of flavors and textures that feels indulgent but is made with wholesome ingredients. Once you try these, they’ll quickly become your go-to snack for busy days, cozy nights, or any time you want to treat yourself with something truly special.
Print
Decadent Chocolate Snack Balls Recipe
- Prep Time: 10 minutes
- Cook Time: 0 minutes
- Total Time: 40 minutes (including chilling time)
- Yield: 12 snack balls
- Category: Snack
- Method: No-Cook
- Cuisine: American
- Diet: Gluten Free
Description
These Decadent Chocolate Snack Balls are a quick, no-bake treat combining wholesome oats, natural peanut butter, and rich cocoa for a deliciously healthy snack. Perfect for on-the-go energy boosts or a guilt-free dessert, they offer a delightful blend of creamy, chocolaty flavors with a touch of natural sweetness and optional superfood seeds.
Ingredients
Base Ingredients
- 1 cup rolled oats
- 1/2 cup creamy peanut butter (natural)
- 1/4 cup honey or maple syrup
- 1/4 cup unsweetened cocoa powder
Add-ins
- 1/2 cup semi-sweet chocolate chips
- 2 tbsp chia seeds or flaxseeds (optional)
Instructions
- Combine Ingredients: In a large mixing bowl, mix the rolled oats, creamy peanut butter, honey or maple syrup, unsweetened cocoa powder, and optional chia or flaxseeds thoroughly until the mixture is well combined and sticky.
- Add Chocolate Chips: Gently fold in the semi-sweet chocolate chips, distributing them evenly throughout the mixture without melting them.
- Form Balls: Scoop small portions of the mixture using a spoon or hands and roll them into one-inch diameter balls, ensuring they hold together firmly.
- Refrigerate: Place the formed snack balls on a parchment-lined baking sheet and refrigerate for at least 30 minutes. This step firms them up and improves their texture.
- Serve: Enjoy the snack balls chilled or at room temperature for a tasty, nutritious treat anytime.
Notes
- Use natural peanut butter for a healthier option without added sugars or oils.
- Maple syrup can be substituted with honey for a different sweetness profile.
- Chia or flaxseeds add extra fiber and omega-3 fatty acids but are optional.
- Store the snack balls in an airtight container in the refrigerator for up to one week.
- These snack balls are naturally gluten-free but ensure oats are certified gluten-free if dietary restrictions apply.

