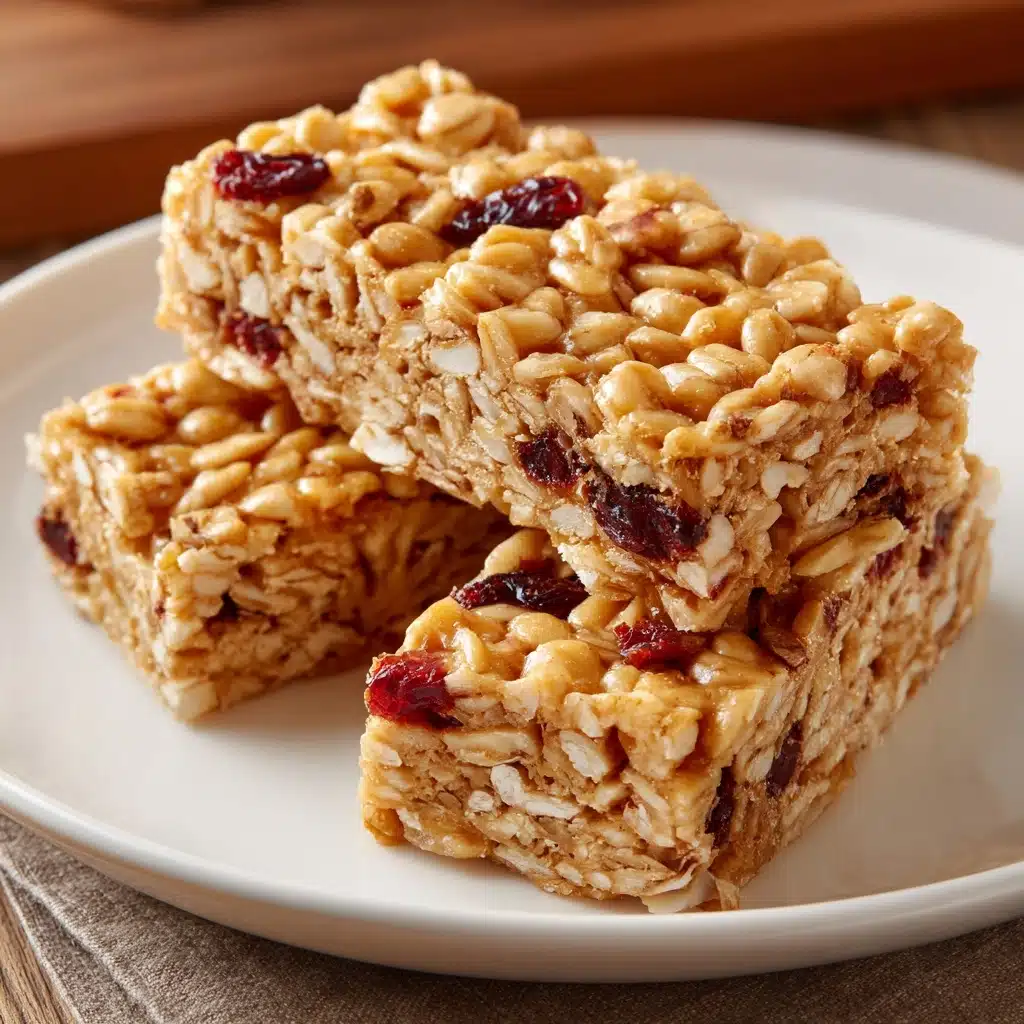
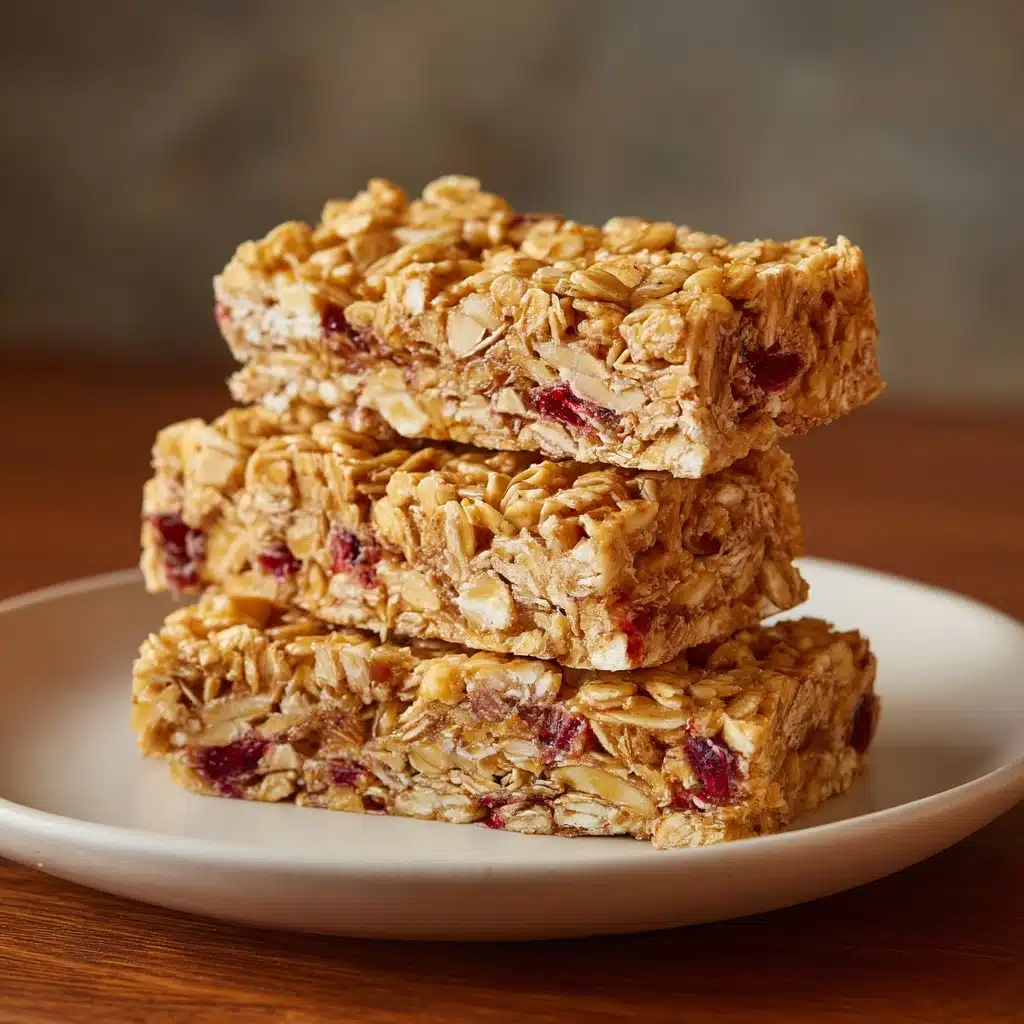
Cereal Bars Recipe
If you love easy-to-make snacks with nostalgic flair, these Cereal Bars are destined to become a new favorite in your kitchen! Sweet, chewy, and supremely customizable, this recipe blends classic breakfast cereal with creamy peanut butter and a touch of honey for a treat that satisfies every craving, all without even turning on your oven. Whether you’re meal prepping for busy mornings, packing school lunches, or just need a sweet pick-me-up, these homemade Cereal Bars hit the perfect balance of flavor and fun.
Ingredients You’ll Need
This recipe proves that a short ingredient list doesn’t mean sacrificing taste or texture. Each element works its magic, creating delightfully chewy, lightly sweet Cereal Bars with just the right amount of crunch and optional bursts of chocolate or fruit.
- Crispy rice cereal (4 cups): The foundation of your bars—choose your favorite cereal to switch up the flavor or color!
- Honey or light corn syrup (1/2 cup): Acts as a natural sweetener and binder, adding shine and gentle sweetness.
- Peanut butter (1/2 cup): Brings a creamy, nutty richness that melds everything together; swap for sunflower seed butter if nut-free is needed.
- Brown sugar (1/4 cup): Lends a deep, caramel-like sweetness and helps the bars set just right.
- Vanilla extract (1 teaspoon): A splash of vanilla highlights all the flavors and adds wonderful warmth.
- Salt (1/4 teaspoon): Enhances sweetness and rounds out the overall flavor profile.
- Mini chocolate chips or dried fruit (1/2 cup, optional): Fold in for pops of color and extra bursts of flavor—totally customizable!
How to Make Cereal Bars
Step 1: Prepare Your Pan
Start by lining an 8×8-inch pan with parchment paper, making sure to leave some overhang on the sides for easy removal later. This prevents sticking and ensures your Cereal Bars pop out looking picture-perfect every time!
Step 2: Create the Sweet Binder
In a medium saucepan set over medium heat, stir together the honey or corn syrup, peanut butter, and brown sugar. Keep things moving with your spoon so nothing scorches—after two to three minutes, the mixture should be smooth and just beginning to bubble like sweet, golden lava.
Step 3: Add Flavor Boosters
Remove the pan from the heat and swiftly stir in the vanilla extract and salt. This quick step unlocks even more depth to your Cereal Bars, ensuring every bite tastes balanced and delicious.
Step 4: Coat the Cereal
Pour the warm, fragrant mixture over your cereal in a large mixing bowl. Gently mix everything together until every last bit of cereal is glossy and perfectly coated—this ensures no dry patches and a chewy texture throughout.
Step 5: Customize and Mix-Ins
If you’re folding in mini chocolate chips or dried fruit, let the mixture cool for a minute or two so they don’t melt completely. Sprinkle in your favorite additions and fold just until evenly distributed.
Step 6: Press and Set
Spoon the sticky mixture into your prepared pan. With a spatula (or simply your clean hands), press very firmly to compact the mixture—this helps the bars hold together! Allow to cool completely at room temperature (or speed things up in the fridge) before cutting into squares or bars.
How to Serve Cereal Bars
Garnishes
Give your finished bars some flair with a light drizzle of melted chocolate, a dusting of shredded coconut, or a handful of extra chocolate chips on top. Not only does this boost presentation, but it adds fun new layers of flavor and texture!
Side Dishes
Pair Cereal Bars with cool, creamy yogurt or a tall glass of milk for a satisfying breakfast or snack combo. Fresh fruit—think berries or banana slices—adds juicy brightness for an unbeatable snack plate.
Creative Ways to Present
Wrap individual bars in parchment and tie with twine for lunchbox treats or classroom snacks. Stack them on a pretty platter for brunch gatherings, or cut into mini squares for bake sales and parties. The possibilities are only limited by your imagination!
Make Ahead and Storage
Storing Leftovers
Once your Cereal Bars are cut and set, store them in an airtight container at room temperature for up to five days. If it’s warm in your kitchen, pop them in the fridge to preserve their chewy texture and prevent any melting mix-ins.
Freezing
Want to make a big batch in advance? Cereal Bars freeze beautifully! Wrap bars individually in plastic wrap or parchment paper and place in a freezer-safe bag or container. They’ll keep their flavor and texture for up to two months—just let them thaw at room temperature before enjoying.
Reheating
While you won’t need to reheat these bars in the traditional sense, if they’re coming straight from the fridge or freezer, let them sit at room temp for a few minutes to take the chill off for optimal chewy satisfaction.
FAQs
Can I make these cereal bars nut-free?
Absolutely! Swap out peanut butter for sunflower seed butter or another favorite nut-free spread and skip the chocolate chips if there are any nut allergy concerns with your mix-ins.
What cereals work best for this recipe?
Crispy rice cereal is classic, but you can experiment with corn flakes, Cheerios, or even use a combination of cereals for new flavors and textures in every batch!
How do I get clean, even cuts?
Let your bars cool completely and use a sharp knife. For the cleanest slices, lightly oil your knife and wipe between each cut—this works especially well if you added chocolate.
Can I reduce the sugar?
Yes! You can cut back on the brown sugar or swap honey for a lower-sugar alternative like maple syrup, though the texture may be a bit softer. Taste as you go to make sure the flavor stays balanced.
Are these gluten-free?
They certainly can be—just make sure your chosen cereal is certified gluten-free and you’ll have deliciously safe Cereal Bars for everyone to enjoy.
Final Thoughts
These Cereal Bars always bring a smile, whether you’re sharing them at a party, packing a snack for a hike, or just satisfying a sweet tooth. Give them a try—once you realize how easy and versatile they are, you’ll be on your way to becoming the Cereal Bars hero among your friends and family!
Print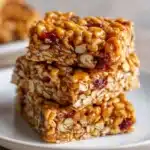
Cereal Bars Recipe
- Total Time: 15 minutes (plus cooling)
- Yield: 12 bars 1x
- Diet: Vegetarian
Description
These homemade cereal bars are a delightful snack option that is quick to make and perfect for a busy day. With the goodness of crispy rice cereal, honey, peanut butter, and a touch of chocolate chips, these bars are a hit with both kids and adults.
Ingredients
Main Ingredients:
- 4 cups crispy rice cereal or your favorite breakfast cereal
- 1/2 cup honey or light corn syrup
- 1/2 cup peanut butter
- 1/4 cup brown sugar
- 1 teaspoon vanilla extract
- 1/4 teaspoon salt
Optional:
- 1/2 cup mini chocolate chips or dried fruit
Instructions
- Prepare the Pan: Line an 8×8-inch pan with parchment paper.
- Mix the Ingredients: In a saucepan over medium heat, combine honey (or corn syrup), peanut butter, and brown sugar. Stir until smooth and slightly bubbly, about 2–3 minutes. Remove from heat and add vanilla extract and salt.
- Combine with Cereal: Pour the warm mixture over the cereal in a large mixing bowl. Mix until evenly coated.
- Add Optional Ingredients: Fold in chocolate chips or dried fruit if desired.
- Set the Bars: Press the mixture into the prepared pan firmly. Let it cool at room temperature or refrigerate for quicker setting.
- Serve: Once firm, cut into bars or squares and enjoy.
Notes
- To make these nut-free, use sunflower seed butter.
- For a more indulgent version, drizzle melted chocolate over the top before cutting.
- Prep Time: 10 minutes
- Cook Time: 5 minutes
- Category: Snack
- Method: No-Bake
- Cuisine: American
Nutrition
- Serving Size: 1 bar
- Calories: 160
- Sugar: 10g
- Sodium: 85mg
- Fat: 7g
- Saturated Fat: 1.5g
- Unsaturated Fat: 5g
- Trans Fat: 0g
- Carbohydrates: 20g
- Fiber: 1g
- Protein: 3g
- Cholesterol: 0mg


