
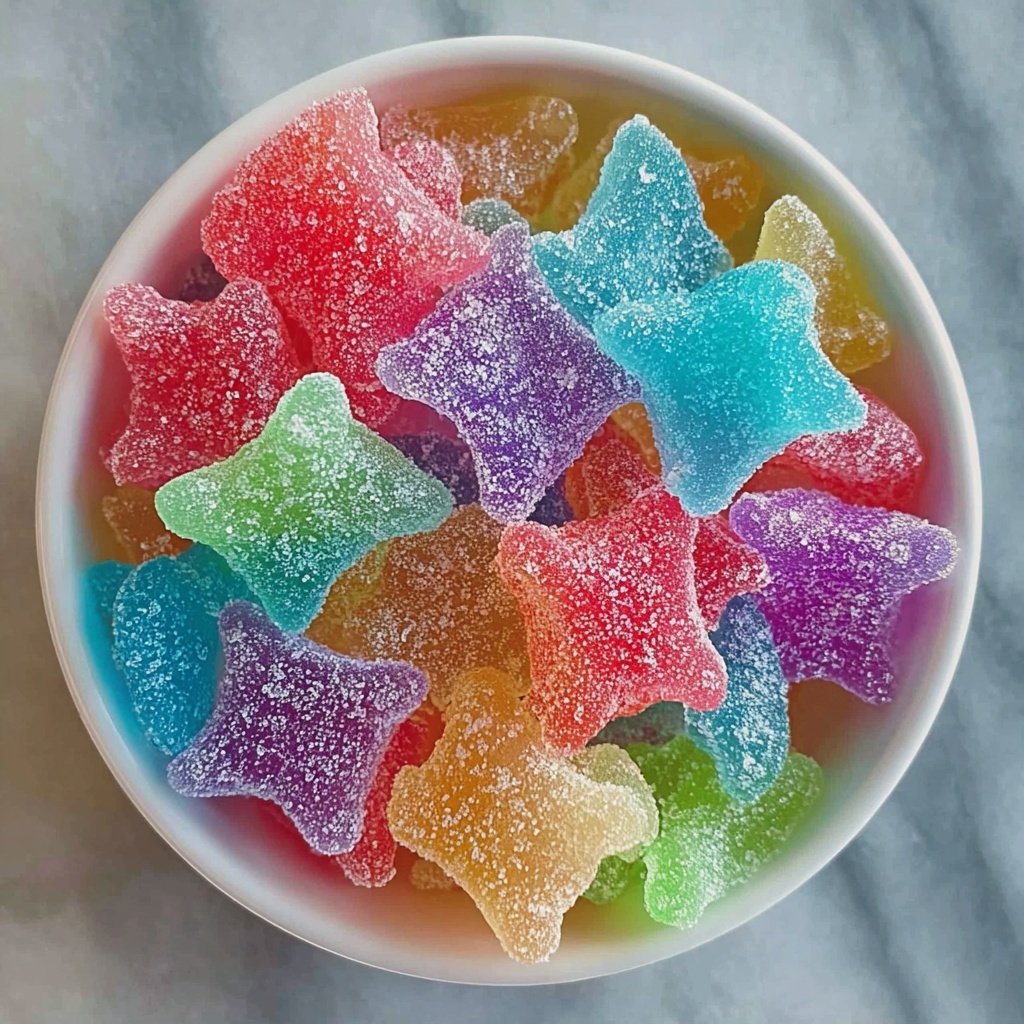
If you’re craving a delightful treat that’s as fun to make as it is to eat, you’re going to love this Magic Candy: Create Colorful Crunchy Treats at Home Recipe. Imagine vibrant shards of crunchy sweetness that shimmer with color and dance with flavor in every bite. It’s an exciting project that transforms simple kitchen ingredients into stunning candies that practically sparkle with homemade charm. Whether you’re crafting these for a party, a gift, or just a joyful snack, this recipe brings together a perfect balance of sweetness, crunch, and eye-catching color that’s sure to brighten your day.
Ingredients You’ll Need
The magic behind these crunchy delights lies in just a handful of straightforward ingredients, each playing its own important role. These essentials combine to give your candy that classic brittleness, color, and flavor that make it utterly irresistible.
- 2 cups Granulated Sugar: Provides the core sweetness and solid structure necessary for that crisp texture.
- 1 cup Corn Syrup: Keeps the sugar syrup smooth and prevents unwanted crystallization for a glossy finish.
- 1 cup Water: Helps dissolve the sugar evenly as the candy cooks.
- 1 teaspoon Flavor Extract (e.g., vanilla, fruit flavor): Adds a burst of delicious personality to your candy.
- Food Coloring (as desired): Optional, but highly recommended if you want to make your candy pop with vibrant colors.
- 1 cup Powdered Sugar: Essential for dusting and preventing your candy pieces from sticking together after cooling.
How to Make Magic Candy: Create Colorful Crunchy Treats at Home Recipe
Step 1: Prepare Your Baking Dish
Start by lining a 9×13-inch baking dish with parchment paper. This setup ensures your candy won’t stick and makes removal a breeze. Give the parchment a light spritz of cooking spray for extra insurance against sticking.
Step 2: Combine the Sugars and Water
In a medium-sized saucepan, gently mix the granulated sugar, corn syrup, and water. Stir just until everything begins to blend together — over-stirring here might cause premature crystallization. The goal is a smooth, even mixture before heating.
Step 3: Boil the Mixture to the Perfect Temperature
Place your pan over medium-high heat and allow the syrup to come to a vigorous boil. Using a candy thermometer, watch closely until the temperature hits exactly 300°F. This is the hard-crack stage, which is the key to that satisfying crunch.
Step 4: Flavor and Color Your Candy
Remove the saucepan from the heat with care — the syrup will be extremely hot. Stir in your flavor extract along with any food coloring you desire to make your candy uniquely yours. This step is where the “magic” really starts to come alive.
Step 5: Pour and Cool
Immediately and carefully pour the hot syrup into your prepared pan. Spread it out evenly, working quickly before it starts to harden. Allow the candy to cool completely at room temperature. It will turn into a brilliant, glass-like sheet of candy.
Step 6: Break into Pieces and Coat
Once cooled and solidified, lift the candy out of the pan using the edges of the parchment paper. Break it into shards or bite-sized chunks to your liking. Finally, toss your candy pieces lightly in powdered sugar to keep them from sticking and to add a delicate, snowy touch.
How to Serve Magic Candy: Create Colorful Crunchy Treats at Home Recipe
Garnishes
Add a sprinkle of edible glitter or tiny sprinkles for an extra dash of whimsy when serving your candy. Mint leaves or fresh berries nearby can also make a beautiful presentation contrast that elevates the candy’s vibrant colors.
Side Dishes
Magic candy shines on its own but also pairs wonderfully with scoopable delights like vanilla or strawberry ice cream. For adults, a glass of sparkling wine complements the candy’s crisp sweetness, making it ideal for celebrations.
Creative Ways to Present
Try packaging your candy shards in colorful cellophane bags tied with a ribbon for party favors or gifts. Another fun idea is to arrange the candy pieces on a decorative platter as part of a candy buffet — your guests will be mesmerized by the array of colors and crunch!
Make Ahead and Storage
Storing Leftovers
Keep any leftover magic candy in an airtight container at room temperature. The powdered sugar coating helps prevent stickiness, but make sure the container seals tightly to avoid moisture softening your candy.
Freezing
Freezing isn’t generally recommended for this type of candy because moisture can cause the texture to become less crisp. It’s best enjoyed fresh or stored at room temperature within a week.
Reheating
Since this candy is meant to be crunchy and brittle, reheating isn’t necessary or advisable. Its magic happens when it’s cool and crisp, so treat yourself to it fresh for the best experience.
FAQs
Can I use different flavors for the candy?
Absolutely! Feel free to experiment with a variety of extracts like mint, almond, or fruit flavors to tailor the candy exactly to your taste. Each one gives your magic candy a unique twist.
What if I don’t have a candy thermometer?
While a candy thermometer is highly recommended for precision, you can test the syrup by dropping a little into cold water to see if it hardens immediately and snaps when bent. However, investing in a thermometer is the easiest way to nail perfect results every time.
Is food coloring necessary?
Not at all! The candy will still taste fantastic without color, but food coloring really brings the candy to life and makes it super fun, especially if you’re making it with kids or for celebrations.
Why does my candy sometimes turn grainy?
Graininess usually happens when sugar crystals form during cooking. To prevent this, avoid stirring the syrup once it starts boiling and be sure your pans and utensils are very clean before starting.
Can I make smaller batches?
Definitely! Just halve or quarter the ingredients proportionally. The process remains the same, and smaller batches are a great way to test flavors and colors without committing to a large amount.
Final Thoughts
Making the Magic Candy: Create Colorful Crunchy Treats at Home Recipe is such a joyful way to bring a little handmade sweetness into your life. The process is simple, the colors are enchanting, and the crisp results never fail to impress. I wholeheartedly encourage you to give it a try—you might just find a new favorite homemade treat that’s as fun to create as it is to share.
Print
Magic Candy: Create Colorful Crunchy Treats at Home Recipe
- Prep Time: 10 minutes
- Cook Time: 50 minutes
- Total Time: 1 hour
- Yield: 12 servings
- Category: Candy
- Method: Stovetop
- Cuisine: American
Description
Magic Candy is a fun and colorful homemade crunchy treat made with simple ingredients like sugar, corn syrup, and flavor extracts. This recipe yields vibrant, hard candies perfect for snacking or gifting, with customizable flavors and colors to suit any preference.
Ingredients
Main Ingredients
- 2 cups Granulated Sugar (Provides sweetness and structure)
- 1 cup Corn Syrup (Helps prevent crystallization)
- 1 cup Water (Facilitates the dissolution of sugar)
- 1 teaspoon Flavor Extract (e.g., vanilla, fruit flavor) (Enhances sweetness and adds delicious flavor)
- Food Coloring, as desired (Optional for vibrant colors)
- 1 cup Powdered Sugar (Prevents sticking when storing)
Instructions
- Prepare the pan: Line a 9×13 inch baking dish with parchment paper and lightly spray it with cooking spray to prevent sticking.
- Mix ingredients: In a medium saucepan, combine granulated sugar, corn syrup, and water. Stir gently until well combined without splashing the sides.
- Heat the mixture: Place the saucepan over medium-high heat and allow the mixture to boil steadily, without stirring, until it reaches 300°F (hard crack stage) on a candy thermometer.
- Add flavor and color: Carefully remove the saucepan from heat and quickly stir in your chosen flavor extract and optional food coloring to infuse the candy with taste and vibrant color.
- Pour the candy: Immediately pour the hot candy mixture into the prepared baking dish, spreading it evenly to form a uniform layer.
- Cool and break: Let the candy cool completely at room temperature until hardened. Once cooled, lift the candy out of the pan using the parchment paper and break it into bite-sized pieces.
- Prevent sticking: Toss the candy pieces with powdered sugar to prevent them from sticking together during storage.
Notes
- Be very careful when working with hot sugar syrup as it can cause severe burns.
- Use a candy thermometer to accurately reach the hard crack stage for the best crunchy texture.
- Store candy in an airtight container to maintain crispness and prevent moisture absorption.
- Experiment with different flavor extracts and food coloring to make colorful themed candies.


