
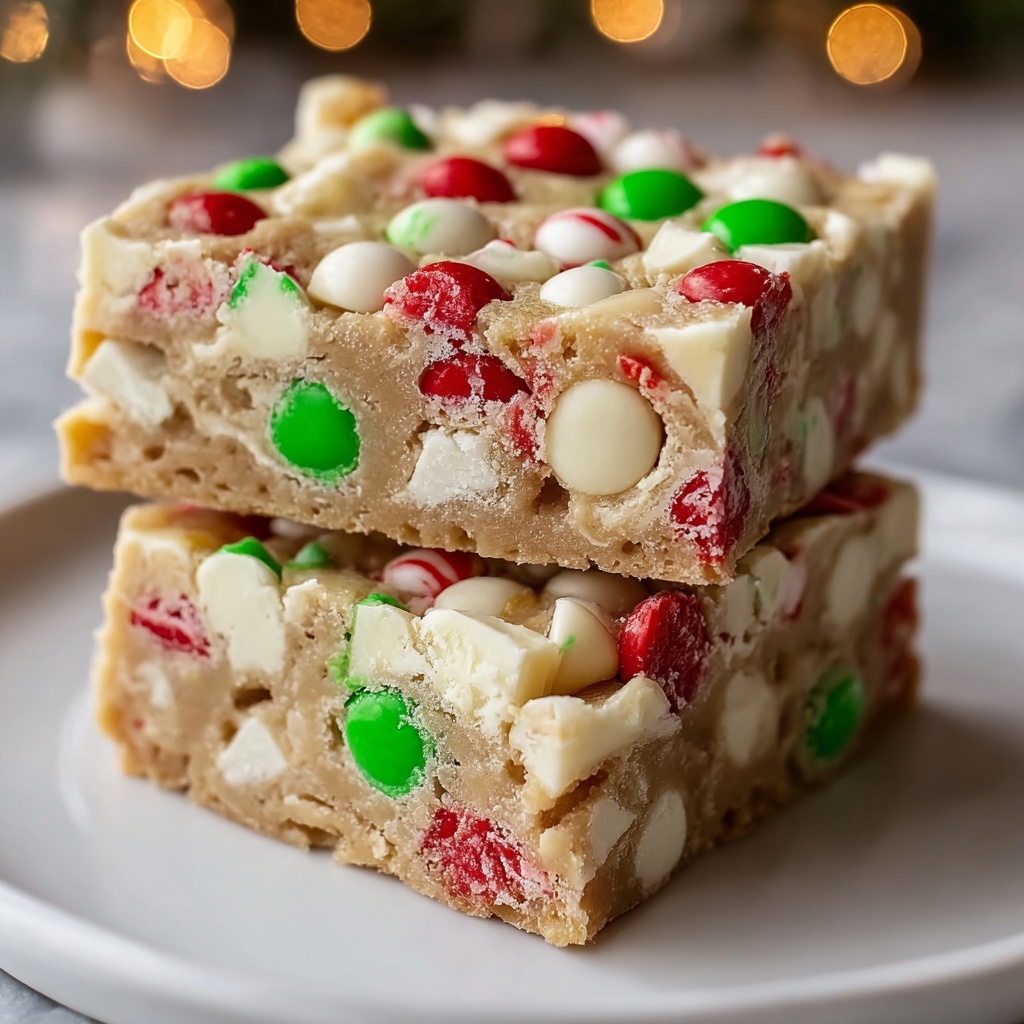
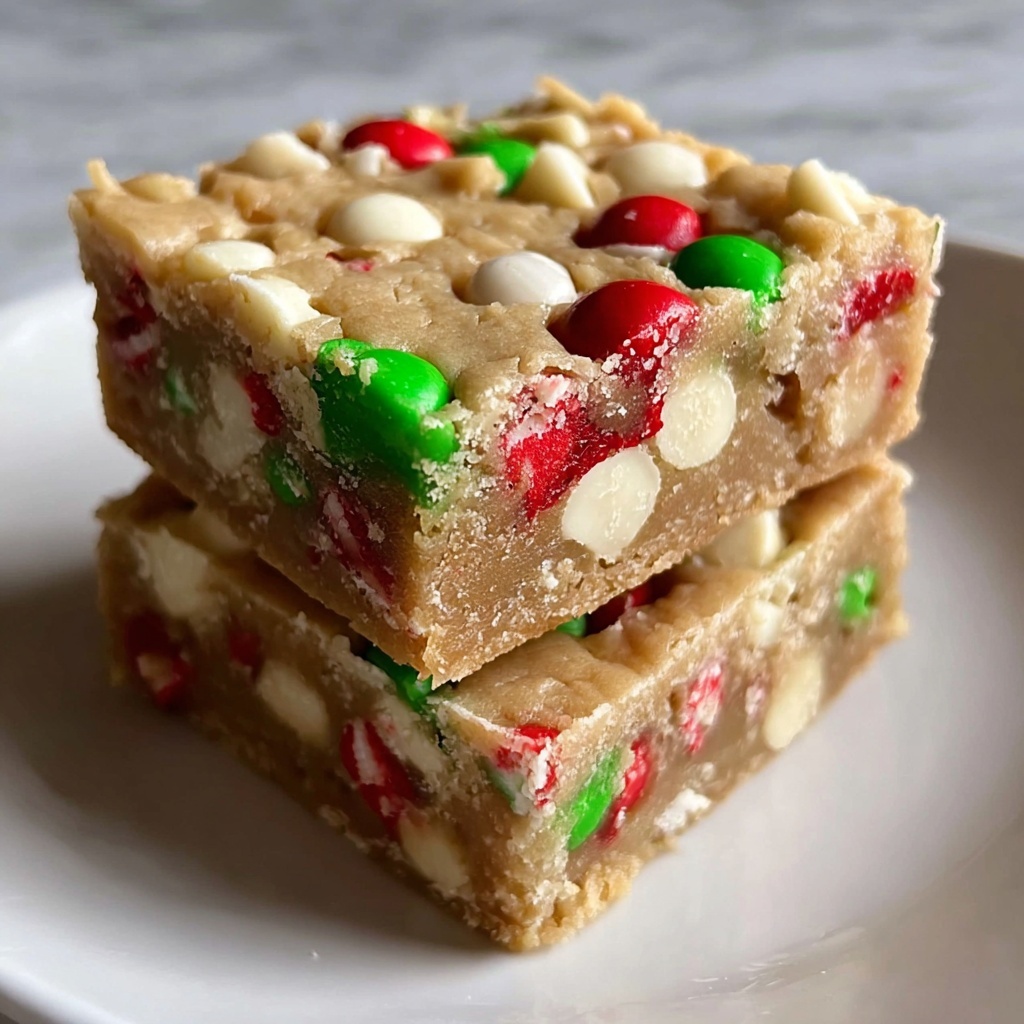
If you’re looking to bring a burst of festive joy to your holiday baking, this Christmas Cookie Bars Recipe is the perfect treat to share with friends and family. These bars combine the best of a classic cookie texture—crispy edges with a soft, chewy center—loaded with colorful candy-coated chocolates, white and semi-sweet chips, and sparkly holiday sprinkles that capture the magic of the season in every bite. Easy to make but packed with flavor, this recipe will quickly become your go-to for holiday cookie trays, parties, or cozy nights by the fire.
Ingredients You’ll Need
The magic of this Christmas Cookie Bars Recipe really comes to life with just a handful of simple ingredients. Each one plays a key role in creating the perfect balance of texture, sweetness, and festive flair in every bar.
- All-purpose flour (2 1/4 cups): The sturdy base that gives structure to the bars and holds all those delicious add-ins together.
- Baking soda (1 teaspoon): Helps the bars rise just enough for the ideal soft and chewy texture.
- Salt (1/2 teaspoon): Balances the sweetness and enhances all the flavors.
- Unsalted butter (3/4 cup, softened): Adds richness and moisture, creating that melt-in-your-mouth sensation.
- Granulated sugar (3/4 cup): Sweetens while contributing to slight crispness at the edges.
- Brown sugar (3/4 cup, packed): Provides moisture and gives a deep, caramel-like note to the bars.
- Large eggs (2): Bind all the ingredients together perfectly.
- Vanilla extract (2 teaspoons): Infuses a warm, comforting aroma that feels like holiday spirit in a jar.
- Red and green candy-coated chocolate candies (1 cup): Add delightful bursts of color and a fun crunch.
- White chocolate chips (1/2 cup): Bring creamy sweetness and a lovely contrast to the other chocolates.
- Semi-sweet chocolate chips (1/2 cup): Balance out the sweetness with rich cocoa flavor.
- Holiday sprinkles (1/3 cup): Sprinkle joy and festive sparkle throughout the bars.
How to Make Christmas Cookie Bars Recipe
Step 1: Prep Your Pan and Dry Ingredients
Start by preheating your oven to 350°F and lining a 9×13-inch baking pan with parchment paper or lightly greasing it. This will ensure the bars don’t stick and makes cleanup a breeze. Next, whisk together the flour, baking soda, and salt in a medium bowl. This dry mix is the foundation you’ll slowly blend into the buttery goodness.
Step 2: Cream Butter and Sugars
In a large bowl, use an electric mixer to beat the softened butter with the granulated and brown sugars until the mixture is light, fluffy, and creamy. This step is crucial because it aerates the mixture for a tender crumb in your bars.
Step 3: Add Eggs and Vanilla
One at a time, beat in the eggs, making sure each is fully incorporated before adding the next. Then stir in the vanilla extract, which brings that cozy holiday warmth to the base flavor.
Step 4: Combine Wet and Dry Ingredients
Gradually add the dry flour mixture to the wet ingredients while stirring gently. Be careful not to overmix; just combine until you no longer see flour streaks to keep those bars tender and soft.
Step 5: Fold in the Festive Mix-Ins
Now for the fun part: gently fold in the red and green candy-coated chocolates, white chocolate chips, semi-sweet chips, and holiday sprinkles. These add-ins are what make this Christmas Cookie Bars Recipe truly festive and extra tasty.
Step 6: Bake to Perfection
Spread the cookie dough evenly in your prepared pan and bake for 22 to 26 minutes, or until the edges turn golden and a toothpick inserted in the center comes out mostly clean. Don’t overbake—keep that soft, chewy heart in every bar!
Step 7: Cool and Cut
Let your bars cool completely in the pan before cutting them into squares. This step is key for clean cuts and bars that hold their shape beautifully.
How to Serve Christmas Cookie Bars Recipe
Garnishes
While the bars are already festive, topping them with a light dusting of powdered sugar or a drizzle of melted white chocolate can amp up their charm. Fresh cranberries or chopped pistachios sprinkled on top add a fresh pop of color and texture that everyone will love.
Side Dishes
These cookie bars pair wonderfully with a warm cup of spiced hot cocoa, a scoop of vanilla ice cream, or a mug of rich coffee. They’re perfect alongside festive drinks and add an irresistible sweet touch to any holiday spread.
Creative Ways to Present
Wrap individual bars in colorful cellophane bags tied with ribbon for adorable edible gifts. Or serve them stacked on a rustic wooden board mixed with other holiday treats for a dazzling dessert centerpiece that encourages sharing and smiles.
Make Ahead and Storage
Storing Leftovers
To keep your Christmas Cookie Bars fresh, store them in an airtight container at room temperature for up to five days. This helps maintain the perfect chewy texture and prevents any loss of flavor.
Freezing
If you want to prepare ahead or save some for later, wrap the bars tightly in plastic wrap and then foil before freezing. They’ll stay delicious for up to three months. When ready, thaw them overnight in the refrigerator.
Reheating
For a freshly baked taste, warm individual bars in the microwave for 10 to 15 seconds or pop them in a preheated oven at 300°F for five minutes. This brings back that just-baked softness and melty chocolate goodness.
FAQs
Can I use different types of chocolate candies in this Christmas Cookie Bars Recipe?
Absolutely! Feel free to swap the candy-coated chocolates with any favorite holiday-themed candies or just increase the amount of chocolate chips. The bars are quite flexible and forgiving for customization.
Is it necessary to let the bars cool completely before cutting?
Yes, allowing the bars to cool fully is important because it helps them firm up, making clean slicing much easier and preventing them from crumbling.
Can I add nuts to this Christmas Cookie Bars Recipe?
Definitely. Chopped pecans, walnuts, or almonds add a lovely crunch and nuttiness that pairs wonderfully with the sweetness of the bars.
How can I make these bars gluten-free?
You can substitute the all-purpose flour with a gluten-free baking blend, making sure it contains xanthan gum or other binding agents. The texture might vary slightly but still delicious!
What’s the best way to make these bars extra festive?
Adding holiday-themed extracts like almond or peppermint, sprinkling edible glitter, or using seasonal colored sprinkles can give your bars even more holiday spirit to wow your guests.
Final Thoughts
There’s nothing quite like sharing a dessert that’s bursting with festive colors, warm flavors, and that perfect balance of tender and chewy. This Christmas Cookie Bars Recipe will fill your kitchen with holiday cheer and your heart with joy as you create sweet memories with loved ones. Give this recipe a try—once you do, these bars will be on repeat every holiday season!
Print
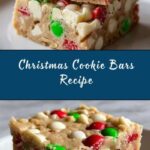
Christmas Cookie Bars Recipe
- Prep Time: 15 minutes
- Cook Time: 25 minutes
- Total Time: 40 minutes
- Yield: 24 bars
- Category: Dessert
- Method: Baking
- Cuisine: American
- Diet: Vegetarian
Description
Delicious and festive Christmas Cookie Bars loaded with colorful candy-coated chocolates, white and semi-sweet chocolate chips, and holiday sprinkles. These chewy, buttery bars are perfect for holiday celebrations and easy to make in just 40 minutes.
Ingredients
Dry Ingredients
- 2 1/4 cups all-purpose flour
- 1 teaspoon baking soda
- 1/2 teaspoon salt
Wet Ingredients
- 3/4 cup unsalted butter, softened
- 3/4 cup granulated sugar
- 3/4 cup brown sugar, packed
- 2 large eggs
- 2 teaspoons vanilla extract
Mix-ins and Toppings
- 1 cup red and green candy-coated chocolate candies
- 1/2 cup white chocolate chips
- 1/2 cup semi-sweet chocolate chips
- 1/3 cup holiday sprinkles
Instructions
- Preheat and Prepare Pan: Preheat the oven to 350°F and line a 9×13-inch baking pan with parchment paper or lightly grease it to prevent sticking.
- Mix Dry Ingredients: In a medium bowl, whisk together the all-purpose flour, baking soda, and salt until evenly combined.
- Cream Butter and Sugars: In a large bowl, beat together the softened unsalted butter, granulated sugar, and brown sugar until the mixture is light and creamy, about 2-3 minutes.
- Add Eggs and Vanilla: Add the eggs one at a time, beating well after each addition. Then mix in the vanilla extract, ensuring the batter is smooth and well incorporated.
- Combine Dry and Wet Ingredients: Gradually add the dry flour mixture to the wet ingredients, stirring gently until just combined. Avoid overmixing to keep the bars tender.
- Fold in Mix-ins: Gently fold in the candy-coated chocolate candies, white chocolate chips, semi-sweet chocolate chips, and holiday sprinkles until evenly distributed throughout the dough.
- Spread Dough in Pan: Evenly spread the cookie dough into the prepared 9×13-inch baking pan, smoothing the top with a spatula for uniform thickness.
- Bake: Bake in the preheated oven for 22-26 minutes, or until the edges are golden brown and a toothpick inserted into the center comes out mostly clean with a few moist crumbs.
- Cool Completely: Allow the cookie bars to cool completely in the pan on a wire rack. This helps them set properly and makes cutting easier.
- Cut and Serve: Once cooled, cut into 24 equal-sized bars and serve. Store leftovers in an airtight container at room temperature for up to 5 days.
Notes
- For extra festive flavor, add 1/2 teaspoon almond extract along with the vanilla extract.
- You can substitute the candy-coated chocolates with chopped holiday chocolate candies or increase the amount of chocolate chips if preferred.
- Be sure to let the bars cool fully before slicing to maintain their shape and avoid crumbling.
- Use parchment paper in the pan for easier removal and cleanup.