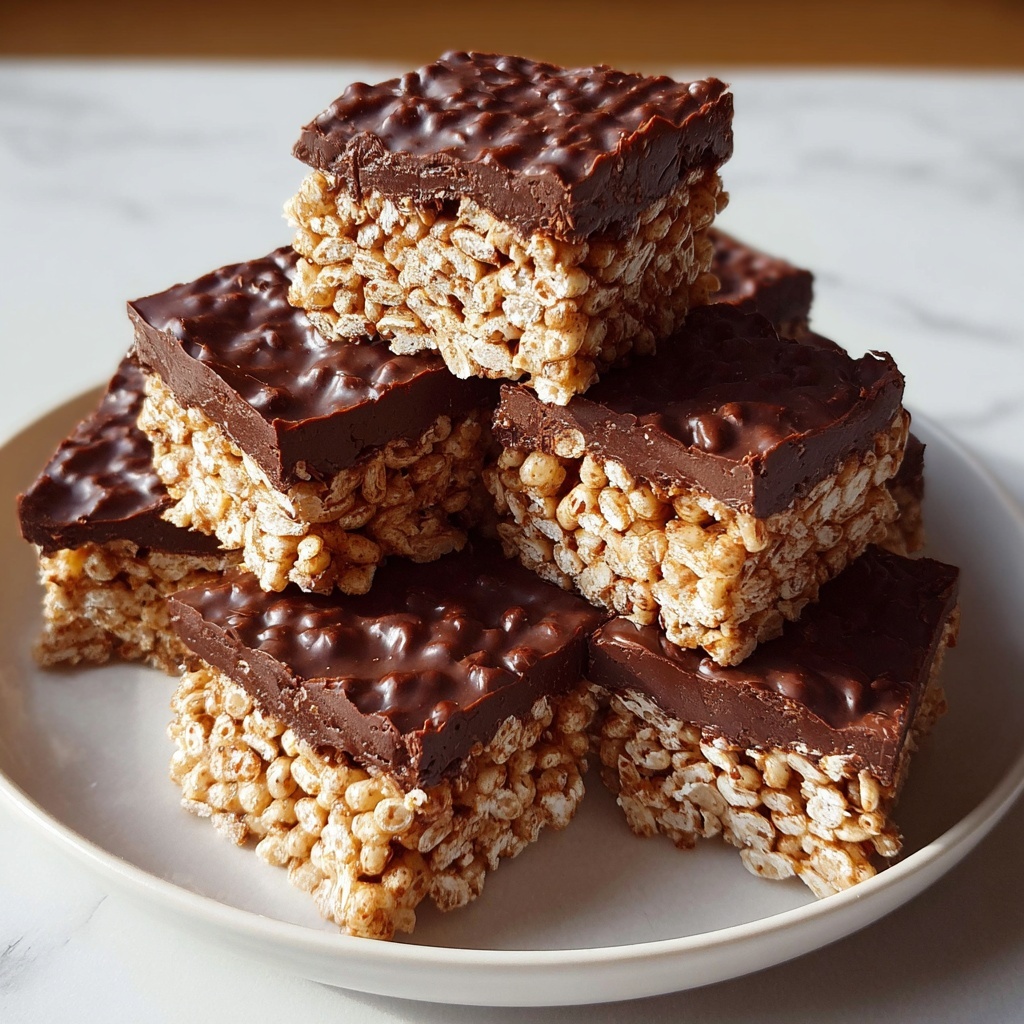
If you’re craving a sweet treat that comes together quickly without turning on the oven, this No Bake Homemade Crunch Bars Recipe is absolutely your new best friend. It’s that perfect combination of gooey peanut butter, rich chocolate, a touch of honey sweetness, and crispy rice cereal crunch that all blend seamlessly into bars you’ll find yourself reaching for again and again. Whether you’re making snacks for the kids, a quick dessert, or just want to satisfy that sweet tooth, these bars bring comfort and delight in every bite.
Ingredients You’ll Need
Don’t let the simplicity of the ingredients fool you—each one plays an essential role in creating the ideal balance of flavor, texture, and that irresistible crunch you’ll love in these bars.
- 2 cups crispy rice cereal: Provides roomy crunch and lightness, making every bite fun and airy.
- 1 cup chocolate chips: Melts smoothly and brings satisfyingly rich chocolate flavor that ties everything together.
- 1/2 cup peanut butter: Adds creamy, nutty depth and holds the bars together with its luscious texture.
- 1/4 cup honey: Natural sweetener that keeps the bars tender and adds just the right touch of golden sweetness.
How to Make No Bake Homemade Crunch Bars Recipe
Step 1: Melt the Goodness
Start by gently melting the chocolate chips, peanut butter, and honey together over low heat in a saucepan. This careful simmer allows everything to combine smoothly, ensuring those lovely flavors marry beautifully without burning or separating.
Step 2: Stir Until Silky
Once melted, stir the mixture continuously until it’s completely smooth and glossy. This step is where the magic happens, turning a few simple ingredients into a luscious, cohesive batter ready to embrace the crispy cereal.
Step 3: Fold In the Crispy Rice Cereal
Remove the saucepan from heat and fold in the crispy rice cereal. Stir well to coat every piece, ensuring your bars will have that irresistible crunch with just the right balance of chewy chocolate and peanut butter.
Step 4: Press Into the Pan
Line a baking dish with parchment paper and press the mixture down firmly but gently. Pressing evenly ensures the bars will set properly and hold together beautifully when sliced.
Step 5: Chill and Cut
Pop the dish into the refrigerator and let your bars chill for about an hour until firm. This step is key to getting perfect bars that cut easily without crumbling. Once set, slice into your desired size and get ready to enjoy!
How to Serve No Bake Homemade Crunch Bars Recipe
Garnishes
Feel free to dress up these bars with a sprinkle of flaky sea salt on top to highlight the sweet and salty contrast, or dust with cocoa powder for an extra chocolate kick. Chopped nuts or a drizzle of melted white chocolate can also add a special touch.
Side Dishes
These bars shine on their own but pair beautifully with a cold glass of milk or a hot cup of coffee or tea, making them perfect for an afternoon snack or a cozy dessert. Fresh fruit like berries can balance their richness for a more refreshing bite.
Creative Ways to Present
Cut them into bite-sized squares for party platters or wrap individual bars in parchment paper tied with twine for adorable homemade gifts. You can even layer the mixture with yogurt and fruit in a jar to create a crunchy parfait twist.
Make Ahead and Storage
Storing Leftovers
Store your homemade crunch bars in an airtight container at room temperature for up to three days. If your kitchen is warm, keeping them in the fridge ensures they stay firm and fresh without getting too sticky.
Freezing
These bars freeze wonderfully—wrap them individually in plastic wrap and place in a freezer-safe container or bag. They’ll keep well for up to two months, making them an easy treat to pull out anytime you need a quick sweet fix.
Reheating
No need to reheat these bars since their texture and flavor are best enjoyed chilled or at room temperature. If you prefer them softer, just let them sit at room temperature for 10 minutes before indulging.
FAQs
Can I use a different type of nut butter?
Absolutely! Almond butter or cashew butter work great and offer slight variations in flavor. Just make sure it’s creamy for the best consistency.
Are these bars gluten-free?
Yes, as long as you choose gluten-free crispy rice cereal, this No Bake Homemade Crunch Bars Recipe is naturally gluten-free and safe for most gluten-sensitive folks.
Can I add mix-ins like nuts or dried fruit?
Definitely! Toss in some chopped nuts, dried cranberries, or even mini marshmallows when mixing the cereal for added texture and flavor adventure.
How long do these bars last?
Stored properly, they stay fresh for up to a week at room temperature or two weeks in the fridge. Freezing extends their shelf life even more.
Is there a vegan version of this recipe?
You can swap honey for maple syrup and use dairy-free chocolate chips to make a vegan-friendly batch that’s just as delicious!
Final Thoughts
I can’t recommend this No Bake Homemade Crunch Bars Recipe enough—it’s simple, quick, and endlessly satisfying. Whether you’re packing lunches, prepping snacks ahead, or need a last-minute dessert, these bars have your back. Give them a try and watch how fast they disappear from the plate, because happiness really can come in crunchy, chocolaty squares!
Print
No Bake Homemade Crunch Bars Recipe
- Prep Time: 10 minutes
- Cook Time: 10 minutes
- Total Time: 1 hour 20 minutes
- Yield: 12 servings
- Category: Snack
- Method: No-Cook
- Cuisine: American
Description
These No Bake Homemade Crunch Bars are a quick and delightful treat combining the rich flavors of chocolate, peanut butter, and honey with crispy rice cereal for a perfect crunchy texture. Ready in just over an hour, these bars are easy to make without any baking required and are perfect for a sweet snack or dessert.
Ingredients
Ingredients
- 2 cups crispy rice cereal
- 1 cup chocolate chips
- 1/2 cup peanut butter
- 1/4 cup honey
Instructions
- Melt Ingredients: In a saucepan over low heat, gently melt the chocolate chips, peanut butter, and honey. Stir continuously to ensure the mixture becomes smooth and fully combined without scorching.
- Combine Mixture: Once melted and smooth, remove the saucepan from heat. Immediately add the crispy rice cereal to the mixture and stir until all cereal pieces are coated evenly with the chocolate-peanut butter-honey mixture.
- Press Mixture: Line a baking dish with parchment or wax paper. Transfer the mixture into the lined dish and press down firmly to create an even, compact layer, which will help the bars hold their shape once set.
- Refrigerate: Place the baking dish in the refrigerator and chill for 1 hour or until the mixture is firm to the touch and fully set.
- Slice and Serve: After chilling, remove from the refrigerator and lift the set mixture out of the dish using the edges of the lining paper. Cut into 12 individual bars and enjoy immediately or store for later consumption.
Notes
- You can substitute the peanut butter with almond or cashew butter if desired.
- For a vegan version, use vegan chocolate chips and maple syrup instead of honey.
- Press the mixture firmly to avoid crumbly bars.
- Store bars in an airtight container in the refrigerator to keep them fresh.
- Add chopped nuts or dried fruits for additional texture and flavor.


