
If you’ve ever thought vegan baking couldn’t offer the elegance of classic royal icing, think again! This Vegan Royal Icing Recipe is a total game-changer, blending simple, plant-based ingredients into a glossy, smooth icing perfect for decorating cookies with that traditional shine and crisp finish. Whether you’re outlining delicate shapes or flooding entire surfaces, this icing delivers all the magic of the original without any eggs. Trust me, once you try this, you’ll be reaching for it again and again!
Ingredients You’ll Need
Getting the perfect Vegan Royal Icing Recipe is surprisingly easy, thanks to just a few essential ingredients. Each one plays an important role in creating the texture, sweetness, and flawless finish you want on your decorated treats.
- Aquafaba (60 g): This magical chickpea water whips just like egg whites, giving the icing its airy, fluffy base.
- Powdered sugar (400 g): The foundation of sweetness and structure, sifted to keep your icing smooth and lump-free.
- Lemon juice (1 tablespoon): Adds a gentle tang while helping the icing set with the perfect consistency.
- Optional natural colors and flavors: These let you personalize your icing with vibrant hues or subtle hints like vanilla or citrus zest.
How to Make Vegan Royal Icing Recipe
Step 1: Whisk the Aquafaba
Start by pouring the aquafaba into a clean bowl or your stand mixer fitted with a whisk attachment. Whip it vigorously for about 2 minutes until it becomes foamy and slightly bubbly. This is the crucial step where your egg-free magic begins, as the aquafaba creates that airy texture essential for your icing.
Step 2: Add Powdered Sugar Gradually
Next, sift your powdered sugar into the foamy aquafaba in four separate increments. Between each addition, whisk the mixture thoroughly until it turns glossy and smooth. This gradual process ensures your icing stays light, without any gritty or dense spots, making decorating a pure joy.
Step 3: Mix in the Lemon Juice
Add a tablespoon of fresh lemon juice (or orange juice if you prefer a sweeter citrus note) and whisk it into your icing to bring brightness and a slight tang. This also helps stabilize the egg-free royal icing so it sets beautifully.
Step 4: Adjust Consistency for Purpose
Depending on whether you’re outlining cookies or flooding them with icing, you’ll want to tweak the thickness. For outlines, keep the mixture thick and stiff enough to hold its shape. For flooding, gently thin the icing by mixing in a tiny bit more aquafaba or liquid color until it’s pourable. Remember that thinner icing takes longer to dry, so patience is key here!
Step 5: Add Colors and Flavors
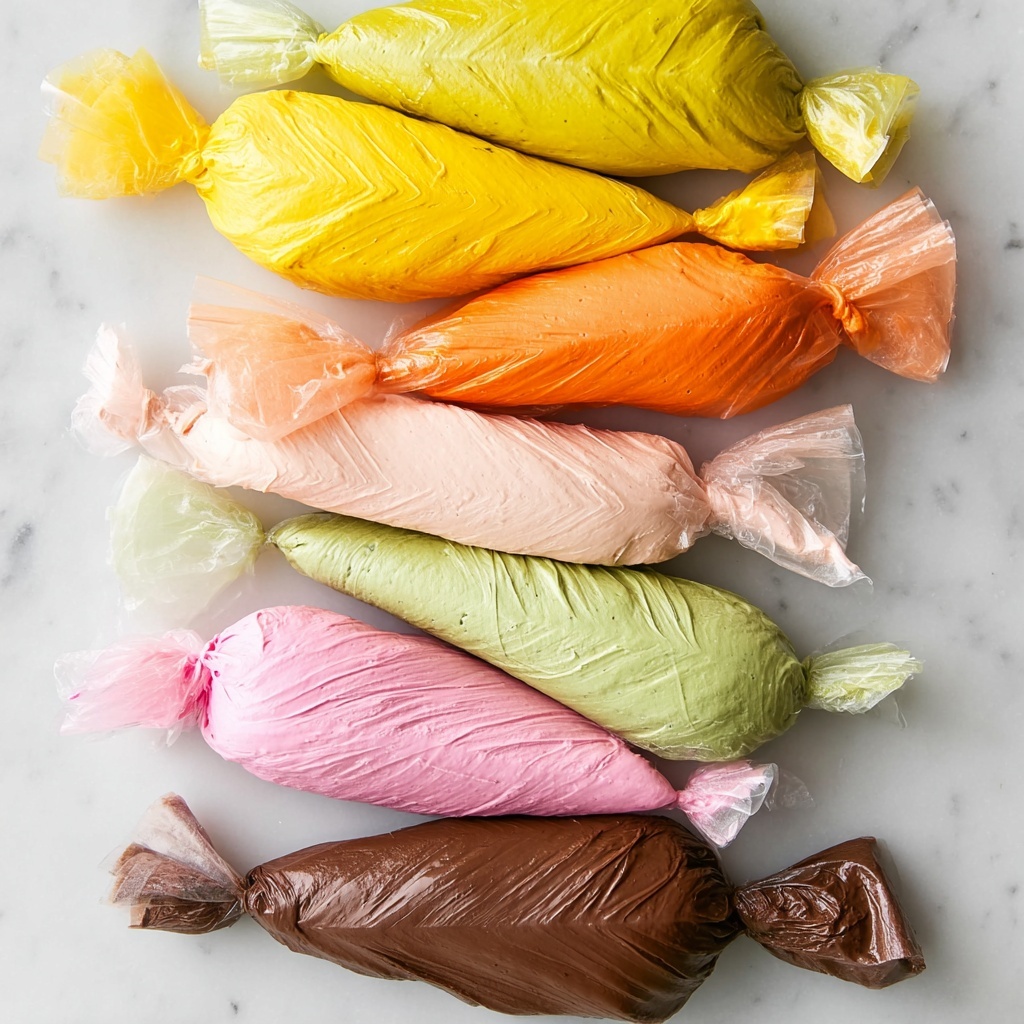
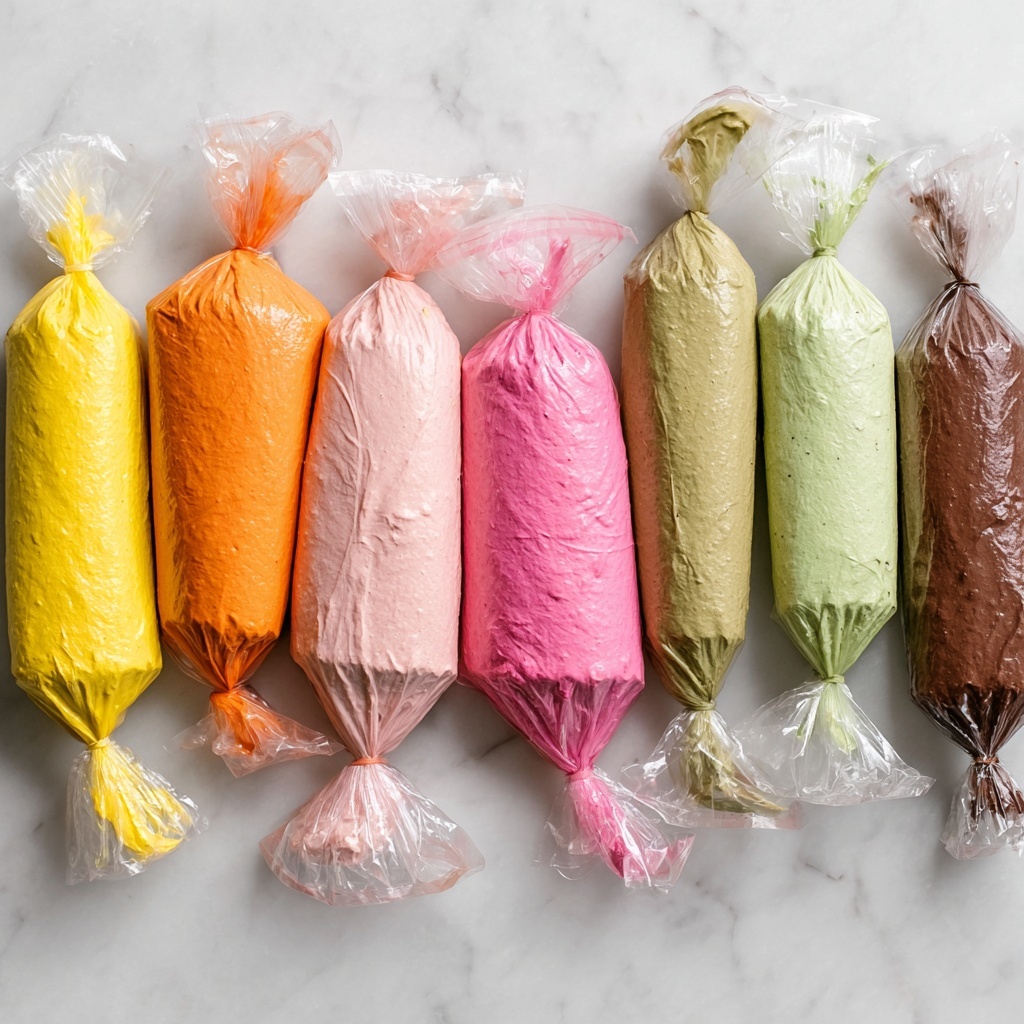
Divide your icing into small bowls to mix in any natural colors or flavors you want. Use powdered colors sparingly and be ready to add a bit more liquid if the color powders thicken your mixture. The Vegan Royal Icing Recipe welcomes your creativity, so play with shades that bring your cookie designs to life.
Step 6: Pipe and Decorate
Fill your piping bag and snip off the tip, choosing an opening size that matches the detail level of your designs. Start by outlining your cookies with the thick icing and let those lines dry for about an hour before flooding the inside. This layering technique creates that classic professional look with clean edges and vibrant colors.
Step 7: Storage Between Uses
Keep your decorated cookies or leftover icing fresh by sealing the piping bag tightly and storing it in the fridge. The liquid form will last up to 2 weeks if air is kept out; exposure will dry and harden the icing, which you want to avoid until you’re ready to decorate.
How to Serve Vegan Royal Icing Recipe
Garnishes
This Vegan Royal Icing Recipe sets the perfect stage for adding fun garnishes like sprinkles, edible glitter, or finely chopped nuts. These extras add texture and flair, making your vegan treats as eye-catching as they are delicious.
Side Dishes
Although royal icing shines on cookies, it pairs wonderfully with other sweet vegan desserts such as cupcakes, gingerbread, or even fruit tarts. Its subtle sweetness and crisp finish complement many flavors without overpowering them.
Creative Ways to Present
Beyond classic cookie decorating, try dipping pretzels or vegan biscotti in the icing for a festive touch. You can even pipe intricate designs onto parchment paper, let them harden, and use the shapes as edible toppers for cakes or dessert platters.
Make Ahead and Storage
Storing Leftovers
If you have any leftover Vegan Royal Icing Recipe, store it in an airtight container or sealed piping bag in the fridge. It keeps well for up to two weeks, ready to be whipped up again for your next baking session.
Freezing
While not typically recommended to freeze royal icing because of texture changes, you can freeze it in an airtight container for up to one month. When thawing, allow it to come to room temperature and whisk it again to regain a smooth consistency.
Reheating
Instead of reheating, it’s best to simply re-whisk your chilled vegan royal icing to restore its fluffiness and ensure it pipes perfectly. Gentle stirring works better than heat, which may alter the texture.
FAQs
Can I use other types of bean water instead of aquafaba?
Aquafaba from chickpeas is preferred due to its superior foaming ability and neutral flavor, but you can experiment with other bean waters. Keep in mind, the consistency and taste might vary, impacting your icing’s performance.
How long does the Vegan Royal Icing Recipe take to dry?
Drying times depend on thickness and humidity. Outlines may dry within an hour, but flooded areas can take several hours to dry to the touch. Patience ensures a crisp, professional finish.
Is this icing gluten-free?
Yes! The Vegan Royal Icing Recipe is naturally gluten-free since it contains no wheat or gluten-containing ingredients. However, always check your powdered sugar source if strict gluten-free is necessary.
Can I store decorated cookies with this icing? For how long?
Decorated cookies with vegan royal icing can be stored in an airtight container at room temperature for up to one week. For longer storage, keep them in the fridge but bring them to room temperature before serving.
What natural colors work best for this icing?
Powdered natural colors made from beetroot, turmeric, spirulina, or activated charcoal add vibrant shades without changing the icing’s texture too much. Liquid natural colors can be used but may require adjusting consistency.
Final Thoughts
This Vegan Royal Icing Recipe opens doors to endless decorating possibilities with a satisfying, egg-free twist. Its smooth texture and reliable setting power mean even beginners can achieve stunning, professional-looking results. So, why not give it a try and bring some colorful, cruelty-free joy to your baking adventures? I promise, your cookies (and your taste buds) will thank you!
Print
Vegan Royal Icing Recipe
- Prep Time: 5 minutes
- Cook Time: 0 minutes
- Total Time: 5 minutes
- Yield: 20 servings
- Category: Dessert Decoration
- Method: No-Cook
- Cuisine: Vegan/Western
- Diet: Vegan
Description
This Vegan Royal Icing recipe provides a delightful, plant-based alternative to traditional royal icing using aquafaba for a perfectly smooth and glossy texture. Ideal for decorating cookies, this versatile icing can be adjusted from thick outlining consistency to a thinner flooding consistency by modifying the liquid-to-sugar ratio. Naturally vegan and easy to whip up in minutes, it allows for custom coloring and flavoring, making your cookie decorations vibrant and tasty while avoiding animal products.
Ingredients
Main Ingredients
- 60 g aquafaba (chickpea water, see notes)
- 400 g powdered sugar (confectioner’s/icing sugar), organic if available
- 1 tablespoon lemon juice (or orange juice)
Optional Additions
- Natural food colors (powdered or liquid)
- Natural flavor extracts or oils (e.g., vanilla, almond)
Instructions
- Prepare Aquafaba: In a clean mixing bowl or stand mixer fitted with a whisk attachment, whisk the aquafaba for about 2 minutes until it becomes foamy. This aeration is essential to achieve the right texture for the icing.
- Add Sugar Gradually: Sift the powdered sugar in four increments into the foamy aquafaba, whisking thoroughly between each addition. Continue whisking until the mixture turns glossy and smooth.
- Incorporate Lemon Juice: Add 1 tablespoon of lemon juice to the mixture and whisk again to combine, which will help stabilize the icing and add a slight tang.
- Adjust Consistency: For outlining cookies, keep the icing thick enough to hold its shape without collapsing. For flooding (covering the whole cookie), thin the icing by adding small amounts of extra aquafaba or liquid colors until it reaches a runnier consistency. Note that runnier icing takes longer to dry.
- Color and Flavor (Optional): Divide the icing into separate bowls if you want different colors or flavors. Add natural color powders or liquid food colors carefully, and incorporate any flavor extracts, mixing until evenly combined.
- Decorate Cookies: Fill a piping bag and snip the tip to create an opening sized according to how fine or thick your decorating lines need to be. Pipe outlines on the cookies and allow to dry for about an hour before flooding the centers with a thinner icing if desired. Let the decorated cookies dry for a couple of hours until the icing is dry to the touch.
- Storage: Seal any remaining icing in an airtight piping bag and store it in the refrigerator for up to 2 weeks. Keep it protected from air exposure to prevent it from drying out and hardening prematurely.
Notes
- The aquafaba used in this recipe is the liquid from canned chickpeas; it serves as an excellent egg white substitute for vegan baking and icing.
- You can thin the icing by adding more aquafaba or liquid colors, but thinner consistencies will require longer drying times.
- When using powdered colors, you may need to adjust the liquid added to achieve the perfect consistency.
- This icing is suitable for outlining and flooding cookies for detailed decorative effects.
- Store icing in a sealed bag to maintain moisture and usability.

